Binding is the thin plastic strip that wraps the edge of a bound body or neck. It looks sharp, but it can lift, open a gap, or catch overspray while you finish the guitar. This guide covers the common binding problems on a kit and how to fix each one cleanly, plus how to mask the binding so paint never touches it in the first place.
Applies to: Any kit with plastic body or neck binding, most often single-cutaway, thin semi-hollow single-cutaway, and set-neck bodies. It is useful both during finishing (masking and clean paint lines) and afterward (lifts, gaps, and scratches).
Find the cause
Start here. Match what you see to the likely cause, then jump to the fix.
| Symptom | Likely cause | Go to |
|---|---|---|
| A strip of binding is lifting or peeling away from the body | The adhesive under it has released, often from heat, humidity, an impact, or a weak spot from the factory | Fix 1 |
| An open gap or seam where two binding ends meet | The binding shrank slightly, or the ends were never seated tight | Fix 2 |
| The binding is scratched, scuffed, or has a small gouge | A scraper or blade slipped, or sanding got too close to the edge | Fix 2 |
| Paint or primer bled onto the binding | The mask lifted, was the wrong tape, or overspray crept under the edge | Fix 3 |
Finishing a fresh kit and want to skip these problems entirely? Jump to Fix 4 and mask the binding right the first time.
Fix 1: Re-seat and re-glue lifting binding
Guitar Kit World’s own method for loose or lifted binding uses gentle heat to soften the original adhesive so you can press the strip back down. This is an advanced repair, so work slowly and with caution. If you are not confident, stop and ask a qualified repair tech.
- Set low heat. Set a heat gun to a low temperature, between 200 and 300 degrees Fahrenheit (about 95 to 150 degrees Celsius). More heat than that can scorch the finish or warp the binding.
- Warm the strip evenly. Hold the heat gun about 6 to 8 inches (roughly 15 to 20 cm) away from the binding and move it steadily along the lifted section. Keep it moving so no single spot gets too hot.
- Press it back. Use a plastic guitar binding tool or scraper to carefully press the warm binding back into its channel. Work along the strip and repeat until it sits flush and secure.
- Let it cool. Let the binding cool completely before you touch it again, play, or move on. The softened adhesive re-hardens as it cools and holds the strip in place.
When heat alone will not hold it: If the adhesive has fully failed and the strip lifts straight back up, glue it. Wick a thin cyanoacrylate (super glue) or a plastic-binding cement under the lifted edge. Avoid PVA or wood glue, which does not bond well to plastic binding. Press the strip into the channel, then stretch a strip of blue painter’s tape or pinstriping tape across the binding and down onto the body to act as a clamp while it sets. Wipe any squeeze-out right away and keep glue off your finish.
Pro tip: Test your glue on a hidden spot first, like inside a control cavity or the neck pocket, so you know it will not cloud or lift your finish.
Fix 2: Fill a gap, seam, or gouge
A small gap at a binding seam, or a shallow gouge from a slipped tool, fills the same way.
- Clean the gap. Wipe out any dust or loose material so the filler can bond.
- Fill it. Pack the gap with a color-matched filler. Many builders use a small amount of thin CA glue worked into fine binding dust of the same color, which dries hard and sands like the binding itself. Build it slightly proud of the surface.
- Level it flush. Once fully cured, level the filler down with a plastic scraper or fine sandpaper until it sits flush with the binding and the body. Work gently so you do not dig into the surrounding finish.
Light scratches and scuffs usually do not need filling. Buff them out with fine wet sanding at a high grit, then polish the spot back to a shine.
Pro tip: Match the color before you fill. Test your filler on scrap or a hidden edge. A tight gap is far less visible than a filler in the wrong shade.
Fix 3: Scrape paint or primer off the binding cleanly
Even with good masking, a little primer or color almost always sneaks under the tape edge. This is normal and easy to fix. This clip shows the unmasking and cleanup after the primer has cured.
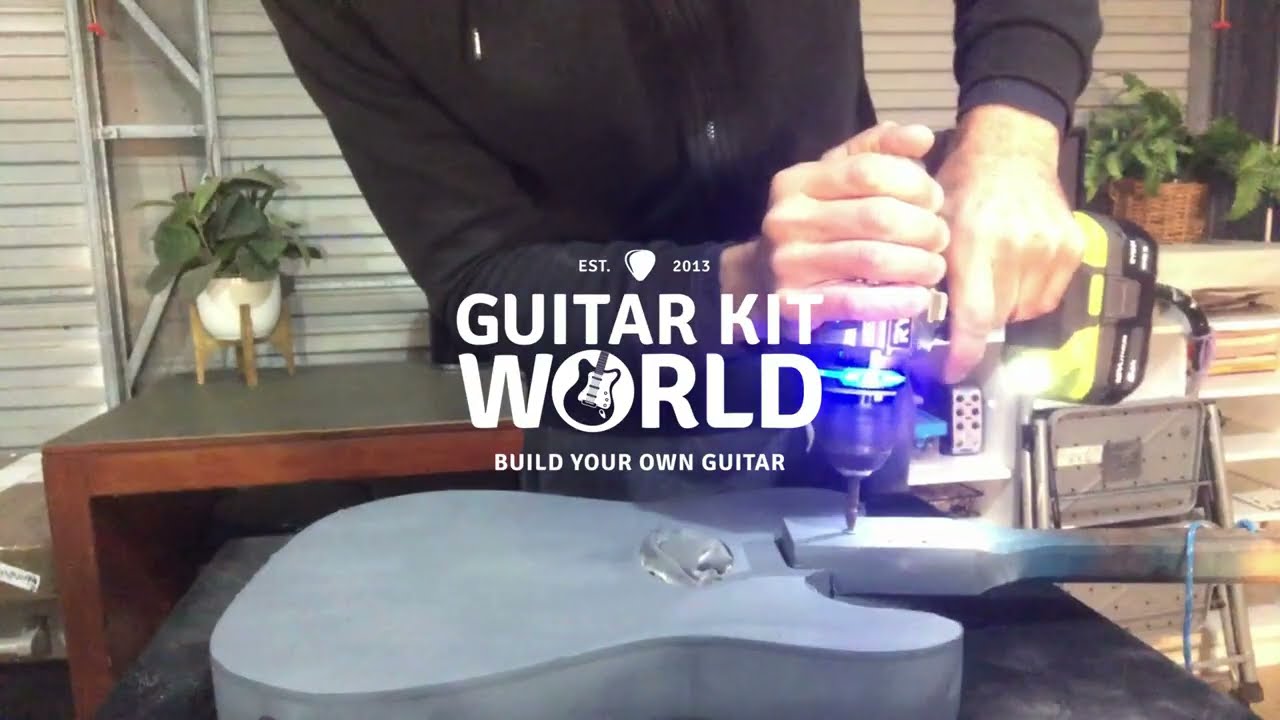
- Peel the tape carefully. After the finish has cured, peel away the masking tape you used to protect the binding. Pull it back on itself slowly so it does not chip the paint edge.
- Inspect the edge. Look along the binding where the tape used to be. It is very common to see a thin line of primer or paint that crept underneath.
- Scrape it clean. Hold a plastic binding scraper, or a sharp blade laid nearly flat, at a low angle and shave the paint off the plastic. Work along the edge with light pressure to restore a clean, sharp line. Keeping the angle low means you shave the paint without gouging the binding.
- Wipe and check. Wipe the edge clean and check it in good light before you move on to sanding or the next coat.
Pro tip: Expect a little bleed-through. Do not panic if you see primer on the binding after peeling the tape. A little product seeping under the tape is inevitable, and it scrapes off easily.
Fix 4: Mask the binding right the first time
The best binding repair is the one you never need. Masking the binding well before you spray keeps paint off it and gives you a crisp line. This clip walks through masking the binding for a clean, professional finish.
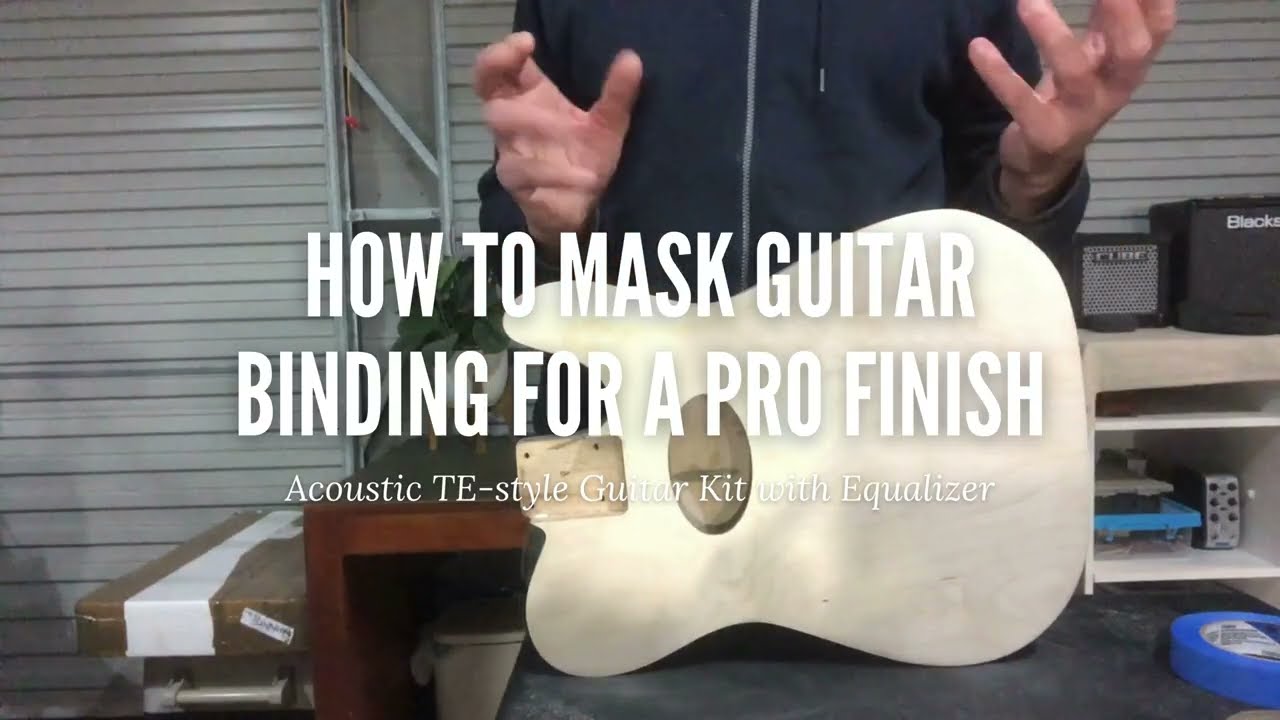
- Clean the edges first. Wipe the binding down with a clean, dry cloth. Tape will not stick if there is leftover sanding dust on the surface.
- Use the right tape. Protect the binding with flexible pinstriping tape, tightly sealed blue painter’s tape, vinyl fineline tape, green automotive masking tape, or a brush-on liquid masking fluid. You can also skip the tape and plan to scrape the paint off later (see Fix 3). Avoid standard paper masking tape, because liquid primer bleeds right underneath it.
- Tape the strip. Slowly unroll the tape and lay it exactly over the binding strip all the way around the body. Take your time, especially around the tight curves of the horns.
- Seal the edges. Run your fingernail, a guitar pick, or a plastic card firmly along the edge of the tape. Pressing hard creates a tight seal so paint cannot sneak underneath.
- Trim the excess. If the tape overlaps onto the bare wood, score the very edge with a sharp craft knife and peel the excess away. You want the wood fully exposed for paint and the binding fully covered.
Pro tip: Take your time laying the tape down so you avoid bumps or folds, and take the same care when you trim. A clean mask now saves a lot of scraping later.
For the full paint and finishing walkthrough that this masking step belongs to, see the finishing masterclass linked below.
When to stop and ask
If the binding is cracked through, badly shrunk, or a whole section has come away and will not seat, stop before you make it worse. Post a few clear photos in Builder Q&A and describe what you are seeing, and the community can help. If a piece of binding arrived damaged or is missing from your kit,
Questions, or is something not going to plan? Comment below this tutorial with clear photos and we will help you right here. Your question and the answer then help the next builder too.
If you have a Guitar Kit World kit and the issue is with the kit itself, such as a missing or damaged part, email our support team at [email protected]. Include the email address you used for your purchase, your order number, and a couple of photos, and the team will get you sorted out quickly.