The neck is the part of your kit you touch the most, so the finish here is about feel as much as looks. This guide covers how to finish the back of the neck, why you mask and usually leave the fretboard bare, how to treat each fretboard material, the headstock face, and how to keep the fingerboard healthy for years. Take your time, because the neck rewards patience more than any other part of the build.
Applies to: Raw or lightly sanded necks on any GKW kit, and all fretboard materials (rosewood, ebony, pau ferro, engineered ebony, and maple).
What you need
- Painter’s masking tape
- Wet-and-dry sandpaper, 1200 and 1500 grit
- Super fine steel wool (0000 grade)
- Your chosen neck finish: a wipe-on oil (such as Tru-Oil or boiled linseed oil), nitrocellulose lacquer, polyester, or wipe-on poly
- Fretboard conditioner or oil for unsealed boards (a mineral-oil-based product, often labeled lemon oil, or a cleaner-conditioner like Music Nomad F-One oil)
- A few clean, non-abrasive cloths
- A soft brush or toothpick for cleaning around the frets
A quick word on the wood: a guitar neck can carry up to 200 lbs of string tension, which is why kit necks use dense hardwoods like maple or mahogany. Your finish protects that wood and makes it feel fast under your hand.
Step 1: Choose your neck-back finish
You are really choosing a feel. There are two paths.
- Satin oil finish (recommended for beginners). A wipe-on oil such as Tru-Oil or boiled linseed oil soaks in, dries thin, and buffs to a silky, fast surface. It is forgiving, needs no spray gear, and is easy to repair later.
- Gloss finish. Nitrocellulose lacquer, polyester, or wipe-on poly build a harder film with more shine. They look great but take more coats, more cure time (nitrocellulose lacquer needs about a 14-day cure), and more care to get level.
If you are not sure, take the oil path. A thin oil finish is the simplest way to get a neck that feels great, and you can always build it up over time.
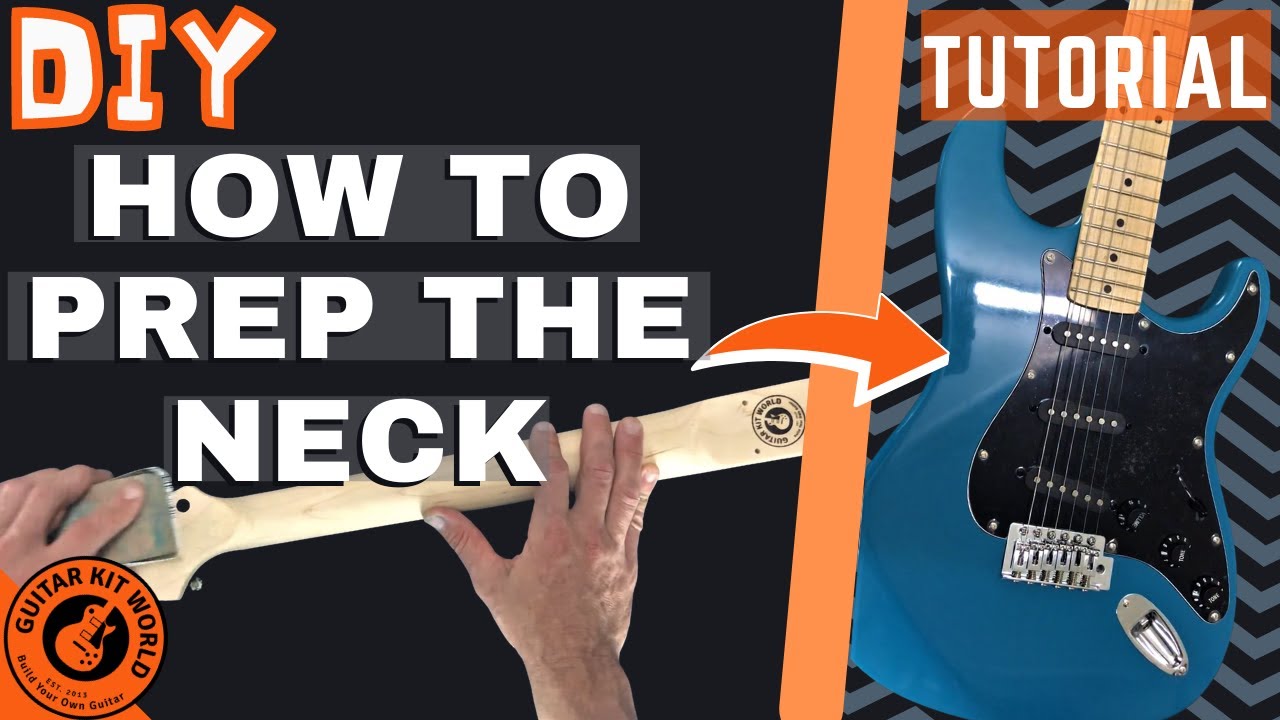
Here is a walkthrough of prepping a neck before finishing, useful whichever path you choose.
Step 2: Mask the fretboard first
Before any finish touches the neck, protect the fretboard. Run a line of painter’s masking tape down each side of the fretboard, right at the edge, then lay another line down the middle to cover the surface. Press the tape down firmly, but work in small increments so you can keep good alignment with the edge of the fretboard before you commit each section. Clean masking here is what keeps finish off your playing surface.
Step 3: Finish the back of the neck
With the fretboard masked, finish the back. For an oil finish, the goal is thin and smooth, not thick and shiny.
- Wipe on a coat of oil and let it soak in and dry per the product’s directions.
- Rub it back with wet-and-dry sandpaper, starting at 1200 grit, then 1500 grit.
- Finish with super fine steel wool, working until the back of the neck feels silky smooth and fast.
- Repeat for as many coats as you like. More thin coats give more depth and protection.
For a gloss finish, build your lacquer or poly coats per the product’s schedule, let them cure fully, then level and buff. Whatever you choose, keep coats thin. A thin, even finish always beats a thick, gummy one, which is the most common cause of a neck that feels sticky under your hand.
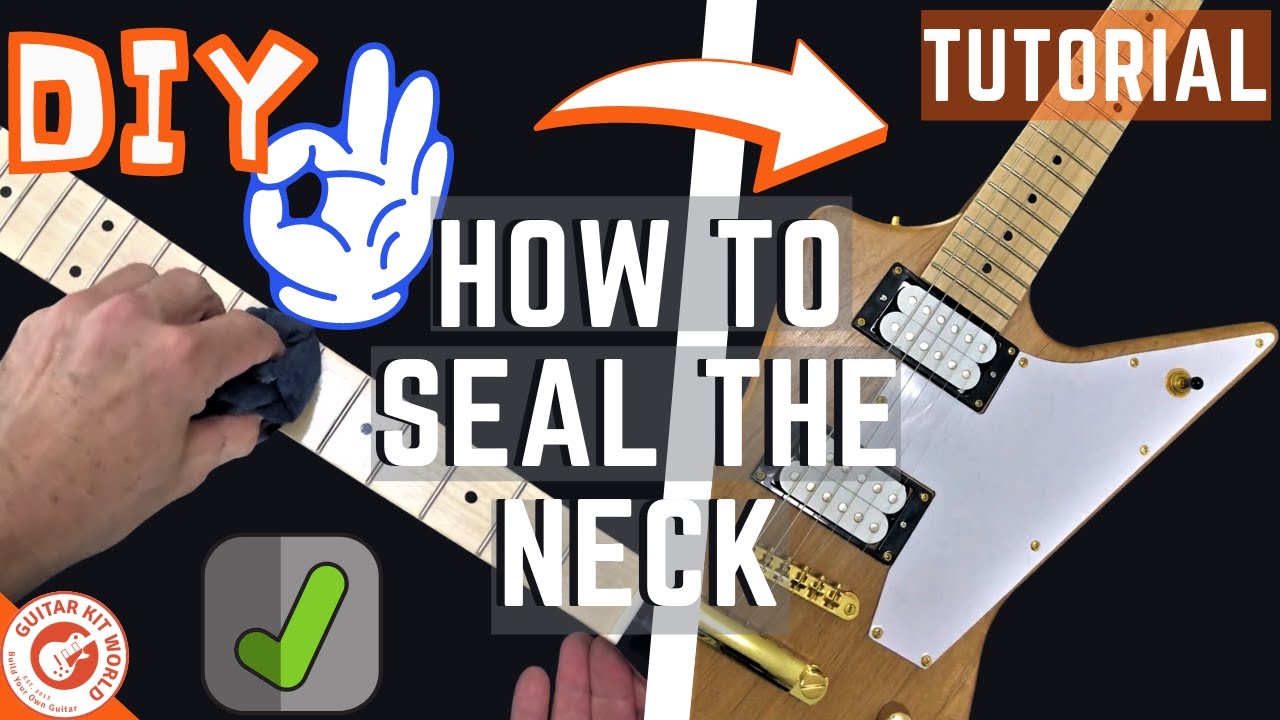
Watch the sealing pass here.
Step 4: The fretboard, finish it or leave it?
Most fretboards should never be finished on the playing surface. The rule depends on the wood, so first identify your board.
- Dark, oily boards (rosewood, ebony, pau ferro, engineered ebony). These are dense and naturally oily. They will not stain if left unsealed, so leave the playing surface bare. You condition these, you do not finish them.
- Light, blond boards (maple). Maple is the exception. It is porous and shows dirt, so it does need a sealed finish, usually the same finish as the neck.
An easy tell: if the board is dark brown to near black and looks matte, it is a rosewood-type board, so leave it bare. If it is pale and looks like the same wood as the neck, it is maple and gets sealed. When in doubt, leave a dark board unfinished. You can always condition it, but stripping finish off later is a real job.
Step 5: Treat the fretboard by material
Rosewood, ebony, and pau ferro. Leave them unsealed. Sand to at least 800 grit, then treat with a fretboard conditioner as needed, usually when you change strings, to keep the timber from drying out. A few makers do seal their rosewood boards, but that is the exception, not the rule.
Engineered ebony (and other engineered timbers). These are composite boards made by compressing materials like wood, paper, or fiber and binding them with resin under heat and pressure. You may see them sold under names like Richlite, Micarta, or Rocklite. Because they have no growth rings, they stay more consistent and resist the moisture-driven cracking that can affect natural ebony. For care, treat them like rosewood and ebony. You can apply an oil to seal the surface, but for the most part it is unnecessary. One thing to know: because the material can chip, refretting an engineered board is harder, so be gentle around the frets.
Maple. Maple fretboards do require sealing, most often with nitrocellulose lacquer. If both your neck and fretboard are maple, finish them at the same time. If you use lacquer, apply your finish and then carefully cut away the buildup on top of each fret so the fret wires are exposed and playable again.
Step 6: Finish the headstock face
The face of the headstock is usually finished to match or complement the body. Two common looks:
- A tinted, translucent gloss that lets the wood grain show through.
- A solid color, such as black.
Either way, follow your color with a clear coat to protect it. If your headstock is getting a decal or logo, apply it before the clear coat so it sits sealed underneath.
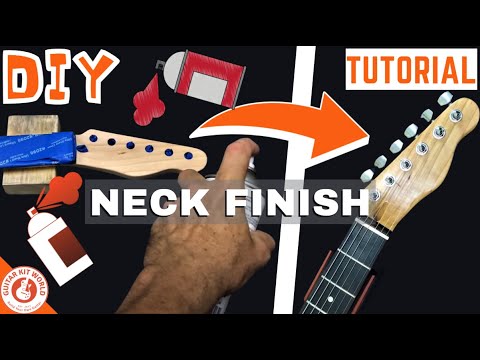
This walkthrough covers sanding and finishing the neck and headstock together.
Step 7: Ongoing fingerboard care
A neglected fingerboard gets sticky, looks dirty, and in bad cases leads to corroded frets, loose fret wires, or even cracks. Keeping it clean is simple.
- Every string change: wipe the board down. Warm water on a cloth is enough for most cleaning. To get in around the fret wires, use a soft brush like a toothbrush, or lift gunk away with a toothpick.
- Once or twice a year: do a deeper clean with a dedicated fingerboard cleaner, then rehydrate an unsealed board with a conditioning product.
For unsealed boards, a good conditioner is a mineral-oil-based product, often sold as lemon oil, or a cleaner-conditioner like Music Nomad F-One oil, which cleans and conditions in one. Apply a drop per fret, work it in with a non-abrasive cloth, let it sit a few minutes (longer if the board is dirty), then buff off the excess with a clean cloth. A dark board that looks dull is telling you it is ready for conditioning. Do not use genuine lemon oil, which is acidic and can harm the wood, and check any product’s label so you do not leave a waxy residue that hurts playability.
Sealed maple boards are different. Because the finish keeps grime out, they do not need conditioning. Clean maple with warm water, a dedicated fingerboard cleaner, or a little naphtha (lighter fluid). Keep steel wool and abrasive cloths off maple, since they will haze the finish, and do not over-buff a gloss board or it can turn sticky.
To polish the frets, use 0000 super fine steel wool. First mask the fretboard, or use fret guards, and mask off your pickups, because steel wool fibers are magnetic and will cling to them. Work with the grain, not across it, then carefully clean up every bit of steel wool residue when you are done. Polished frets look better and let strings glide more easily when you bend.
When to stop and ask
If a finish will not level, stays tacky, or you are unsure which fretboard material you have, stop before you make it worse.
Questions, or is something not going to plan? Comment below this tutorial with clear photos and we will help you right here. Your question and the answer then help the next builder too.
If you have a Guitar Kit World kit and the issue is with the kit itself, such as a missing or damaged part, email our support team at [email protected]. Include the email address you used for your purchase, your order number, and a couple of photos, and the team will get you sorted out quickly.
Start Here: Find Your Build Manual
For a full finishing walkthrough on a complete kit, see the Painting, Finishing and Bridge Installation masterclass.