The finish is the first thing anyone notices about your build, and choosing the right one is easier than it looks once you know what to check. This guide helps you decide between an oil, a stain, or a solid paint job before you buy a single can or bottle, based on your kit’s wood and the look you are after. Read it once, make your choice, then follow the matching step-by-step tutorial for the path you picked.
Applies to: every Guitar Kit World kit, solid-body or semi-hollow, with a bare or veneered body. Read this before you open any finishing supplies.
Step 1: Look at your wood
Your wood decides more than your taste does. Some kit bodies have grain worth showing off, and some are plain and made to be colored. Find your wood, or your veneer top, in the table below and start from there.
| Wood or veneer | Grain | Finishes that work best |
|---|---|---|
| Basswood | Plain, closed | Solid paint, stain, or a creative finish. Oil looks flat here because there is little grain to highlight. |
| Alder | Moderate | Versatile, works with any finish type. |
| Mahogany | Open pore, warm | Oil, stain, or transparent finishes. Fill the grain first for a smooth glossy result. |
| Ash | Bold, open | Transparent stains and sunburst finishes. The grain does the work. |
| Flame or quilted maple (often a veneer top) | Tight, figured | The star of transparent finishes. Stain brings out the figure, and oil or wipe-on poly show its 3D depth. |
| Zebrawood | Striped, open | Clear or tinted oil to let the natural contrast show. |
Two words you will keep seeing are open grain and closed grain. Open-grain woods like mahogany, ash, and zebrawood have visible pores. They look rich under a transparent finish, but you have to fill those pores first if you want a glassy, mirror-flat gloss. Closed or tight-grain woods like maple already feel smooth. Maple takes oil and wipe-on poly beautifully, though its tight grain can be hard to stain evenly, so go slow if you color it.
Step 2: Decide transparent or opaque
This is the one choice that drives everything else. A transparent finish (oil, wipe-on poly, or a stain under a clear coat) lets the grain show through. An opaque finish (solid color paint) covers the grain completely.
If your kit has a figured maple, ash, zebrawood, or mahogany top, whether it is solid wood or a veneer, the grain is the whole point, so keep it transparent. You would not paint over a flame maple veneer any more than you would paint over a good photograph. Hand-rubbed oils such as Tung Oil, Danish Oil, or Tru-Oil, wipe-on poly, and a gloss clear spray are all top choices to protect that grain while keeping it visible.
If your body is a plain wood like basswood, or you simply want a bold, even color, go opaque with solid paint. Oil looks flat on a plain body because there is not much grain to light up, so paint is the finish that makes it look its best.
Step 3: Pick your effort level
Finishes are not equally hard. Here is the honest ladder, easiest at the top. Every rung can look great with patience, so pick the one that matches the time and gear you actually have, not the one that sounds most impressive.
| Finish | Difficulty | Time (active + drying) |
|---|---|---|
| Hand-rubbed oil (Tung, Danish, Tru-Oil) | Beginner, easiest to apply | 2 to 4 hours active, 24 to 48 hours drying |
| Wipe-on polyurethane | Beginner | 3 to 5 hours active, 48 hours between coats |
| Water-based stain, then a clear coat | Beginner to intermediate | 1 to 2 hours per coat |
| Sunburst | Intermediate, needs spray technique | 4 to 8 hours active, several days drying |
| Rattle-can spray, solid color | Intermediate, technique matters | 6 to 12 hours active, 1 to 2 weeks total |
| HVLP spray gun | Intermediate to advanced | 6 to 12 hours active, 1 to 2 weeks curing |
| Epoxy or resin art | Intermediate, messy but forgiving | 4 to 8 hours active, 24 to 72 hours curing |
| Hand-painted art | Advanced, needs painting skill | 10 to 40+ hours depending on complexity |
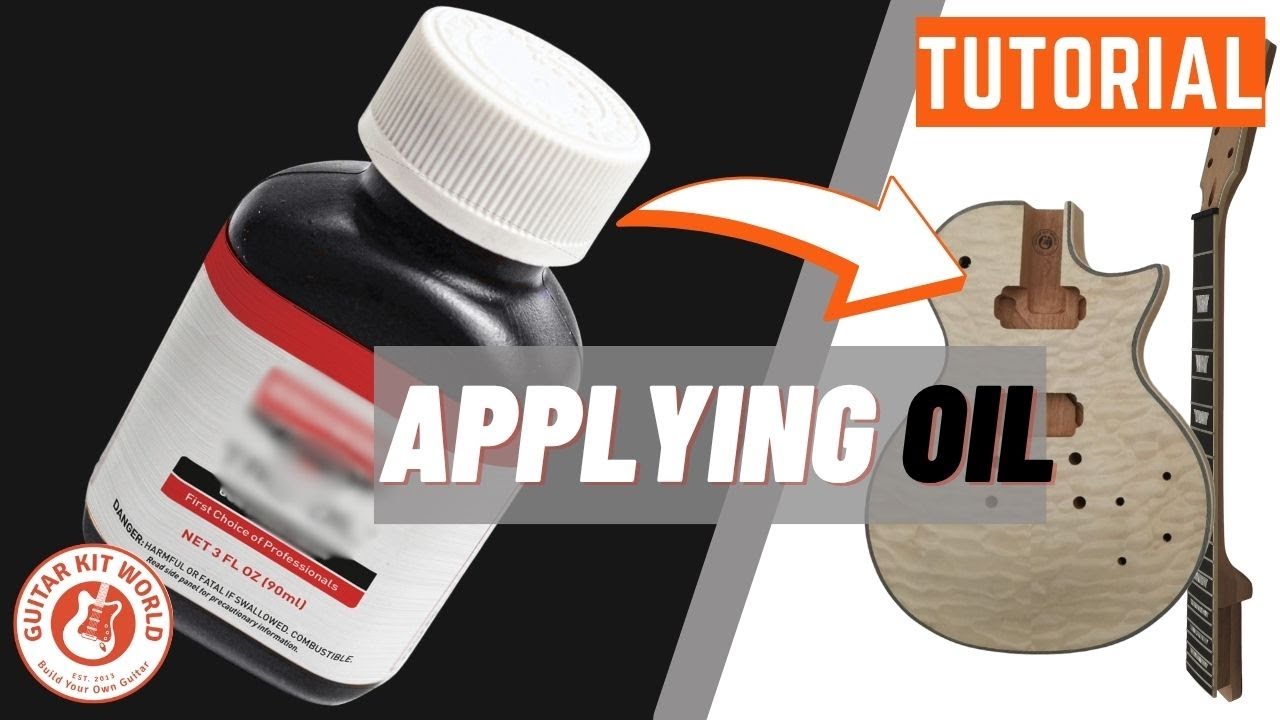
The simplest finish on the ladder is a hand-rubbed oil. You wipe it on with a lint-free cloth, let it soak, and wipe off the excess, usually three to five thin coats over a body sanded to 320 grit. Here is that process on a real body:
If you have never finished a guitar before, start here. A wipe-on oil or poly is very hard to ruin, and you can always work up to spraying on your next kit.
Step 4: Find your path
Once you know your wood, your look, and your effort level, follow the tutorial that matches. They link together in the order you will actually work:
- Everyone starts with Surface Prep: sanding through the grits, raising and filling the grain, and wiping the body down. Nothing on top looks good over a poor prep.
- For transparent color that pops the figure in maple, ash, or zebrawood, follow Stain and Highlighted Grain.
- For a bold, uniform color over a plain body, follow Painting a Solid Body.
- For the classic light-center, dark-edge gradient, follow Sunburst.
- For the back of the neck and the fretboard, which finish differently from the body, follow Neck and Fretboard.
- For the final mirror shine, wet-sanding and buffing the cured clear coat, follow Polishing.
A few rules that save every finish
These hold no matter which path you pick.
- Sand in stages. Start at 120 grit and work up to at least 320 before any finish touches the wood. Between clear coats, drop to 800 to 1000 grit for a light smoothing pass.
- Raise the grain on open-grain wood. After sanding, lightly dampen the surface so the fibers swell and stand up, let it dry, then sand smooth again. This one extra step keeps zebrawood and other open-grain bodies from feeling rough under the finish. Surface Prep walks you through it.
- Fill the grain on mahogany and ash if you want a flat, glossy top. Open pores will still show under a clear coat otherwise.
- A stain is color, not protection. Always seal a stain with a clear coat (wipe-on poly, spray lacquer, or spray poly), and remember you need that finish coat on before you can polish.
- Mind the room. Work between 65 and 80 degrees Fahrenheit with low humidity, and wipe bare wood with denatured alcohol first to remove oils and dust.
- Gloss versus satin. Gloss dries harder and protects a little better, while satin and matte hide small flaws and fingerprints. Both are correct, it is your call.
Patience is the real skill here. Thin coats and full dry times beat any product or tool.
When to stop and ask
If you are still not sure which way to go, post a clear photo of your bare body in Builder Q&A and we will help you read the grain and choose. If a part arrives missing or damaged,
Questions, or is something not going to plan? Comment below this tutorial with clear photos and we will help you right here. Your question and the answer then help the next builder too.
If you have a Guitar Kit World kit and the issue is with the kit itself, such as a missing or damaged part, email our support team at [email protected]. Include the email address you used for your purchase, your order number, and a couple of photos, and the team will get you sorted out quickly.
Start Here: Find Your Build Manual
For the full finishing process from bare wood to buffed gloss, see the Painting, Finishing and Bridge Installation masterclass.