A good finish is mostly patience and thin, even coats, and you do not need a spray booth to get there. This is the quick, practical path for spraying a solid-body kit with a rattle can or an HVLP gun, from your first pass of primer to a cured clear coat. It keeps the same coat counts, cure times, and grits as our full finishing masterclass (linked at the bottom), just condensed into the core spraying steps.
Applies to: Any Guitar Kit World solid-body kit you are finishing yourself, sprayed with a rattle can or an HVLP spray gun. Bare and blank bodies especially.
What you need
- N95 mask or a proper respirator, always worn while spraying
- Aerosol primer, color, and clear from ONE compatible product family (or the same in an HVLP gun)
- Sandpaper: 280, 320, 360, and 400-grit for bare-wood prep; 600 to 800-grit for leveling primer and color; wet/dry from 600 or 800 up to 1500 and 2000-grit for the clear
- 0000 fine steel wool and automotive polish for the final shine (optional)
- Denatured alcohol or a degreaser to wipe the bare wood clean
- Painter’s tape or fineline tape to mask the fretboard, binding, and cavities
- A soft sanding block, a spray bottle of water, and a scrap-wood handle screwed into the neck pocket so you never touch the body while spraying
Step 1: Set up your gear and spray environment
Wind is the enemy. It makes the spray pattern hard to control and carries grit straight into your wet paint, so find a sheltered, well-ventilated spot and never spray outside on a windy day. Warm and dry beats cold and humid, because temperature and moisture both change how the finish flows and cures.
Wipe the bare wood down with denatured alcohol to remove oils and sanding dust, then mask off anything you do not want painted. Shake an aerosol can hard until you hear the mixing ball rattle. If you do not hear it, something is wrong with the can. Hold the can about 30 cm (12 inches) from the body at a slight angle, and do a couple of test sprays on cardboard first to clear the nozzle. If you are shooting HVLP instead, the same rules apply: thin even passes, keep the gun moving, and hold a steady distance.
Pro tip: Dip a clogged aerosol nozzle in boiling water before use to stop it sputtering onto your fresh paint.
Step 2: Primer (three coats, then level sand)
Here is the first coat of primer going on.
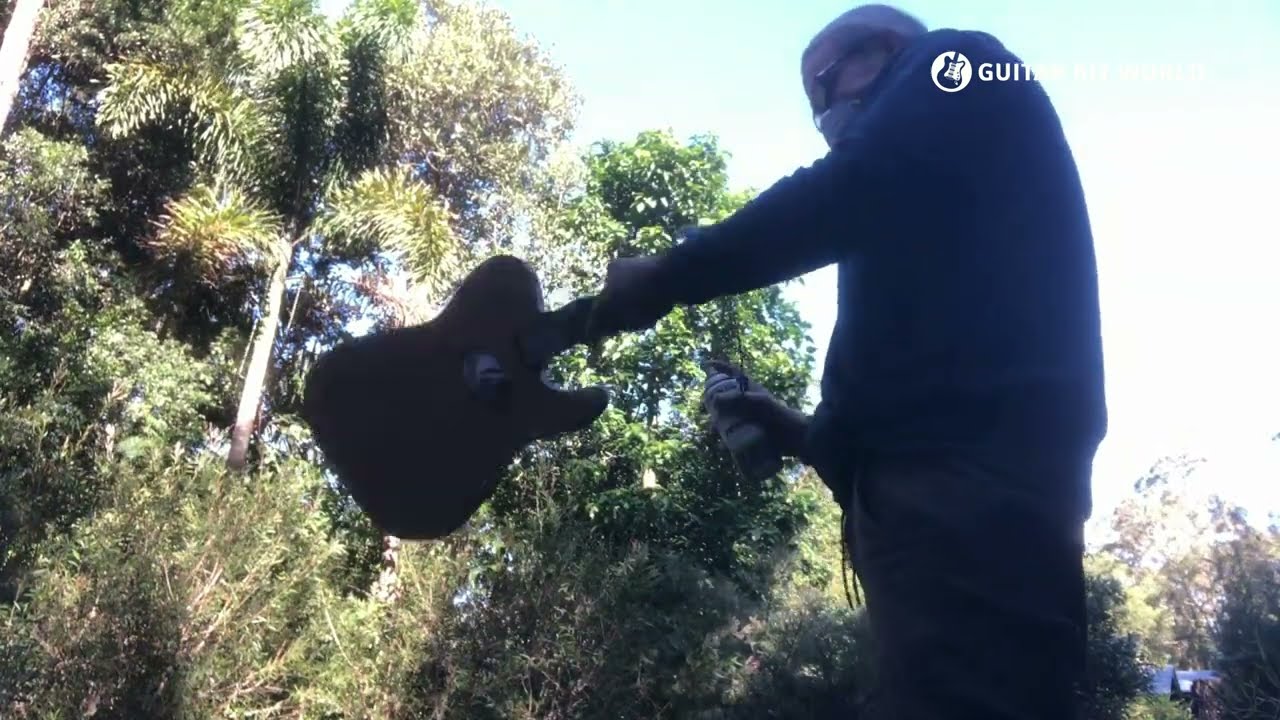
Spray in straight, overlapping strips, top first, then the sides, then the back. Keep every pass light. You will not see full coverage on coat one, and that is correct. Plan for three primer coats total, each one slightly heavier than the last, with about 45 minutes of drying between them. After the third coat, leave the body somewhere safe and well ventilated for 24 to 48 hours so the primer fully hardens.
Once it is cured, level sand the primer with 600 to 800-grit on a soft block. Hold the body under a light at an angle. Shiny spots are low areas the paper has not reached, so keep sanding until the whole surface is a uniform, flat matte. Do not sand past 800-grit, and go easy on the edges where the primer is thinnest.
Pro tip: Never sand a soft finish. If the primer still feels soft, it has not cured, and sanding it just clogs your paper and ruins your prep.
Step 3: Color (light coats, recoat windows, and cure)
The first color coat uses the same light-coat technique as the primer.
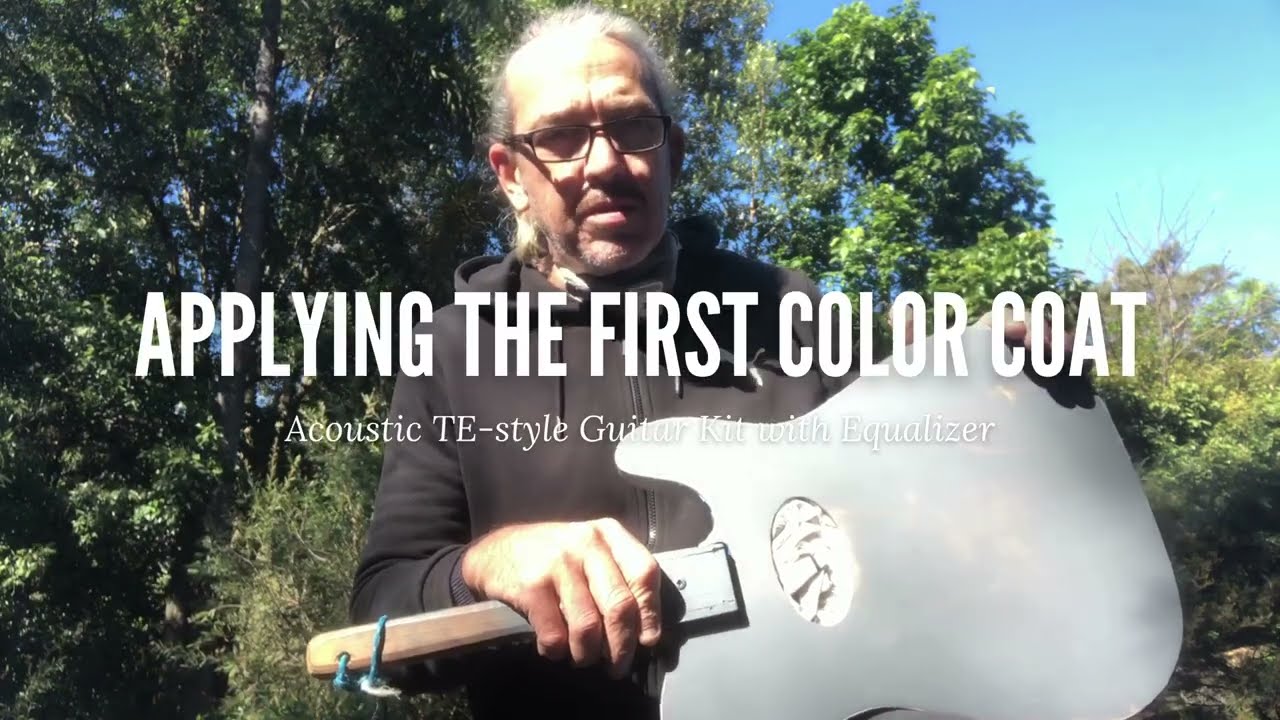
Work from the top of the body down, keeping the first color coat very light. Let it hang undisturbed for 45 minutes, then repeat for a total of 3 to 5 coats, depending on coverage. Build the color up gradually, because several thin coats look far more professional than one or two heavy ones and will not run.
Mind your recoat window. Staying on that 45-minute rhythm within one session keeps every coat bonding to a fresh surface, so you can lay all your color coats in a single day. If you have to stop partway, do not spray fresh color onto a coat that has skinned over but not cured. Either stay inside the recoat window, or let the paint cure fully and scuff it lightly before adding more. Spraying onto a half-cured skin is what causes wrinkling.
When the color is done, let it cure hard before you touch it. In cold weather this can take two weeks or more. Only then is it ready for clear.
Pro tip: For a first guitar, choose white, off-white, or a pastel. Dark colors act like a mirror and loudly highlight every scratch and leveling flaw underneath.
Step 4: Clear coats
Spraying the clear coat, and level sanding the color underneath it first.
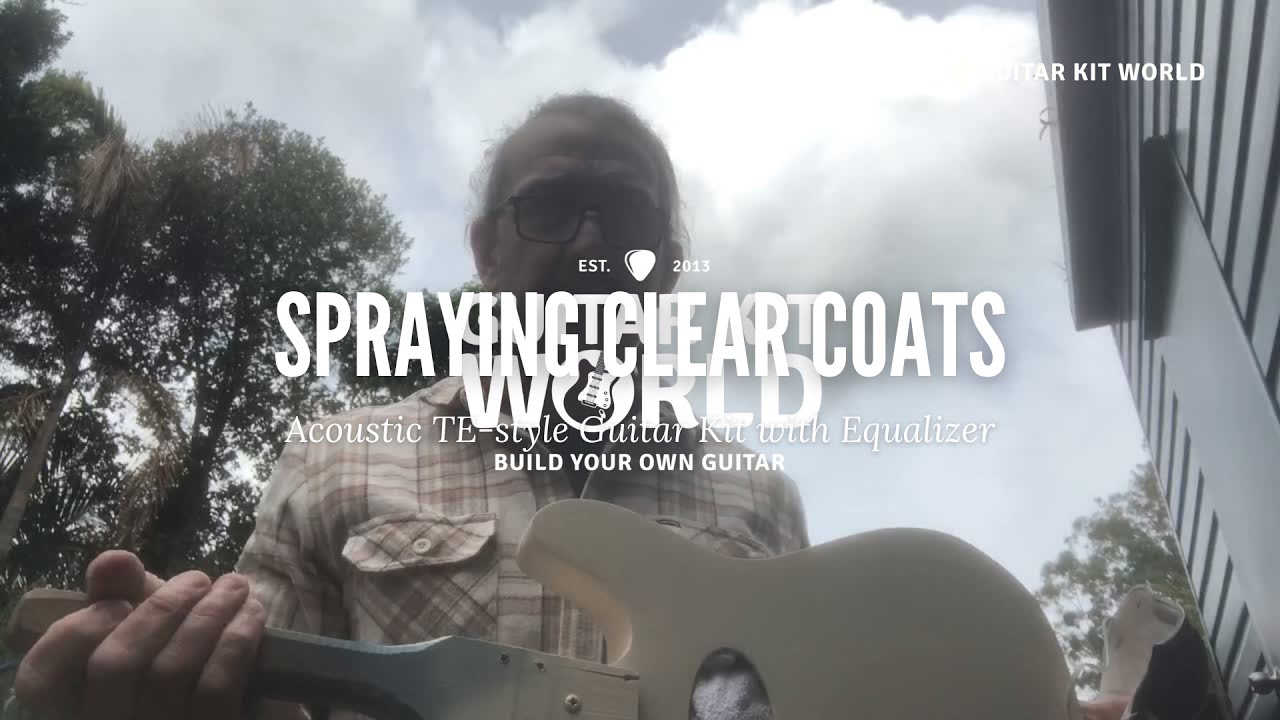
Hold the can at the same distance you used for color, with the nozzle at about a 45-degree angle. Spray in smooth, straight lines and use the 50 percent overlap rule: on each pass, cover exactly half of the previous line so there are no dry, patchy spots. Keep every coat thin and plan for 3 to 5 light coats, letting the clear dry between each one. Clear coat is notorious for running if you flood it, so many light coats always beat a few thick ones.
Step 5: Cure patience
This is where most first builds get rushed. Primer wants 24 to 48 hours. A color coat can need two weeks or more in the cold. Clear coat depends on the product: some cure in about two weeks, others take up to 30 days. Check the can, and do not begin wet sanding or polishing until the finish is completely rock hard. Sanding a soft finish clogs your paper, scratches the guitar, and can force you to start over.
From a fully cured clear coat, the next stage is wet sanding up to 1500 or 2000-grit, buffing with 0000 steel wool, and polishing to a mirror gloss with automotive polish. That full sequence lives in the finishing masterclass linked below.
The top four spray failures and how to fix them
| Problem | What causes it | How to fix it |
|---|---|---|
| Runs and drips | Coat sprayed too heavy, can held too close, or the can dwelled in one spot | Let the finish cure completely hard, then wet-sand the run flat starting at 600 or 800-grit and working up to 1500 or 2000, then re-clear and polish. Prevent it with many light coats and a moving can. |
| Orange peel | Paint going on too dry, held too far away, or sprayed too cold, leaving a dimpled orange-skin texture | Level it out. Use 600-grit on primer or color, or wet-sand the clear from 600 or 800 up to 1500 or 2000 until the dimples are gone, then polish. Prevent it with the right distance and warm, even passes. |
| Blushing | Spraying in high humidity or cold, which traps moisture in the drying finish as a milky white haze (most common with lacquer) | Move somewhere warm and dry and re-spray a light coat to re-flow the finish, or let it fully cure and buff the haze out. Prevent it by never spraying on damp, rainy, or cold days. |
| Incompatible layers wrinkling | Spraying one paint chemistry over an incompatible one, or spraying fresh paint onto a coat that has skinned but not cured, so the new solvents lift the layer below | There is no sanding a bad wrinkle smooth. Sand or strip the wrinkled area back to a sound layer and repaint. Prevent it by using one compatible product family top to bottom, testing on scrap, and staying inside the recoat window. |
When to stop and ask
If something looks wrong, stop before you make it worse.
Questions, or is something not going to plan? Comment below this tutorial with clear photos and we will help you right here. Your question and the answer then help the next builder too.
If you have a Guitar Kit World kit and the issue is with the kit itself, such as a missing or damaged part, email our support team at [email protected]. Include the email address you used for your purchase, your order number, and a couple of photos, and the team will get you sorted out quickly.
Start Here: Find Your Build Manual
For the complete finishing process, with masking, level sanding, wet sanding, steel wool, and final polishing in full detail, follow the painting and finishing masterclass.
