A stain finish is how you show off the wood instead of hiding it. This guide walks you through planning the job, the highlighted-grain method that makes figure pop, staining a thin veneer top without ruining it, and sealing the color in. Take your time and test everything before you touch the body.
Applies to: Any kit with a bare wood or veneer top you want to keep visible (figured maple, mahogany, ash), plus solid-body kits you plan to stain rather than paint.
Stain vs paint: what you are choosing
- Stain is a tinted, transparent finish. It soaks into the wood and colors it while the grain still shows through. That is the whole point. You see the figure.
- Paint is opaque. It sits on top and hides the wood underneath.
- Stain when your top is worth showing. This finish suits mahogany, ash, and figured maples (flamed, quilted, spalted).
- If the timber is unevenly matched or has an uninteresting grain pattern, it is best not to showcase it. In that case a solid color is the better call.
- Your kit ships as bare veneer over the wood, so the surface is ready to take stain once you have prepped it. The maple veneer on the kits can be stained.
Before you commit, watch how a stain job gets planned from start to finish.

What you need
- Sandpaper: 400 grit (veneer-safe), 450 grit, 800 grit, plus 1200 and 1500 grit wet/dry
- Fine steel polishing wool
- Water-based tinted grain filler (ebony is a good dark choice)
- Wood stain in your chosen color
- Clean, lint-free rags
- A clear oil finish or wax seal (Tru-Oil style)
- Acetone or warm water for cleaning
- A hobby knife (only if your body has binding)
- A ventilation mask. Finishing fumes are a real health risk, so work in a ventilated space and wear it.
- An offcut, or the control-cavity cover, for testing
Step 1: Prep the surface
- Inspect the body. Lift small dents with a little heat and moisture, or fill deeper damage with timber filler.
- Sand out scratches and factory marks, working up through the grits (start around 450, finish around 800 on a solid top). Every scratch you leave will show through a transparent finish, so do not rush this.
- Clean the surface thoroughly with acetone or warm water and let it dry. Stain grabs unevenly over grease or dust.
Veneer tops are a special case. Read Step 2 before you sand one.
Step 2: Special care for veneer tops
A veneer is a very thin sheet of decorative wood, typically 1 to 3 mm (about 1/32 to 1/8 inch), glued onto the top of the body. It is thin, and once you sand through it there is no getting it back.
- Sand very lightly by hand with 400 grit. Just a few passes to smooth it, with no pressure.
- Do not use coarse sandpaper. Nothing under 400 grit goes near a veneer.
- Do not use a power sander on a veneer. It is far too easy to cut straight through.
- Ease any hard edges with a gentle bevel so you do not sand through at the corners.
Pro tip: thin veneer can crinkle or lift if you flood it with wet stain. Apply stain sparingly and do not soak the surface, especially near the edges and the back.
Step 3: Test before you touch the body
Never make your first pass on the guitar itself. Stain lands differently on every piece of wood.
- Test your stain on an offcut, or on the back of the control-cavity cover if it is the same wood as your body.
- Confirm the color and see how fast the wood drinks it in.
- This is where you catch blotching before it happens, not after.
Step 4: Highlight the grain
This is the technique that makes figure jump out. The idea is simple. Get a dark color deep into the grain, then bring a lighter field color over the top so the two contrast.
- Apply a water-based tinted grain filler (ebony works well) across the top. Use it even if your wood does not strictly need grain filling. Working a dark color into the grain highlights it by adding contrast.
- Let it set, then sand back the excess with 450 grit or finer. The dark filler stays down in the pores while the surface comes back to clean wood.
- Apply your stain over the top with a clean rag bunched into a ball.
Keep your hand constantly moving to get an even finish. If your hand movements are inconsistent, the stain will look heavier in some sections than others.
Here is the body-staining stage in action.
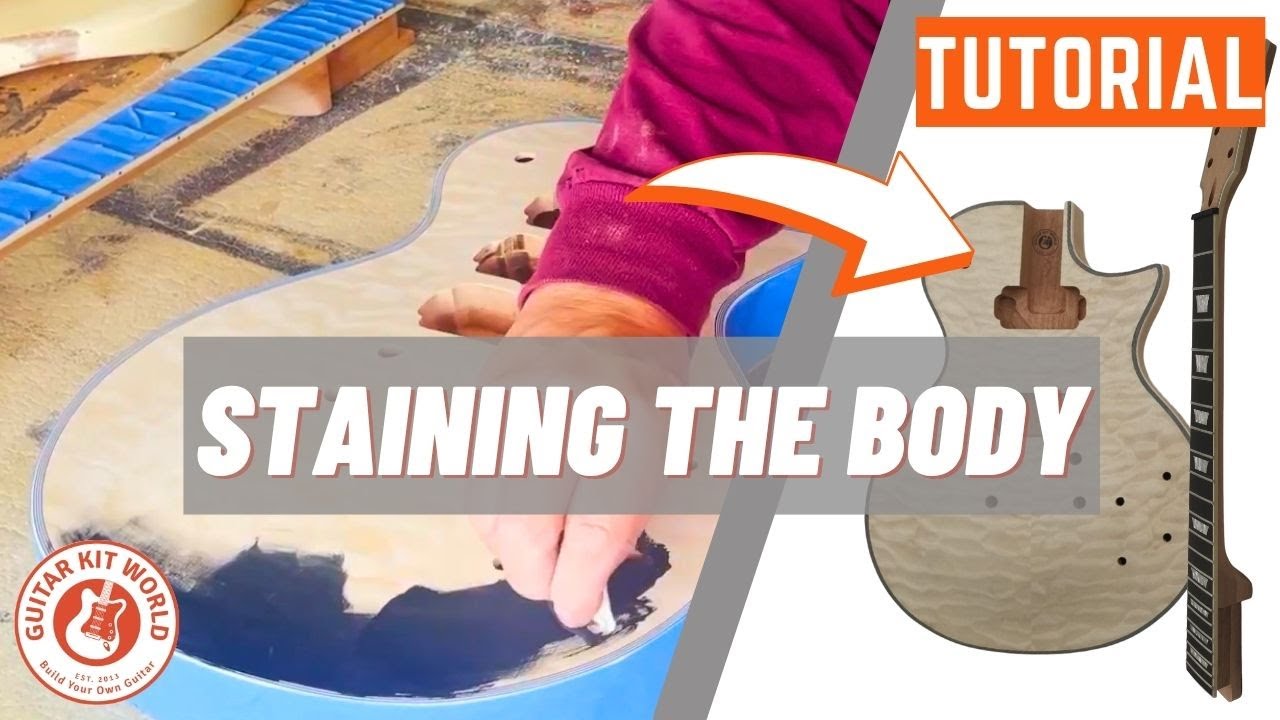
If your body has binding, scrape any stain off it now with a hobby knife before it sets.
Step 5: Seal the stain
Stain on its own is not a finish. You seal over it to protect the color and build a surface.
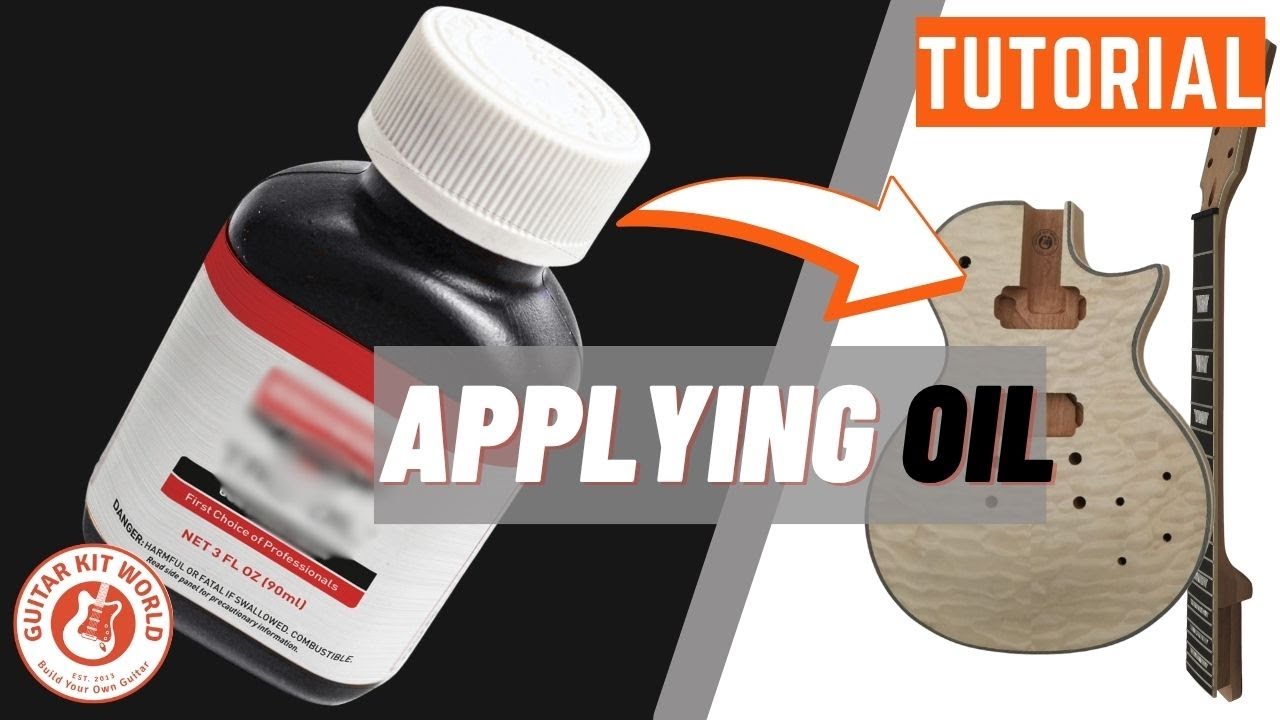
- Use a clear oil finish or wax seal over the stain. A Tru-Oil style oil is a common choice and keeps the look natural.
- Apply in thin coats with a clean rag. In the article example the builder applied 5 coats of clear finish, waiting about 40 minutes between each coat. Repeat as many times as your finish needs.
- Between and after coats, work up through the wet/dry papers (1200 then 1500 grit), then finish with fine steel polishing wool.
- Polish with an automotive polish for the final shine.
Watch a Tru-Oil seal go on over stain.
Common failures and how to prevent them
| Problem | Cause | Prevention |
|---|---|---|
| Blotching (patchy, uneven color) | Wood soaks up stain unevenly, often over a dirty or unevenly sanded surface | Test on an offcut first, sand evenly through the grits, and clean with acetone or warm water before staining |
| Lap marks and streaks | Stopping and starting, or inconsistent hand movement | Keep your hand moving constantly, work in one direction, and do not let an edge dry mid-pass |
| Sanding through the veneer | Coarse paper, a power sander, or too much pressure | Hand-sand only, nothing under 400 grit, no power sander, and bevel hard edges |
| Veneer crinkling or lifting | A thin veneer flooded with wet stain | Apply stain sparingly, do not soak it, and let it dry flat |
Pro tip: if a veneer top does get damaged past saving, you are not stuck. Sand it back and go with a solid color paint finish instead. It is a clean fallback, not a failed build.
When to stop and ask
If your color goes wrong, the veneer starts to lift, or something just looks off, stop before you make it worse.
Questions, or is something not going to plan? Comment below this tutorial with clear photos and we will help you right here. Your question and the answer then help the next builder too.
If you have a Guitar Kit World kit and the issue is with the kit itself, such as a missing or damaged part, email our support team at [email protected]. Include the email address you used for your purchase, your order number, and a couple of photos, and the team will get you sorted out quickly.
Start Here: Find Your Build Manual
For the full painting and finishing walkthrough, see the Painting, Finishing, and Bridge Installation masterclass.