Every good finish starts on bare wood, long before the first coat of stain or paint. This tutorial walks you through the prep that decides how your guitar will look: reading the surface, sanding up through the grits, raising and knocking back the grain, filling open-grain pores, and masking off before you spray. Take your time here, because a finish only ever looks as good as the surface underneath it.
Applies to: every Guitar Kit World kit, any finish (stain, oil, or opaque paint), on both the bare body and the bare neck.
What you need
- Sandpaper: 120 and 220 grit (only if you have deep marks to remove), then 280, 320, 360, and 400 grit for the main ladder.
- Sanding blocks: one hard, non-flexible block (cork, hardwood, or even a sponge) for flat areas, and one flexible block for contours and curves.
- A clean rag and water for raising the grain and lifting small dents.
- Denatured alcohol (or a degreaser) for the final wipe-down.
- Water-based wood grain filler, only for open-grain woods like mahogany or ash. A water-based pigment if you want to tint it.
- Masking tape for the binding, fretboard, and any holes: flexible pinstriping tape, tightly sealed blue painter’s tape, vinyl fineline tape, or green automotive masking tape.
Why prep decides the result
Paint and clear coat do not hide anything. They magnify it. A scratch, a dent, or an open wood pore that you can barely see on bare timber turns into an obvious flaw once light bounces off a glossy surface, and dark colors act like a mirror that shows every one. No coat you spray later fixes a surface you rushed now, so the hours you spend sanding and filling are the hours that decide the final result.
Step 1: Read the surface and fix dents first
Before any sanding, look over the whole body and neck for scratches and dents, and run your hand down the back of the neck where you will feel them best. A minor dent can often be lifted out: place a single drop of water on it so the wood cells swell back into place, let it dry, then sand it flat. Deal with dents now, because sanding around one only carves a shallow crater into the wood.
Use the right block for the shape. A hard, non-flexible block keeps flat areas truly level, while a flexible block follows the contours and curved edges without cutting flats into them.
Step 2: Work up the grit ladder
Always sand with the grain, never against it, and on curved edges sand in one direction only. Most kit bodies are milled smooth enough to start at 280 grit. If yours has deep scratches, bumps, or dents, knock those down first with a coarser grit, then work back up.
| Grit | What it does |
|---|---|
| 120 | Coarse. Only if the body has deep scratches, bumps, or dents to remove. |
| 220 | Removes the heavier scratch marks left by 120 grit. |
| 280 | Where most kit bodies start. |
| 320 | Really begins to smooth the surface. |
| 360 | Refines the surface further. |
| 400 | The final bare-wood grit before a finish. |
Work each grit over the whole face, then the sides, before you move up. Keep replacing your sandpaper as soon as it clogs, because a clogged sheet just drags loose grit across the wood and scratches it. For tight spots, wrap the paper around an eraser or anything small and rectangular. For curved parts, wrap it around a bottle or a similar round object. For fiddly edges, simply drag the sandpaper through your fingers against the surface.
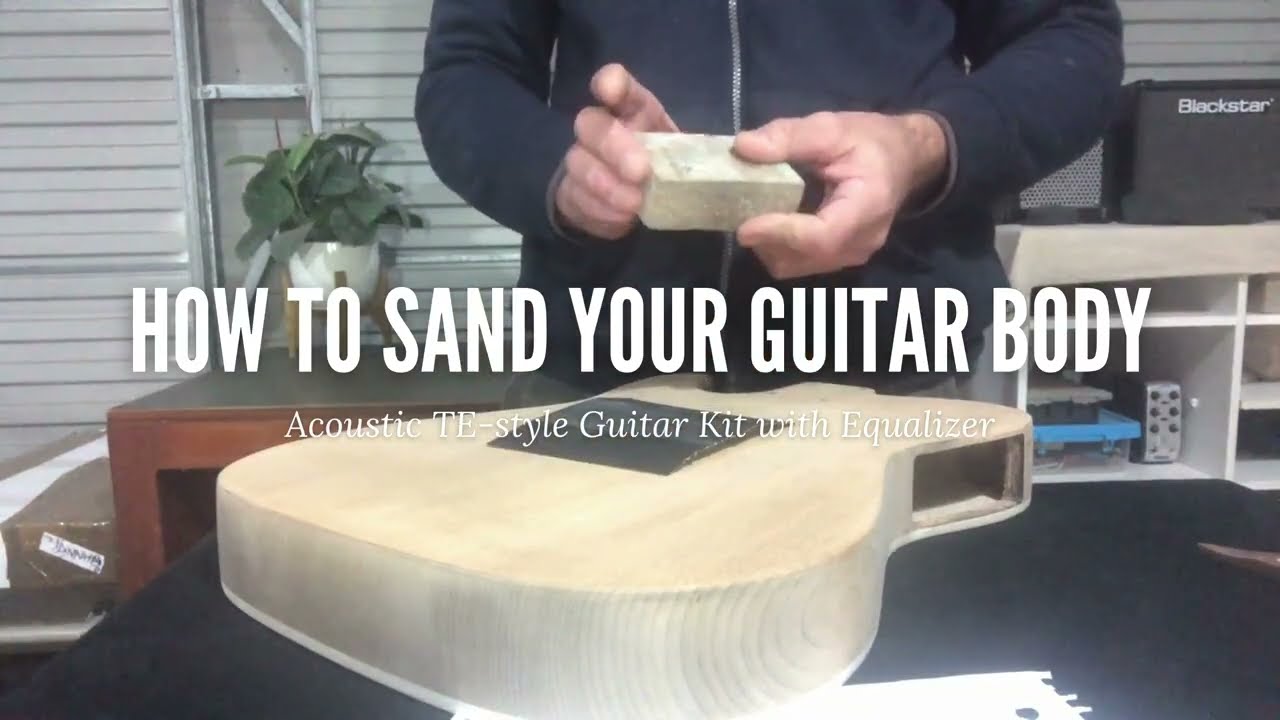
Watch a bare body get sanded from the start:
More detail on advanced sanding and wood prep:
Step 3: Know when to stop, stain vs paint
Where you stop on the ladder depends on your finish.
- For paint (primer, color, and clear): sand up to 400 grit and stop there. Sanding finer than 400 leaves the surface too shiny, and primer and paint need a little tooth to grip. Too smooth, and the finish will not stick.
- For a stain or oil finish that soaks into the wood: as a general rule, stop a little earlier, around 320 grit. Sanding much finer burnishes the surface closed, and the stain then soaks in unevenly and looks blotchy.
Either way, take the whole instrument to the same grit so the surface accepts color evenly.
Step 4: Raise the grain, then knock it back
Bare wood has loose fibers that stand up the moment they get wet. If you skip this step, they lift under a water-based stain or finish and leave the surface feeling rough. Beat them to it. Once you reach your smoothing grit, dampen the timber lightly with a rag. This lifts the loose grain so you can sand it flat. Let it dry fully, then give it another light pass with your fine grit (320).
Pro tip: If you are going to prime, expect the primer to lift the grain a little too. Do not worry about it. Once the primer is dry, give it another light sand with your fine grit and carry on.
Step 5: Fill the grain, open-grain woods only
Some woods have wide-open pores that telegraph right through a glossy finish as a dimpled, pitted surface. Those woods need grain filler first. Tight-grain woods usually do not.
| Grain type | Common kit woods | Filler needed? |
|---|---|---|
| Open grain | Mahogany, ash | Yes, fill before finishing |
| Closed or tight grain | Maple, basswood, alder, poplar | Usually no |
(The closed-grain list is general guidance. When in doubt, look across the bare wood in raking light. If you can see open pores, fill them.)
Water-based grain filler is straightforward to use. It is made of a binder, a silica bulking agent, and water as the solvent, and you thin and work it like a paste.
- Mix it. Add about 10 percent water straight to the container and stir it into a smooth paste. To tint it, add a water-based pigment, no more than 10 to 15 percent.
- Work it in. Apply with a rag (a brush or a scraper also work, but a rag works well). Rub firmly with the grain first, then finish by rubbing across the grain to pack the filler down into the open pores.
- Wipe off the excess promptly. Scrape and wipe the excess away quickly, because water-based filler dries very fast. (If you use an oil-based filler instead, let it haze for about 10 minutes first, then wipe across the grain.) Get the excess off while it is soft.
- Sand it back. Once it is fully dry, sand the surface back flat with your fine grit so filler stays only in the pores, not on top of the wood. Dried filler is hard, which is the other reason to wipe the excess before it sets rather than sanding a sweat off later.
- Check and repeat. Look across the wood in good light. If pores still show, give it a second pass and sand back again.
Step 6: Final clean and mask off before you spray
When the surface is smooth, level, and filled, wipe every sanded area clean. Denatured alcohol on a clean cloth removes dust along with the natural oils and sweat from your hands, and a damp cloth also lifts leftover grit. Tape will not stick to a dusty surface, so do not skip this.
Now mask off everything you do not want finished.
- Binding: run your masking tape exactly over the binding strip all the way around, taking your time around the tight horn curves. Seal the edge by running a fingernail, a pick, or a plastic card firmly along it, then trim any overhang with a sharp craft knife so the wood is fully exposed and the binding fully covered. Avoid standard paper masking tape, because liquid primer bleeds straight under it.
- Fretboard: cover the entire front of the neck where the frets are, and press the edges down firmly.
- Holes and routes: plug small holes with toothpicks or foam earplugs, and cover the pickup routes and neck pocket so finish stays out of them.
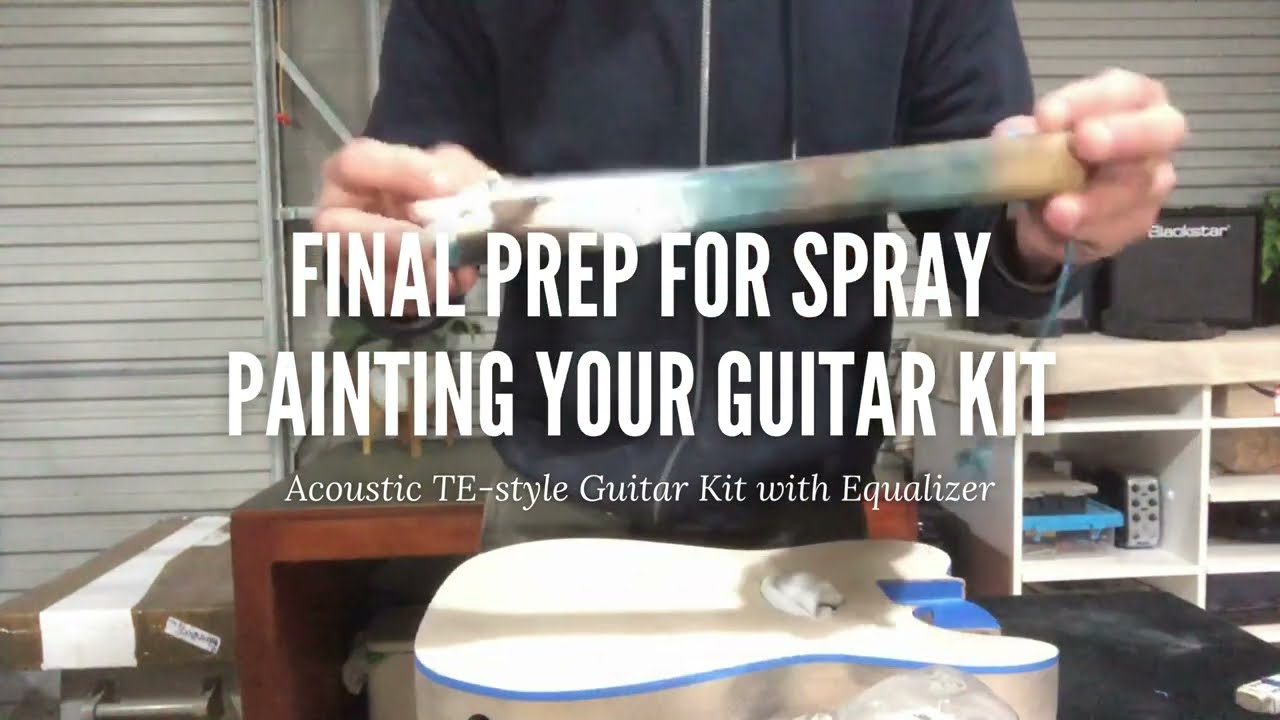
Final prep and masking before spraying:
When to stop and ask
If a step is not going the way it should, stop before you make it worse. Post your question with a couple of clear photos in Builder Q&A and the community can help, or
Questions, or is something not going to plan? Comment below this tutorial with clear photos and we will help you right here. Your question and the answer then help the next builder too.
If you have a Guitar Kit World kit and the issue is with the kit itself, such as a missing or damaged part, email our support team at [email protected]. Include the email address you used for your purchase, your order number, and a couple of photos, and the team will get you sorted out quickly.
Start Here: Find Your Build Manual
For the full finish, from primer through color, clear coats, and polishing, see the Painting, Finishing and Bridge Installation masterclass.