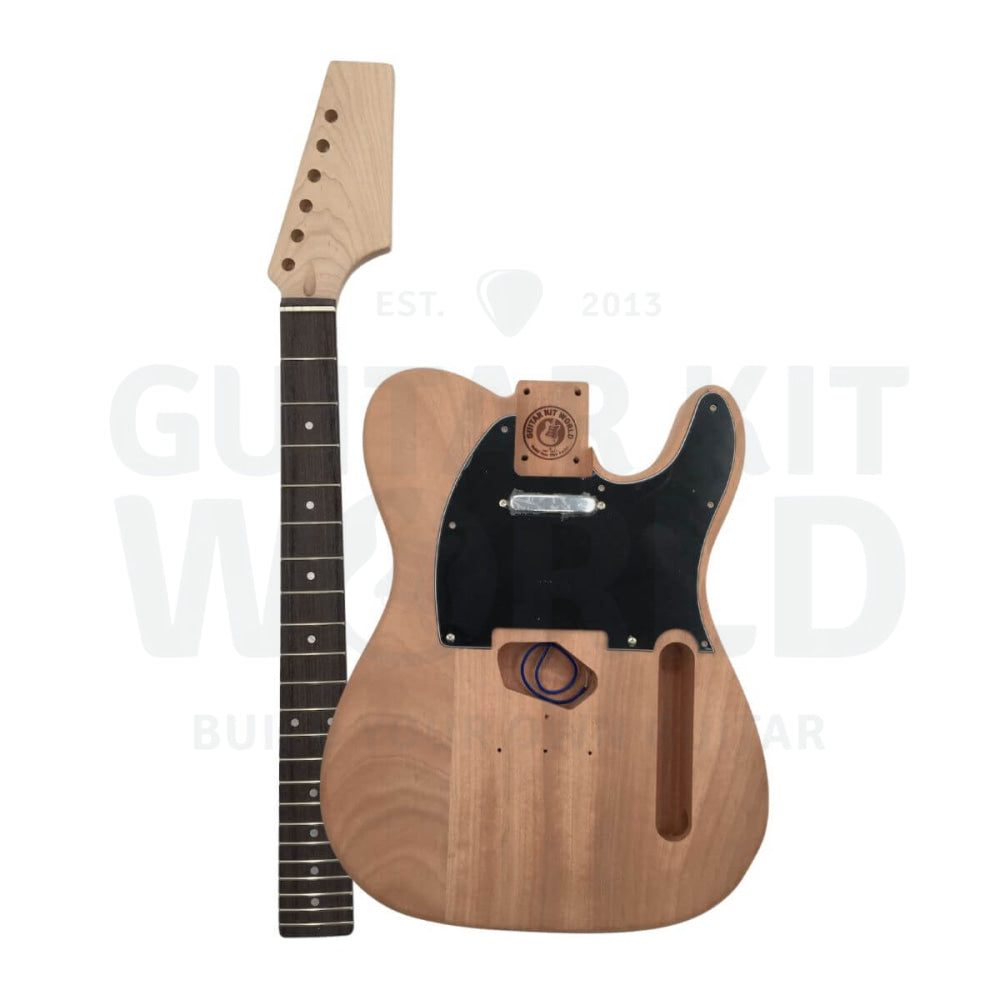
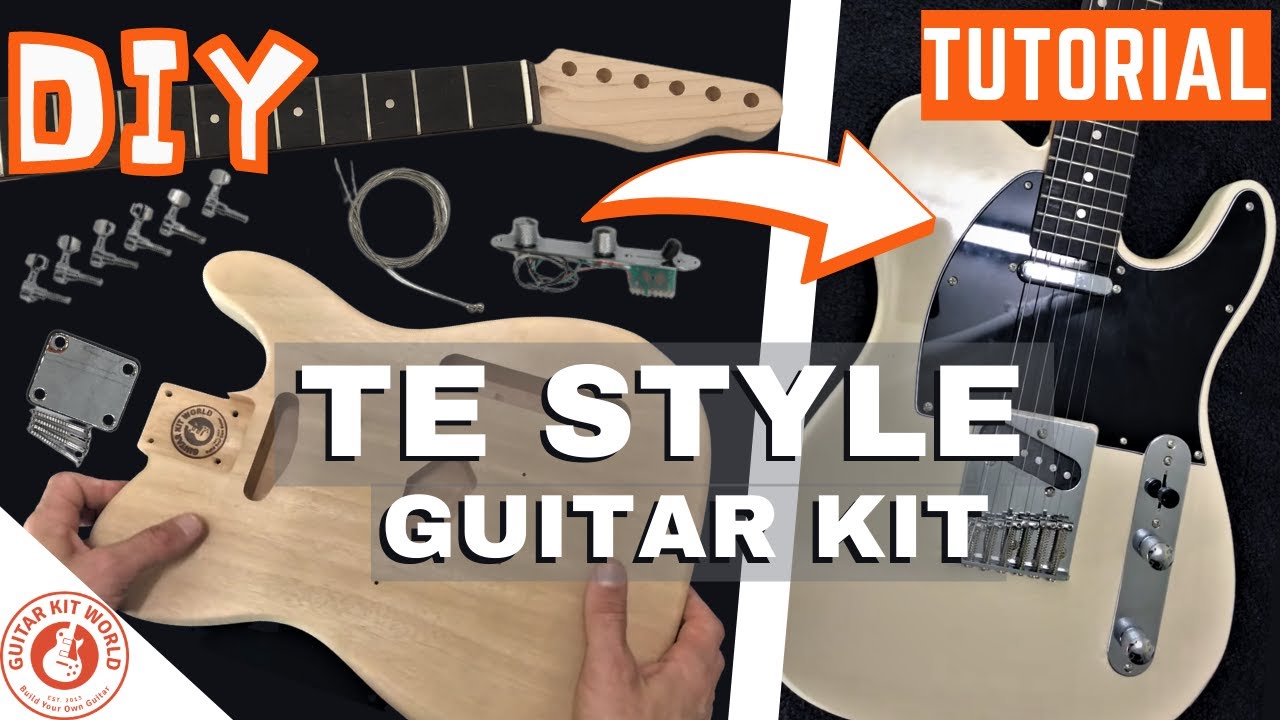
This kit builds a classic single-cutaway electric guitar, a solid-body design with a simple, rugged layout that makes it a great first build. You are about to build a real, playable instrument, and you do not need to be a professional woodworker to do it.
Difficulty: Beginner to Intermediate
Build time: A weekend or two, plus finish cure time
Kit: Classic Single-Cutaway Guitar Kits
Deep-dive modules (universal references that go deeper than any single manual):
Finishing and painting · Neck installation · Wiring and soldering · Final setup
Tools you’ll need
- Safety gear: safety glasses, disposable gloves, an N95 dust mask for sanding, and an R95 or better mask for finishing fumes. Paint fumes are dangerous, so always work in a well-ventilated area.
- Cleaning and prep: naphtha or mineral spirits, lint-free rags.
- Woodwork: hard sanding block, 220, 320, 400, 600-grit sandpaper, grain filler.
- Finishing: spray primer, color coats, clear coat, 800, 1200, 1500-grit wet/dry sandpaper, automotive cutting compound, super-fine steel wool (0000), painter’s tape, fineline tape (for binding).
- Assembly and setup: drill press or hand drill, various small drill bits, a countersink bit, a center punch, measuring tape/ruler, digital calipers, soldering iron (30-40 watt), solder, wire strippers, truss rod Allen key, small flathead screwdriver, feeler gauges.
Screw and wire identification
Sort your hardware before you begin so you can tell the screws and wires apart.
Screw identification guide
- Tuner screws: the shortest, thinnest screws (approx. 8 mm long).
- Truss rod cover screws: the absolute shortest screws. Warning: use only the shortest screws here to prevent piercing the back of the headstock.
- Strap button screws: the thickest and longest screws in the hardware bag.
- Pickguard/control plate screws: the second shortest screws, thin gauge.
Wire color coding (GKW standard)
- Ground: black
- Main output (hot): green (to the input jack’s hot lug)
- Neck pickup hot: red
- Bridge pickup hot: white
Section 1: Inspection and wood preparation
Proper preparation is the foundation of a great finish. Since this single-cutaway kit features a mahogany body, it needs grain filling to achieve a flat, glassy surface.
- Inventory checklist: open all bags and match components against the parts list to ensure nothing is missing.
- Dry fitting the neck: slide the neck into the body pocket, heel first, and press it down flat to check for a snug fit. It should show very little sideways movement. Also check the neck angle by laying a steel rule along the fretboard toward the body, where it should sit just above the bridge saddles. Do this before finishing. If you find a small side gap in the pocket, glue a thin sliver of scrap wood to the pocket wall to shim it.
- Scale length verification: measure the distance from the nut to the center of the 12th fret, and double it to confirm it equals 25.5 inches (650 mm).
- Raising the grain: lightly wipe the wood with a damp cloth (water or a little denatured alcohol) to make loose wood fibers stand up, then sand them off before applying primer. The grain only lifts once, so dealing with it now keeps the finish smooth later.
- Remove the pickguard before inspecting the body so you can see the entire surface.
- Inspect for machine marks or scratches, particularly around the bottom edge and the horns.
- Sand the flat surfaces of the body using 320-grit paper wrapped around a hard sanding block. A hard block ensures you level out bumps rather than just conforming to them.
- Grain fill the mahogany body. Mix a water-based grain filler to a runny, glue-like consistency and work it into the pores, first with the grain and then across it. After about 10 minutes, wipe the excess off with a damp rag before it hardens, then let it dry overnight.
- Sand back the excess grain filler using 400 or 600-grit paper. The goal is not to remove timber, but simply to sand flush with the surface so the wood pores remain filled.
Section 2: Painting, polishing and neck finishing
A pristine paint job takes patience, thin coats, and careful wet sanding.
- Masking fretboard and binding: use painter’s tape to protect the fretboard. If your kit has body binding, use fineline tape to mask the binding off before any priming or painting.
- Mask the body cavities, and carefully mask off the truss rod hole and tuning peg holes on the headstock to prevent finish buildup.
- Prime the body using light dust coats. Spray the sides first to minimize overspray, keeping the can 6 to 8 inches away. Lightly scuff the primer with 220-grit paper once dry.
- Apply color and clear coats using long passes with a 50% overlap. Apply multiple thin coats rather than one heavy coat, and do not put on more than three coats in a single day so each one cures properly. If you need to recoat, do it within the hour, or else wait a full 24 hours and lightly scuff with 600 to 800-grit before the next coat.
- Flat sand the cured clear coat starting with an 800-grit hard block to remove the bumpy “orange peel” texture. Move up to 1200-grit, then wet sand with 1500-grit.
- Polish the body using automotive cutting compounds and a clean rag, rubbing vigorously to bring out a mirror-like gloss.
- Finish the neck by flat sanding the headstock. For the back of the neck, buff it out with super-fine steel wool to create a smooth, matte finish that allows your hand to slide fast without sticking.
Beginner watch-outs
| Common issue | How to prevent it |
|---|---|
| “Orange peel” texture | Uneven paint application. Flat sand the clear coat with an 800-grit block until the shiny dimples disappear and the surface is uniformly dull before polishing. |
| Sanding through the paint | Edges of the guitar body hold the least amount of paint. Avoid heavily sanding the sharp edges to prevent exposing the bare wood. |
| Water swelling the wood | When wet sanding, water can seep into unsealed screw holes and swell the timber. Keep a dry rag handy to continuously wipe moisture away from holes. |
| Finish wrinkling or reacting | Mixing incompatible products. Use the same brand and type of paint across your primer, color, and clear coats so the layers bond instead of reacting with each other. |
Section 3: Hardware installation
For a single-cutaway guitar, the order of hardware installation is critical, especially regarding the pickguard and neck.
- Install the pickguard first. Thread the neck pickup wires into the control cavity. Note: you must align and install the pickguard before the neck, as the single-cutaway neck overhangs the pickguard.
- Drill pilot holes for every single screw. Choose a bit about 2/3 the thickness of the screw, and mark it with tape at 2/3 the depth of the screw to avoid drilling too deep. In soft woods like mahogany, go a little shallower still. Marking each spot with a small starter dent first (a center punch or a nail works) keeps the bit from wandering.
- Chamfer the edges of your pilot holes with a slightly larger drill bit or a countersink by hand. This prevents the screw threads from cracking your fresh paint job as they go in.
- Install the neck by inserting the heel into the pocket first, then pivoting it down. The edges of the neck pocket are fragile and freshly painted, so do not force it straight down. Seat the black cushion, then the neck plate, and start all four screws loosely before checking alignment. Tighten them in a diagonal cross pattern, snugging one corner then the opposite corner, so the neck seats square in the pocket.
- Align the tuners using a steel rule to ensure they are perfectly straight in a 6-in-line formation before drilling their pilot holes. It helps to fit the first and last tuner, lay the rule to draw a straight line between them, and then mark the rest along that line.
- Route the bridge ground wire from the control cavity, up through the small hole, so the bare wire rests flat on the top of the body directly underneath where the metal “ashtray” bridge will sit. Screw the bridge down over it.
- Fit the strap buttons last: one centered on the end of the lower bout, and one on the upper horn, lined up with the top edge of the pickguard.
Beginner watch-outs
| Common issue | How to prevent it |
|---|---|
| Chipped paint at screw holes | Always lightly chamfer (bevel) the top edge of your pilot holes. If you skip this, the screw threads will lift and chip your solid color finish. |
| Pickguard won’t fit | Installing the neck too early. The single-cutaway pickguard must slide under the fretboard overhang, so align and secure it before bolting on the neck. |
Section 4: Electronics and soldering
The single-cutaway uses a straightforward 3-way switch, one volume, and one tone control. If you want a diagram for your exact kit and pickup type, find your wiring diagram here.
- Tin your components by applying a tiny bit of solder to the tip of your iron, the wire ends, and the pot lugs before making the final connections. When you join them, heat the lug itself so the solder is drawn onto the joint rather than dripping off the iron.
- Wire the switch: connect the neck pickup’s hot wire across the 2nd and 3rd lugs on one side of the selector switch. Connect the bridge pickup’s hot wire across the 2nd and 3rd lugs on the opposite side.
- Ground the circuit: solder the ground wires from both pickups to the back of the tone potentiometer casing. Ensure a ground wire connects the back of the volume pot to the back of the tone pot.
- Wire the input jack: solder the green/ground wire to the lug connected to the inner sleeve. Solder the hot output wire to the lug connected to the outer tip arm.
- Check each joint once it cools by giving the wire a gentle tug. A good solder joint is shiny and solid, and it will not move.
Beginner watch-outs
| Common issue | How to prevent it |
|---|---|
| Cold solder joints | Do not blow on hot solder to cool it down quickly. Let it cool naturally to ensure a strong, shiny, conductive bond. |
| Shorting out the pickups | If you used steel wool to polish the guitar, meticulously blow off and wipe away all metal fibers before unpacking your pickups. The magnets will pull the fibers into the coils and ruin them. |
Section 5: Final setup and playability
A proper setup makes the difference between a guitar that feels like a toy and one that plays like a pro instrument. Always tune to concert pitch before and during these steps.
- Adjust neck relief using the truss rod Allen key. Fret the low E string at the 1st and last frets. If the string lays dead flat on the 12th fret, turn the truss rod counter-clockwise (1/8 to 1/4 turn at a time) to introduce a slight bow. If there is too much gap at the 12th fret, turn it clockwise to flatten the neck.
- Set the action by adjusting the two small screws on each individual bridge saddle. Aim for a starting height of 2.4 mm on the low E string and 1.6 mm on the high E string at the 12th fret.
- Intonate the guitar by comparing the open string pitch to the fretted 12th-fret pitch. If the 12th fret is sharp, turn the back saddle screw counter-clockwise to pull the saddle away from the neck (lengthening the string). If it is flat, turn the screw clockwise to move the saddle toward the neck (shortening the string).
- Adjust pickup height by pressing down the highest fret. Use the mounting screws to set the pickups to roughly 2.4 mm clearance on the bass side and 2.0 mm on the treble side.
- Install the string trees on the headstock last. Use the taller barrel for the D/G strings and the shorter barrel for the B/E strings to ensure proper break angle over the nut.
- Play every fret on every string once the setup is done, listening for buzz or dead notes. If you find any, a small tweak to the action or neck relief usually clears them up.
Pro tips
- The spray can hot water trick: before spraying your color or clear coats, dip just the plastic nozzle of the spray can into a cup of hot water. This dissolves clogs and ensures a fine, even mist rather than messy splatters.
- Use an eraser for contours: when flat sanding the curves of the headstock, wrap your sandpaper around a standard rubber block eraser. It gives you a firm backing but conforms just enough to smoothly sand the swoops without gouging the wood.
- Test for hum: after wiring, turn the guitar volume all the way up and take your hands completely off the instrument. If you hear a loud electrical buzz, your ground circuit has failed (check the bare wire sitting under the bridge plate).
- Expect a break-in setup: after a week or two of regular playing, the neck and strings settle in, so plan to revisit the setup and make small adjustments.
When you get stuck
Take your time, and do not force anything. Questions about a step? Comment below and we will help you right here. If a part looks wrong, is missing, or arrived damaged, email our support team at [email protected] with the email address you used for your purchase, your order number, and a photo, and the team will get you sorted out quickly. When your build is done, share it in the DIY Guitars category so the community can see what you made.
For the full walkthrough, watch the complete video series, and you can find the kit here: Classic Single-Cutaway Electric Guitar Kit.