This is a shared reference for the wiring and soldering stage of almost any Guitar Kit World build, so the individual manuals do not each repeat the same basics. Read it once to see how the circuit fits together, then go back to your own manual and, above all, to the wiring diagram in your box. Every kit differs, so this module is orientation, not a set of connections. Your kit’s diagram is always the authority for your exact wire colors and joints. Take your time and do not force anything.
Not every kit needs a soldering iron. Many acoustic-electric and bass kits arrive pre-wired or plug-and-play, so you just mount the parts and connect labeled plugs, then focus on grounding, fishing the wires through the body, and the pre-flight test.
Soldering basics
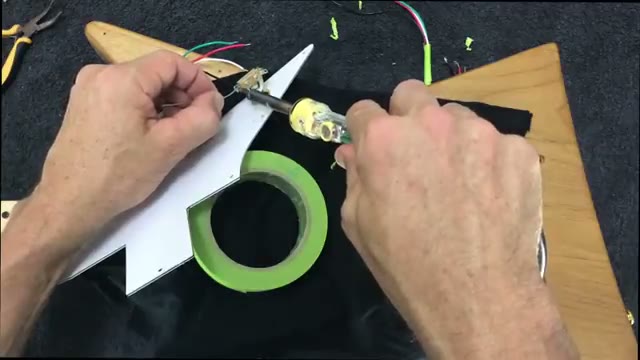
Watch clean soldering technique before your first joint:
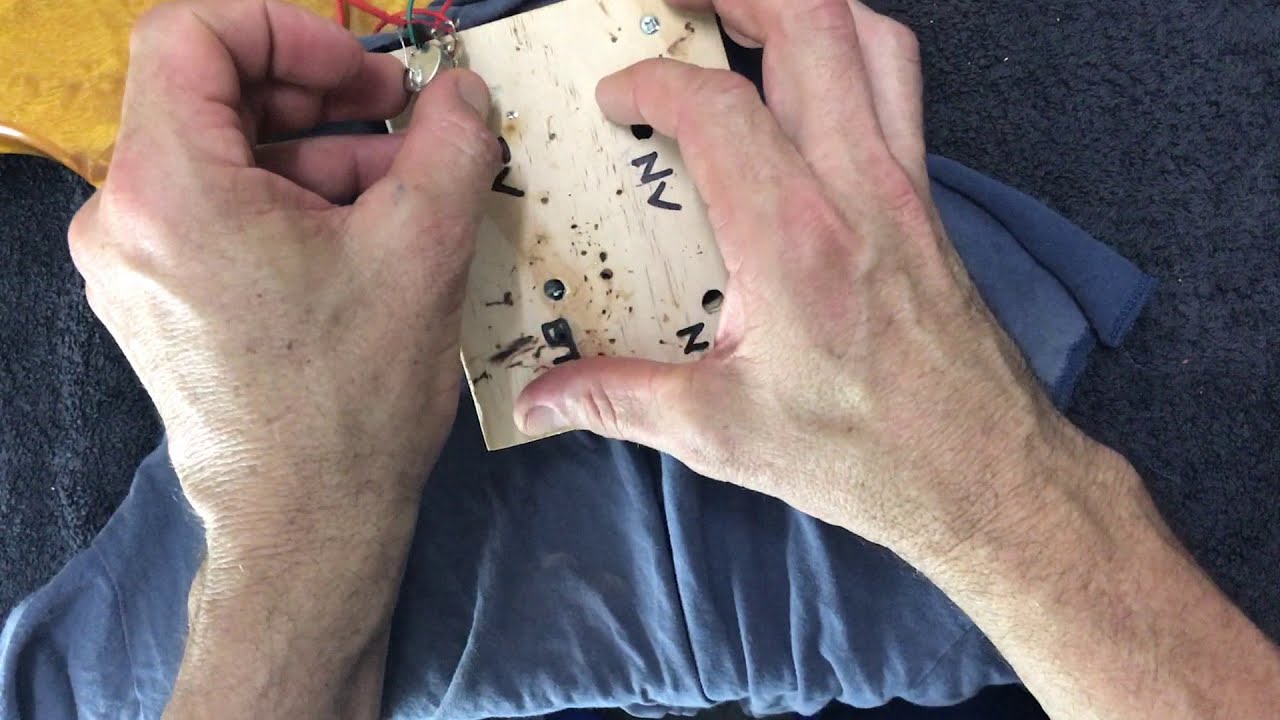
Soldering is how you join the wires and components in the circuit. It is a skill you can pick up in an afternoon. If you have never done it, practice on scrap wire or an old component before you touch the real parts.
- The iron. An entry-level soldering iron is fine for guitar wiring. Keep a damp sponge beside it to wipe the tip clean between joints, rest the iron in its stand when you set it down, and treat the tip as always hot.
- Temperature. Solder does not melt until it reaches about 185°C (365°F), and a soldering iron can run anywhere from 392°F to 896°F (roughly 200°C to 480°C). That is more than hot enough to burn you, scorch the finish, or melt wire insulation, so keep the tip away from yourself, your cables, and the body.
- Solder. Use thin rosin-core solder made for electronics. Your kit includes suitable solder, so you should not need to buy any. Avoid acid-core or plumbing solder, which corrodes the connection over time.
- Tinning. Keep a light coating of solder on the hot tip at all times. This is called tinning. It stops the tip from oxidizing and helps heat flow into the joint. Tin the lugs and wires you are joining as well.
- Make a clean joint. Soldering is really about moving heat. Preheat the lug or component for a moment so the solder is drawn onto the work, not left sitting in a blob on the iron. A good joint looks shiny and smooth. A dull, gray, lumpy joint is a cold joint, it is weak, and it will eventually fail. Reheat it until the solder flows and settles bright.
- Safety and ventilation. Solder fumes are an irritant, so work in a well-ventilated area and do not lean over the smoke. Wear eye protection, work over a heat-safe surface, and wash your hands when you finish. Hold small parts with tape, pliers, or a helping-hand tool, never your fingers.
Anatomy of the circuit
This explainer walks the whole signal path in plain language:
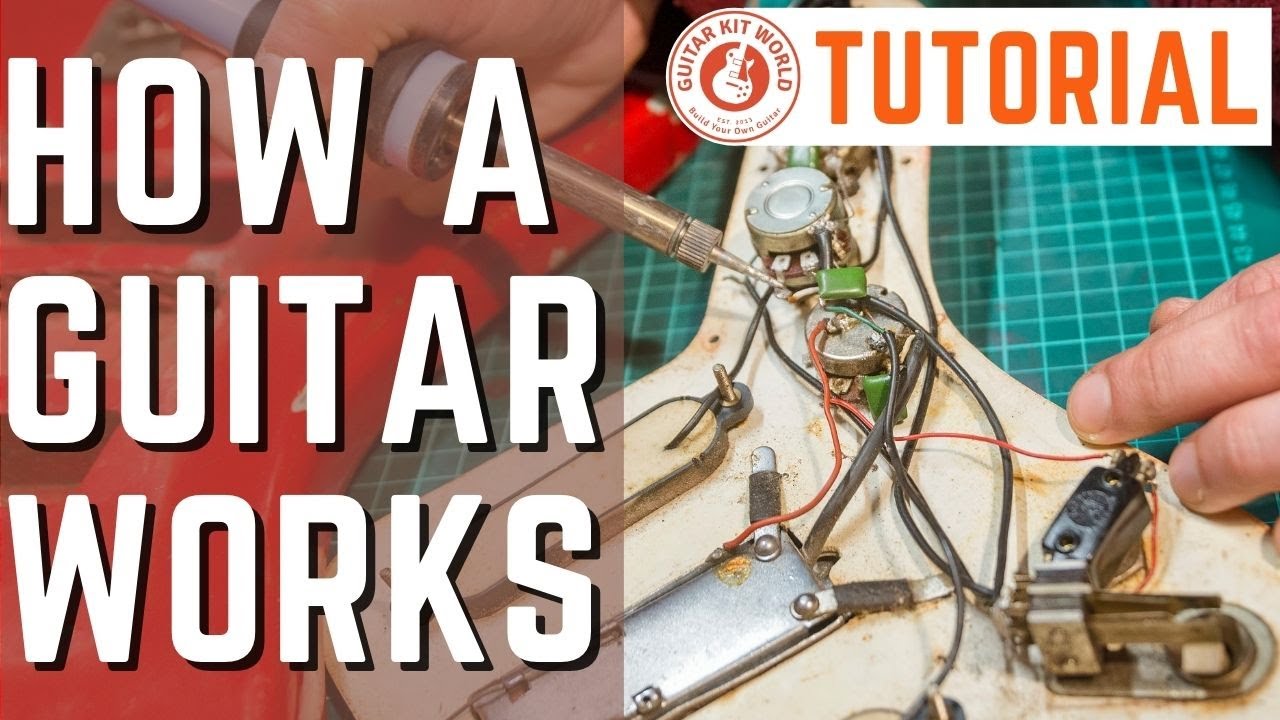
Every electric guitar runs the same simple signal path, and once you can picture it, the wiring diagram makes far more sense. In plain words, the signal flows like this: pickups, then the selector switch, then the volume and tone controls, then the output jack, and out to your amp. Running alongside all of it is the ground, the quiet return path that ties everything together.
- Pickups sit under the strings and turn string vibration into an electrical signal. A single-coil is bright and clear. A humbucker uses two coils to cancel hum and sounds fatter. A P90 is a wider single-coil with more body. A piezo sits under the saddle, senses vibration through the bridge, and needs a powered preamp to be heard.
- The selector switch chooses which pickup, or combination of pickups, is live. You will meet 3-way switches on two-pickup guitars and 5-way switches on three-pickup guitars.
- The pots (potentiometers) are your volume and tone knobs. The volume pot sets how much signal passes. The tone pot bleeds high frequencies to ground through a small capacitor, moving the sound from bright to warm. Humbucker kits commonly use 500k pots with a tone capacitor near 0.022 uF, but your kit’s supplied parts are the final word.
- The output jack is where your cable plugs in. The hot (signal) wire goes to the shorter tip tab, and the ground goes to the longer sleeve tab. If those two ever touch, the guitar goes silent.
- The ground is the shared return path. The backs of the pots, the selector, the sleeve of the jack, and the bridge or tremolo all tie to it. A solid, common ground is what keeps the guitar quiet.
A common wire color scheme
Many kits follow a color guide close to this, but pickup makers differ, so treat it as orientation and match every wire to your own diagram. Typically black is ground throughout the circuit (the backs of the pots, the selector, the jack, and the bridge ground), red is the hot wire for the neck pickup, white is the hot wire for the bridge pickup, and green carries the output from the selector to the hot lug of the jack.
Common pickup layouts at a glance
Watch a full wiring job for the most common layouts:

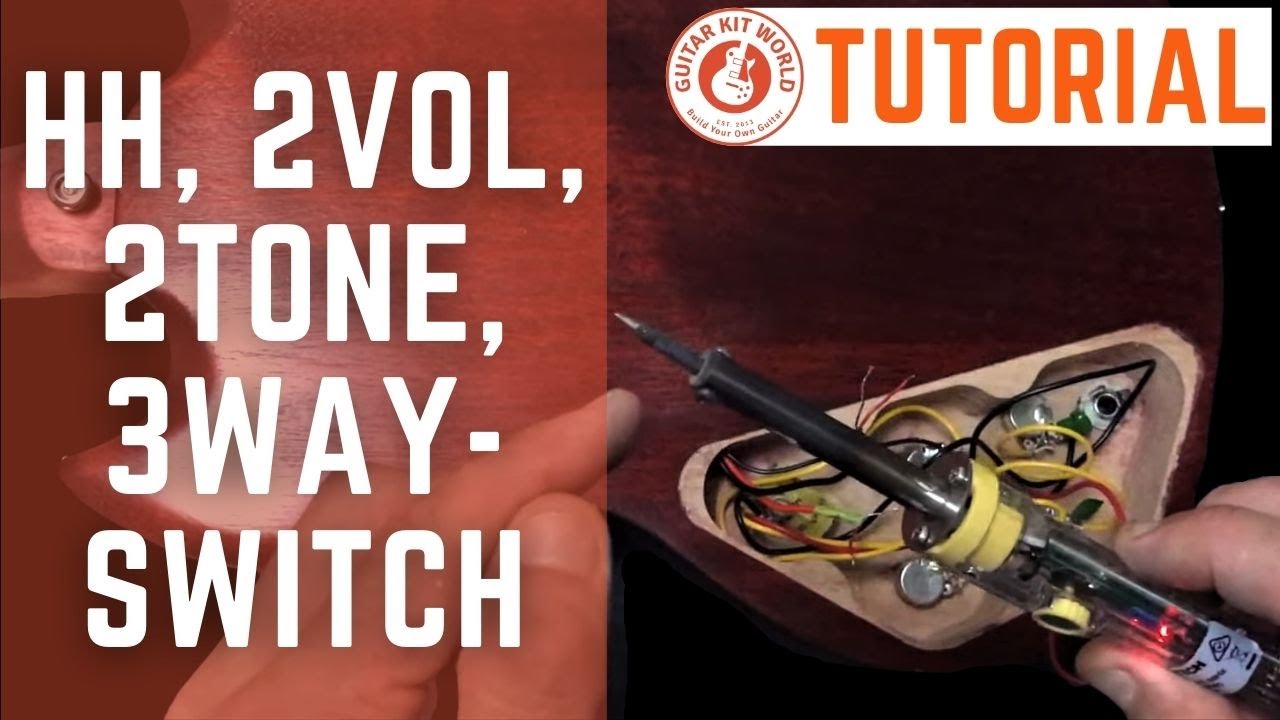
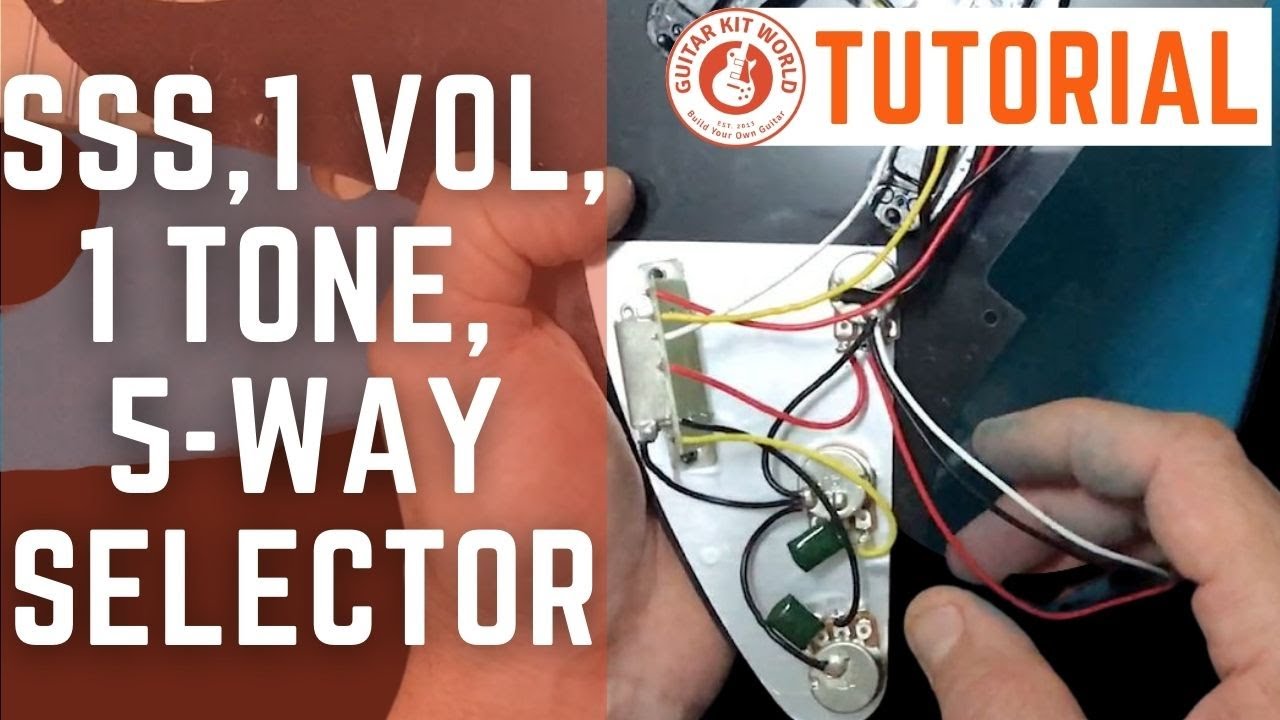

Kits come in a handful of standard pickup layouts. This table is a quick orientation to the selector and controls you will typically meet with each, not your wiring plan.
| Layout | What it means | Switches and controls you will typically meet |
|---|---|---|
| SS | Two single-coils | A 3-way selector, usually one volume and one or two tone controls |
| SSS | Three single-coils | A 5-way selector, one volume, and usually two tone controls |
| HH | Two humbuckers | A 3-way toggle, often two volumes and two tones (a pair per pickup) |
| HS | One humbucker and one single-coil | A 3-way selector, usually one volume and one tone |
| HSS | One humbucker and two single-coils | A 5-way selector, one volume, one or two tones |
| HSH | Humbucker, single-coil, humbucker | A 5-way selector, one volume, and one tone |
| Bass | Often two pickups on a pre-wired control board | Two volumes, plus tone controls or voicing switches. These frequently arrive pre-wired |
| Piezo with onboard EQ | An under-saddle piezo through a preamp | A volume and EQ sliders on a side-mounted module, powered by a 9-volt battery. Usually plug-and-play, no soldering |
Always follow the wiring diagram included with YOUR kit. These layouts are orientation only, not instructions. The switch type, control count, wire colors, and connections vary from kit to kit and pickup to pickup, and your kit’s own diagram is the authority. If you cannot find the sheet from your box, look up your kit and pickup type in the community Wiring Diagrams category linked at the end of this guide.
Grounding: the key to a quiet guitar
Watch grounding and shielding done right:
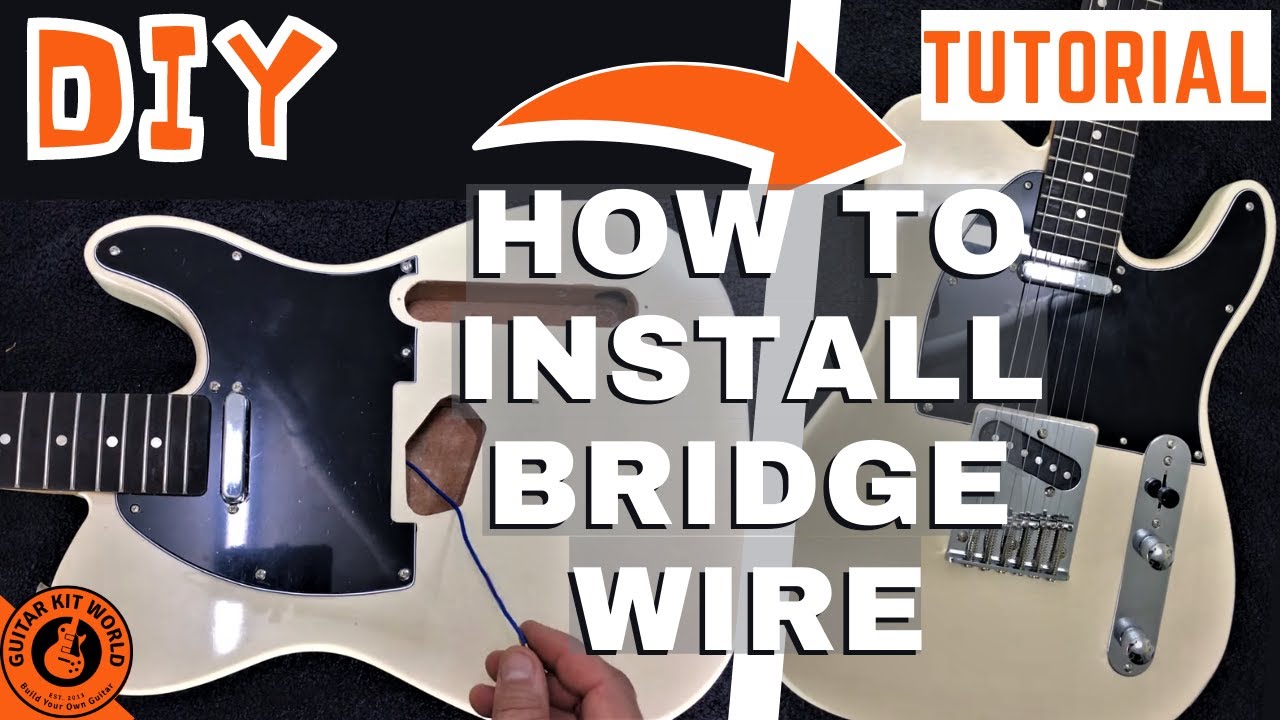


More wiring problems come down to grounding than anything else. Three ideas cover most of it.
The bridge ground. A single wire connects the metal bridge, tremolo claw, or tailpiece to the circuit ground. This quiets the hum the moment you touch the strings, because your body is grounded through them, and it is often the most important joint in the whole guitar. Miss it, and the guitar hums loudly and uncontrollably. How you route it depends on the bridge: on a tremolo you solder the wire to the metal spring claw in the back cavity; on a wraparound you thread the bare wire into the bridge post hole before you press the bushings in; on a floating bridge with a trapeze tailpiece you hook the bare wire so it clamps against the tailpiece hardware. Whatever the style, aim for solid metal-to-metal contact.
Star grounding. Rather than joining grounds in a random chain, tie them all back to one common point, usually the back of the volume pot. This avoids the small loops that cause hum, and it is the idea behind “ground everything to one point.”
Shielding (optional). For an extra-quiet guitar, you can line the control cavity and the back of the pickguard with conductive shielding paint or copper foil, then tie that shielding to ground. It is an upgrade, not a requirement. Most kits are quiet enough with a solid bridge ground and clean star grounding, so treat shielding as a refinement for later if you chase down stubborn noise.
Wiring inside an enclosed or hollow body
The fishing-line trick, on camera:

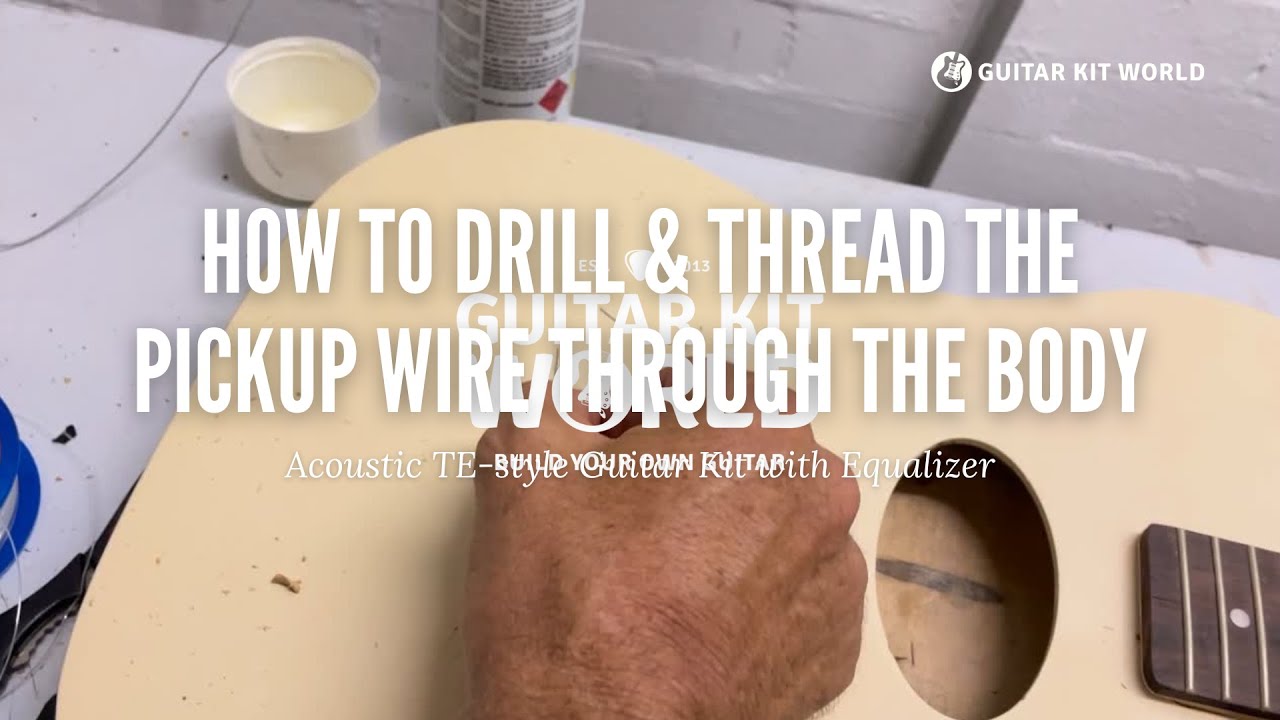
Solid-body kits give you an open rear control cavity to work in. Hollow bodies, semi-hollow bodies, and archtops with F-holes do not, and that changes your approach. The trick is to do as much as you can outside the body, then guide each part into place.
Solder the harness outside first. Lay the controls out in the arrangement they will sit inside the body and complete every joint you can reach before anything goes in. Once the harness drops into a hollow body, you cannot see or reach it, so a joint you skip now is one you cannot fix later. Tug-test each connection by gently pulling the wire, because you are about to drag the whole harness through the interior.
The tubing trick for pots and switches. This is the classic way to place controls in a hollow body, and it is why some kits include short lengths of rubber tubing.
- Slip a length of tubing over each pot shaft and over the threaded bushings of the switch and the jack.
- Feed the free end of each tube out through the nearest F-hole, then out through that control’s own hole in the top.
- Lower the harness into the body.
- Pull gently on each tube from outside. The tube guides its shaft or bushing straight up into the mounting hole.
- Hold it there, slide on the washer, and thread the nut down from the top. Repeat for every control and the jack.
The fishing-line trick for single wires. To route one wire, such as a pickup lead, the jack, or a piezo, feed a length of fishing line or plastic-coated wire through the cavity first, tape the real wire to the end, and pull it back through. Needle-nose pliers reached in through an F-hole help you grab a lead you can see but not quite reach.
Test before you close it up
What a pickup tap test looks and sounds like:

Never fasten everything down until you have proven the circuit works. This quick test takes a couple of minutes and saves you reopening a finished guitar.
- Plug a cable into the output jack and into an amp, and turn the volume up.
- Tap each pickup’s pole pieces with a metal screwdriver. You should hear each tap through the amp as a knock.
- Move the selector through every position, tapping the matching pickup, to confirm each position responds.
- Turn the volume and tone knobs through their range and listen for the level changing and the tone going bright to warm.
- For a piezo and onboard EQ, tap the saddle area and move the EQ sliders instead. This system only wakes up with a fresh 9-volt battery fitted and a cable in the jack.
If a pickup, a switch position, or a control does not respond, fix it now, while the harness is still easy to reach.
Troubleshooting
| Symptom | Likely cause | Fix |
|---|---|---|
| No sound at all | The hot and ground touch at the jack (a short), or a joint in the signal path is broken. On a piezo, a dead battery or no cable | Separate the hot and ground, and recheck the jack against the diagram. On a piezo, fit a fresh 9-volt battery and plug in a cable, since the cable powers the circuit |
| Loud hum or buzz | The bridge, tremolo, or tailpiece is not grounded to the circuit | Confirm the bridge ground makes solid metal-to-metal contact. Touch a string and the hum should drop |
| Crackle or cut-out | A cold solder joint (dull and gray, not shiny) or a loose lug | Reheat the joint until the solder flows shiny and smooth, then let it cool undisturbed |
| One pickup dead | That pickup’s hot or ground lead is loose, or it is on the wrong selector lug | Recheck that pickup’s two leads and its selector connection against the diagram, then tap its pole pieces |
| Tone control does nothing | The tone pot or its capacitor is miswired, or the cap is not grounded | Recheck the tone pot and capacitor against the diagram. The capacitor ties the pot to ground |
Watch-outs
- Do not guess wire colors. Colors vary between pickup makers, so match every wire to your kit’s diagram, not to this guide.
- Never let the hot and ground touch at the jack. That single short silences the whole guitar.
- Keep the iron tip off the finish and off wire insulation. It is hot enough to scorch or melt either instantly.
- Clean up steel wool. Pickup magnets grab stray steel wool fibers, which cause fuzz and shorts, so clean the body before you install the electronics.
- Aim for shiny joints. A dull, gray, lumpy joint is a cold joint, and it will fail sooner or later.
When you get stuck
Take your time, and do not force anything. Questions about a step? Comment below and we will help you right here. If a part looks wrong, is missing, or arrived damaged, email our support team at [email protected] with the email address you used for your purchase, your order number, and a photo, and the team will get you sorted out quickly.
For the exact connections and wire colors for your kit and pickups, find your diagram in the community Wiring Diagrams category. If you are not sure which manual is yours, Start Here: Find Your Build Manual.