Every Guitar Kit World build ends the same way. Once the neck is on, the hardware and wiring are done, and the strings are up to pitch, you set the guitar up so it plays in tune and feels good in your hands. This module is the shared setup reference for all of our kits, and your build manual sends you here at the setup stage. Work through it in order, take your time, and do not force anything. A careful setup is what turns an assembled kit into a real, playable instrument.
The setup order, and why it matters
Two complete final-setup run-throughs, start to finish:
Setup is a sequence, and the order matters because each step changes the ones after it. Keep the guitar tuned to concert pitch before and during every adjustment, because string tension is what shapes the neck.
- Bring all strings up to pitch.
- Set the neck relief with the truss rod.
- Set the string action (height) at the bridge.
- Set the intonation at the saddles.
- Set the pickup height.
Then go back around, because relief changes your action and action changes your intonation. New strings and a new neck also keep settling for the first few days, so a second pass after about a week is normal. Where a number depends on your kit, your product page and build manual are the final word.
Step 1: Truss rod and neck relief
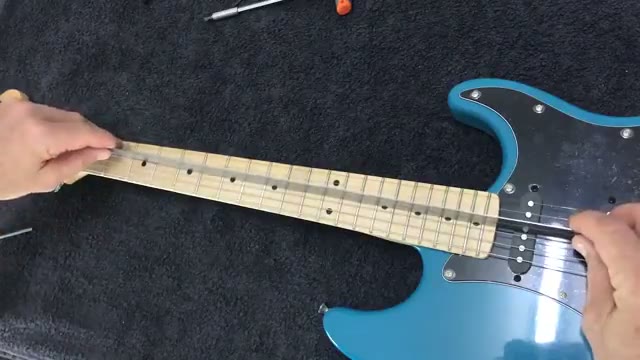
Watch relief being read and adjusted on four kits:
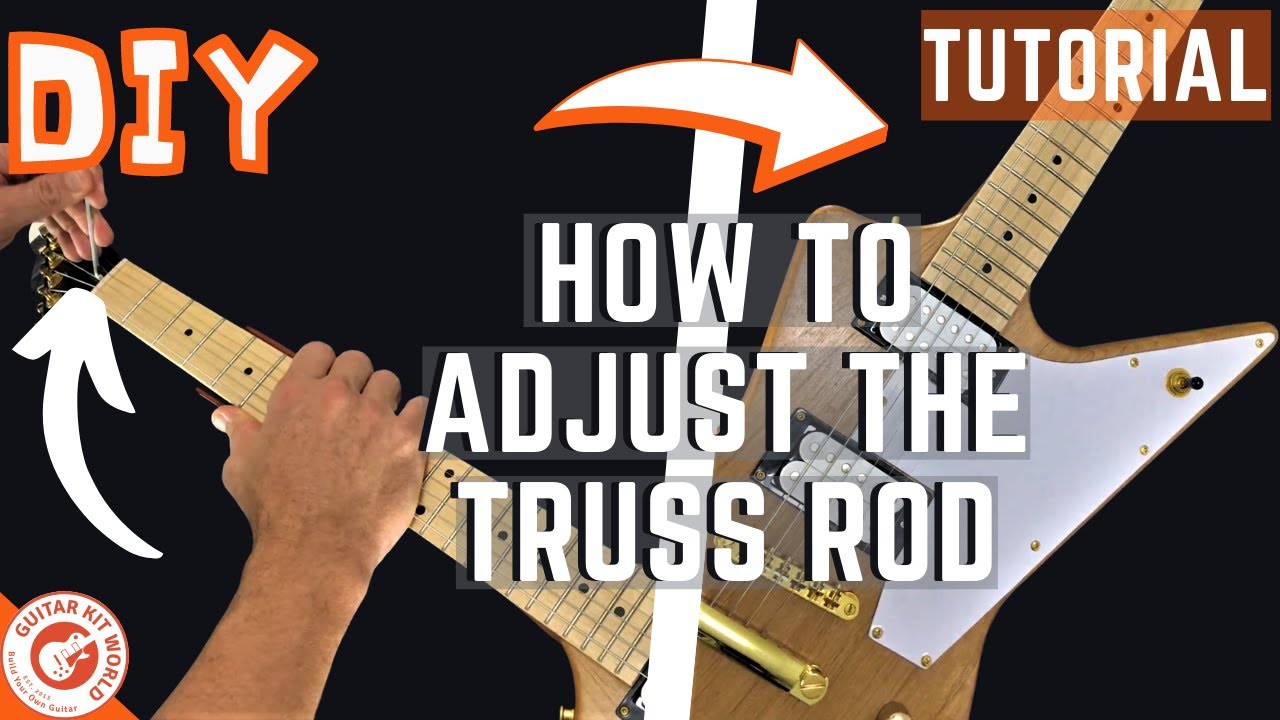
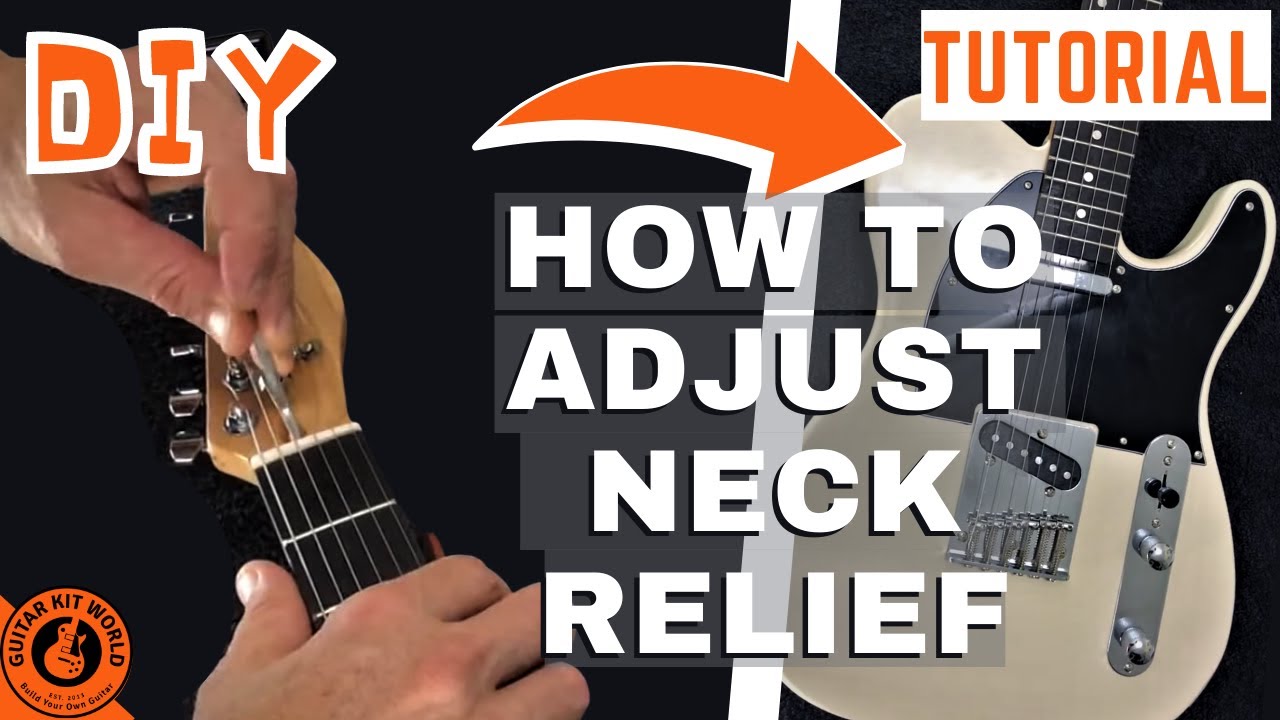
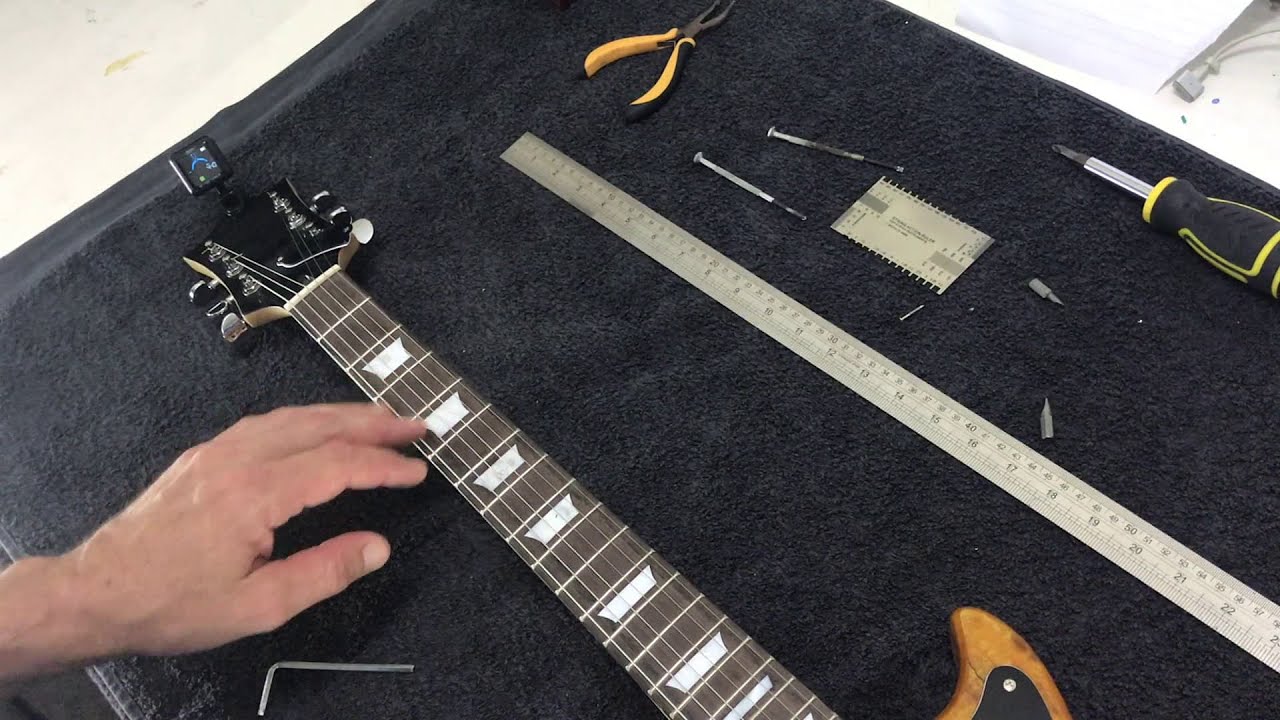
A good neck is not dead straight. It has a very small amount of inward bow, called relief, that gives the strings room to vibrate. Too little relief and the strings buzz. Too much and the action climbs in the middle of the neck.
Reading the relief. Hold the low E string down at the 1st fret (a capo helps here) and, at the same time, at the last fret. The string is now a straight edge. Look at the gap between the string and the frets around the middle of the neck. You want a tiny gap, roughly 0.25 mm (0.010 in).
The tap test. With no feeler gauges, tap the string down at the 12th fret while you hold both ends. A little movement before the string meets the fret means your relief is good. If it lays dead flat, the neck is too straight and needs more relief.
Making the adjustment. Use the hex wrench from your kit in the truss rod nut. Turn counter-clockwise to loosen the rod, which adds relief (more bow). Turn clockwise to tighten it, which flattens the neck (less relief). Move the rod only an eighth to a quarter turn at a time, then retune to pitch, let the neck settle, and check again.
When to stop. Stop once you have that small, even gap and the tap test shows a hint of movement. If the rod feels stuck or will not turn under light pressure, do not force it (see the pro-setup note below).
Step 2: String action (height)
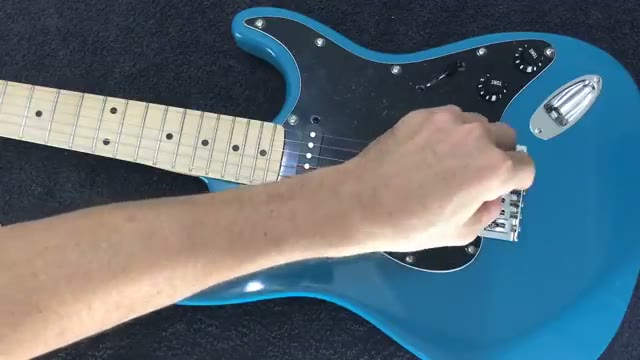
Action adjustment across different bridge types:
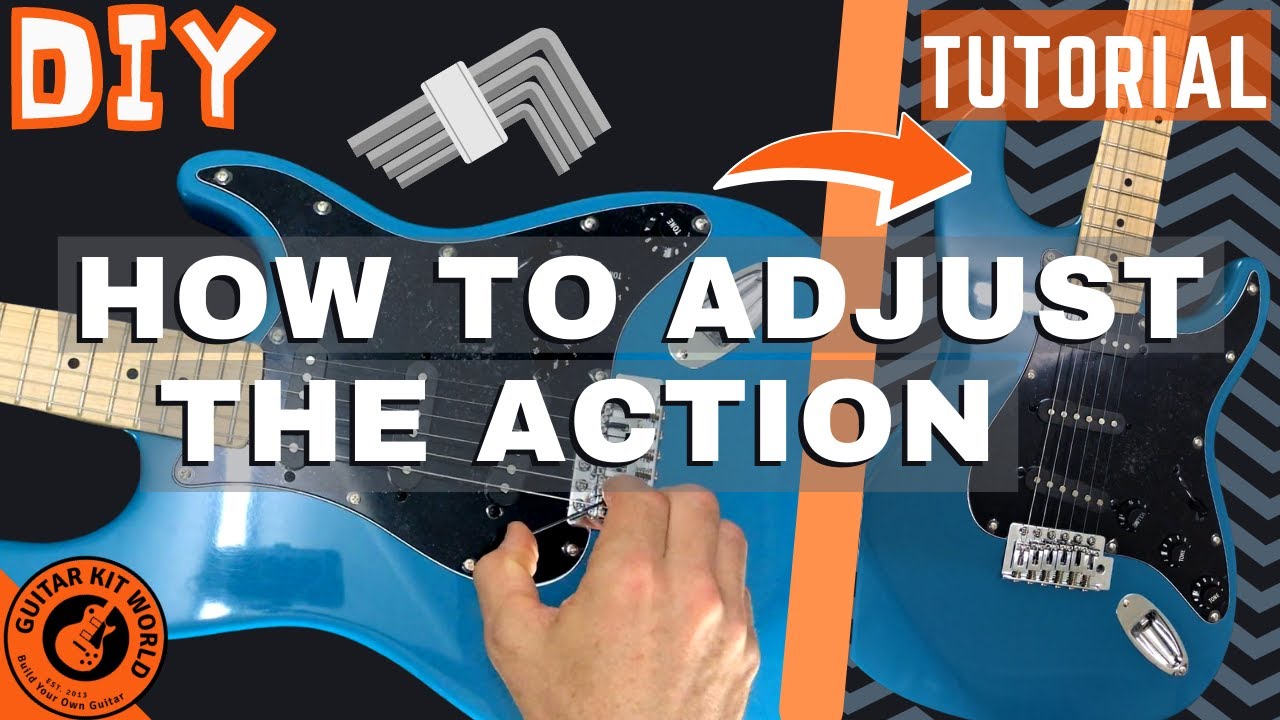
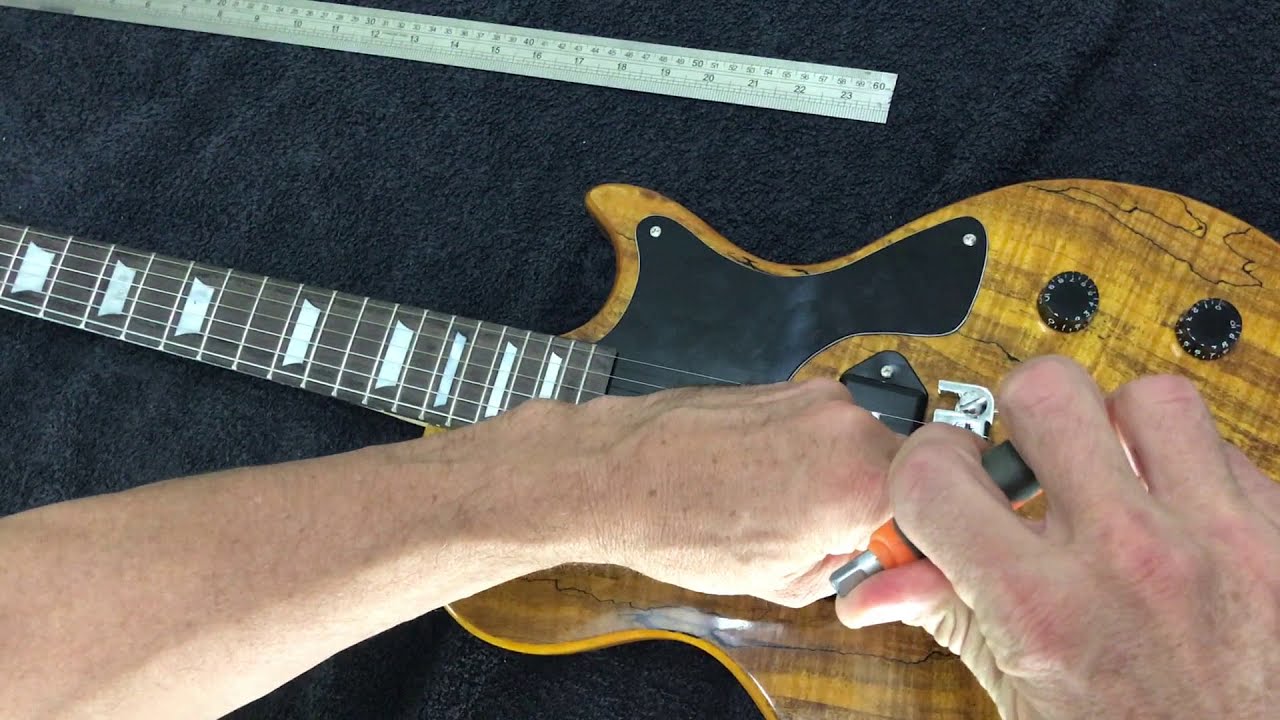
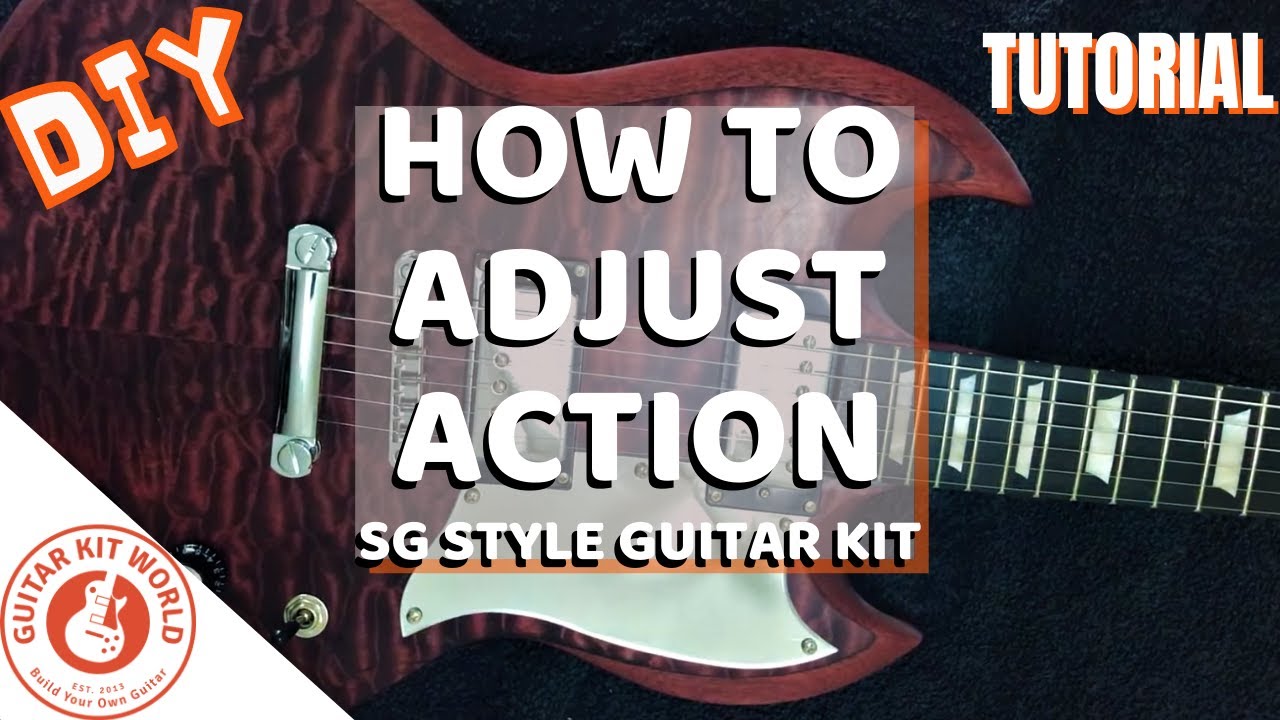
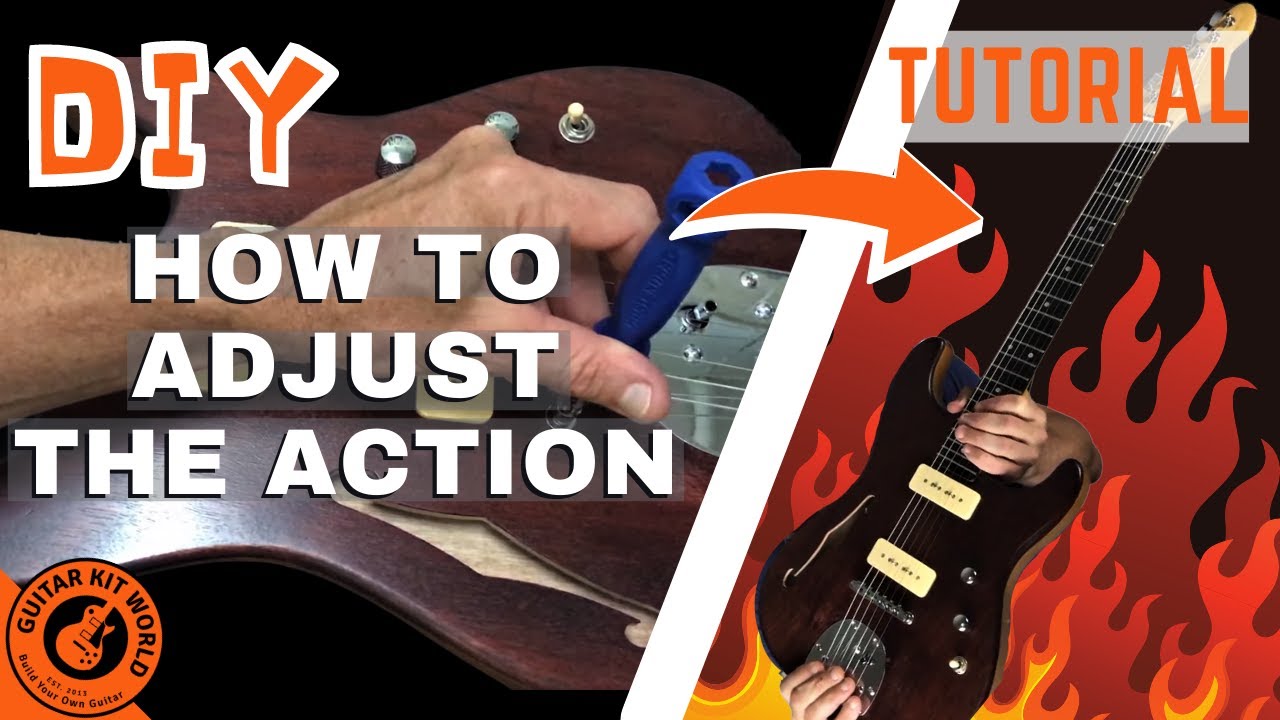
Action is the height of the strings above the frets, measured at the 12th fret from the top of the fret to the underside of the string. Lower action is easier to play, higher action rings cleaner. Aim for the lowest height that still plays clean.
A good starting point, if you are unsure, is 2.4 mm on the low E side and 1.6 mm (about 1/16 in) on the high E side at the 12th fret, which allows for the different string gauges. From there, lower each side to taste until you get the first hint of buzz, then raise it back a touch.
How you adjust the height depends on your bridge:
- On a bridge with individual saddles (a fixed six-saddle bridge, for example), set each saddle with its own height screws.
- On a Tune-O-Matic bridge, set the overall height at the two post thumbwheels.
- On a double-locking tremolo, set the overall height at the two pivot posts.
- On a floating or headless bridge, set the height at each saddle.
See the bridge-type notes below for the detail that matches your kit, and tune back to pitch every time you change a saddle.
Step 3: Intonation
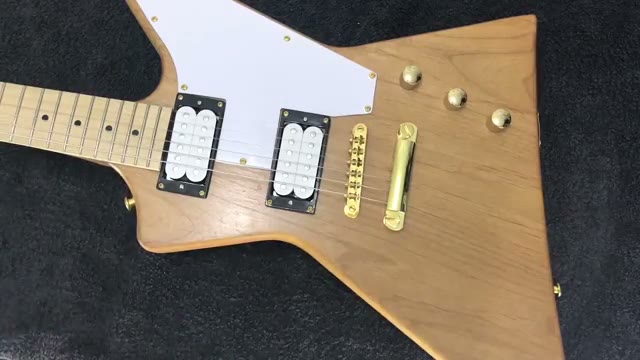
Watch intonation set on several kits:
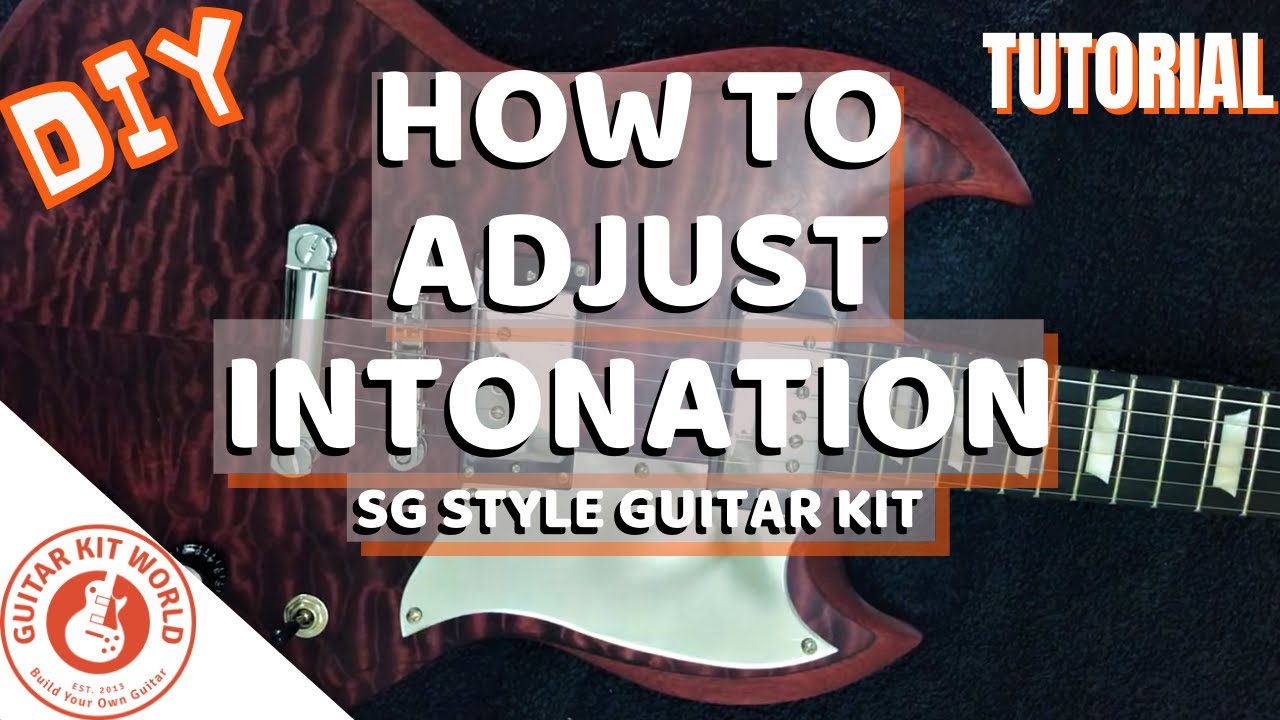
Intonation makes the guitar play in tune all the way up the neck, not just at the open strings. Set it one string at a time, tuned to concert pitch. For each string, compare two notes:
- The open string, or its harmonic at the 12th fret.
- The note fretted at the 12th fret, which should be exactly one octave higher.
Play both and listen, or watch a tuner:
- If the fretted 12th-fret note is sharp, the string needs to be longer. Move that saddle back, away from the neck.
- If the fretted 12th-fret note is flat, the string needs to be shorter. Move that saddle forward, toward the neck.
On most bridges you move the saddle with the small screw at the back: counter-clockwise usually pulls it back to lengthen the string, clockwise moves it forward to shorten it. Adjust a little, retune, and check again. The heavier bass strings need more length, so the saddles end up in a stepped line.
Bridge-type variants
Action and intonation adjustments happen at the bridge, and bridges differ. Find yours below.
Tune-O-Matic bridge
A Tune-O-Matic sits on two posts, anchored to the top of the body. Set the overall string height with the thumbwheels on the two posts, raising or lowering both ends until the action is even. Intonate each string with the small screw at the back of its saddle. Some kits include a small hex key for those saddle screws, so keep it with your tools.
Standard tremolo (spring balance)
Balancing a floating tremolo, on camera:
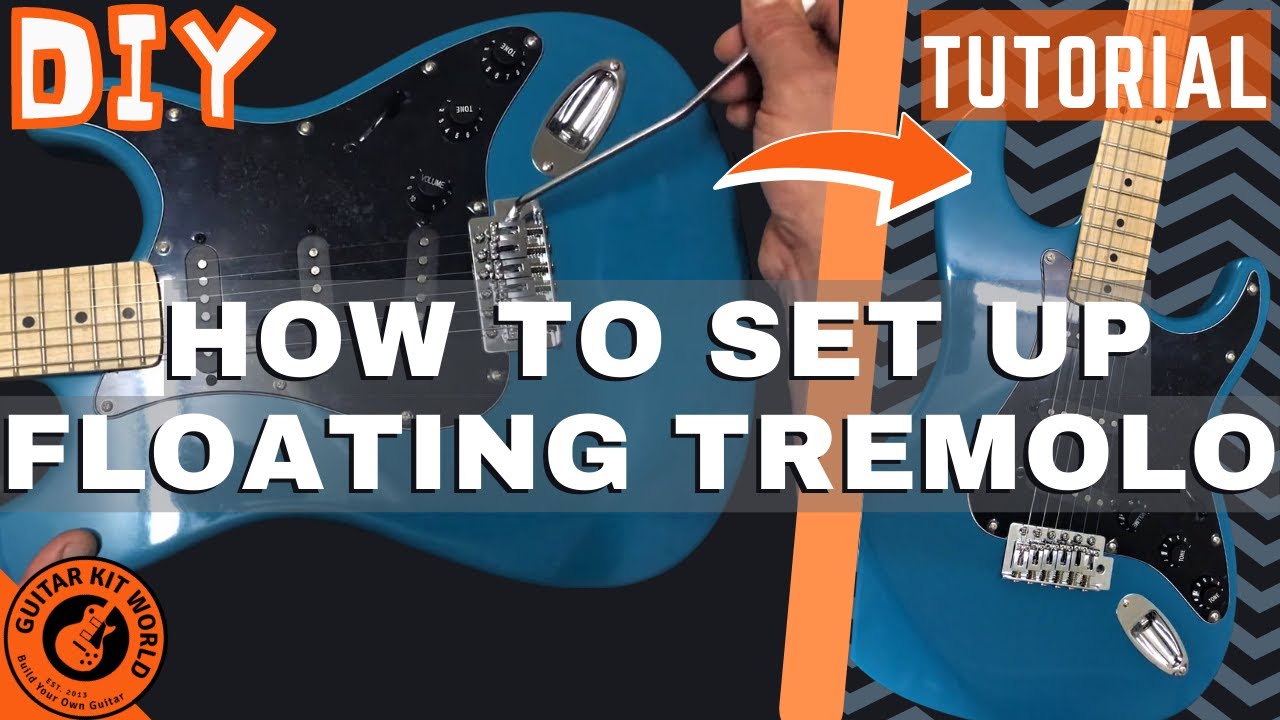
A standard tremolo floats, balanced between the pull of the strings and the pull of springs in a cavity on the back of the body. Before you fine-tune action and intonation, the baseplate needs to sit level, or parallel to the body, at pitch. Adjust the spring claw screws in the back: tightening the springs pulls the bridge back, loosening lets the strings pull it forward. It is iterative. Adjust, retune, and repeat until the bridge sits level at pitch and returns to pitch after you use the arm. Do not force a floating bridge to sit flat on the body, because it is designed to pivot.
Double-locking tremolo
A double-locking tremolo clamps the string at two points, the locking nut at the headstock end and the saddle blocks at the bridge, which holds tuning through heavy vibrato use. It floats on two posts against the springs, so balance it like a standard tremolo. The order matters:
- String up and tune. Cut the ball end off each string, feed the cut end into the saddle block, clamp it with the block screw, then bring the string to pitch with the machine head.
- Because the bridge floats, tune in several passes until it settles and the baseplate sits level at pitch.
- Lock the nut last. Only once the guitar is in tune, clamp the three pads of the locking nut with their hex bolts.
- From then on, tune only with the fine tuners at the bridge. If a fine tuner runs out of range, unclamp the nut, retune with the machine heads, and lock it again.
Set the action by raising or lowering the two pivot posts, which moves the whole bridge together. Intonation means sliding the saddle itself, which usually means relaxing string tension and unlocking the saddle block first.
Floating bridge
A floating bridge is not fastened down. It rests on the top, held in place only by string tension, so its position sets your intonation. Position it by scale length first: measure from the edge of the nut closest to the fretboard to the center of the 12th fret, then double that number. The front edge of the saddles should sit that distance from the nut, centered and square to the strings.
Because it can slide, mark its spot with low-tack tape before you ever slacken the strings. Intonate in two stages. First, slide the whole bridge until the octaves are roughly right, keeping it square and its feet flat. Then fine-tune each string with the screws at the front of the bridge. Re-check the position and intonation any time you restring.
Headless (tuning at the bridge)
A headless guitar has no headstock and no tuners at the top. The strings clamp at the neck end, and you tune at the bridge, where each saddle carries a fine-tuner. That fine-tuner has only a small range, often a semitone or two, so get each string close to pitch by hand before you lock the neck-end clamp. Anchor the string at the bridge saddle, run it to the clamp, pull it hand-tight to roughly the right pitch, lock the clamp, then bring it to exact pitch with the fine-tuner. If a fine-tuner runs out of travel first, back it off, loosen the clamp, reset the string closer to pitch, and re-clamp. Set the action at the saddle heights, and intonate by shifting the saddle position and re-tuning with the fine-tuner.
Step 4: Pickup height
Watch pickup height being set and heard:
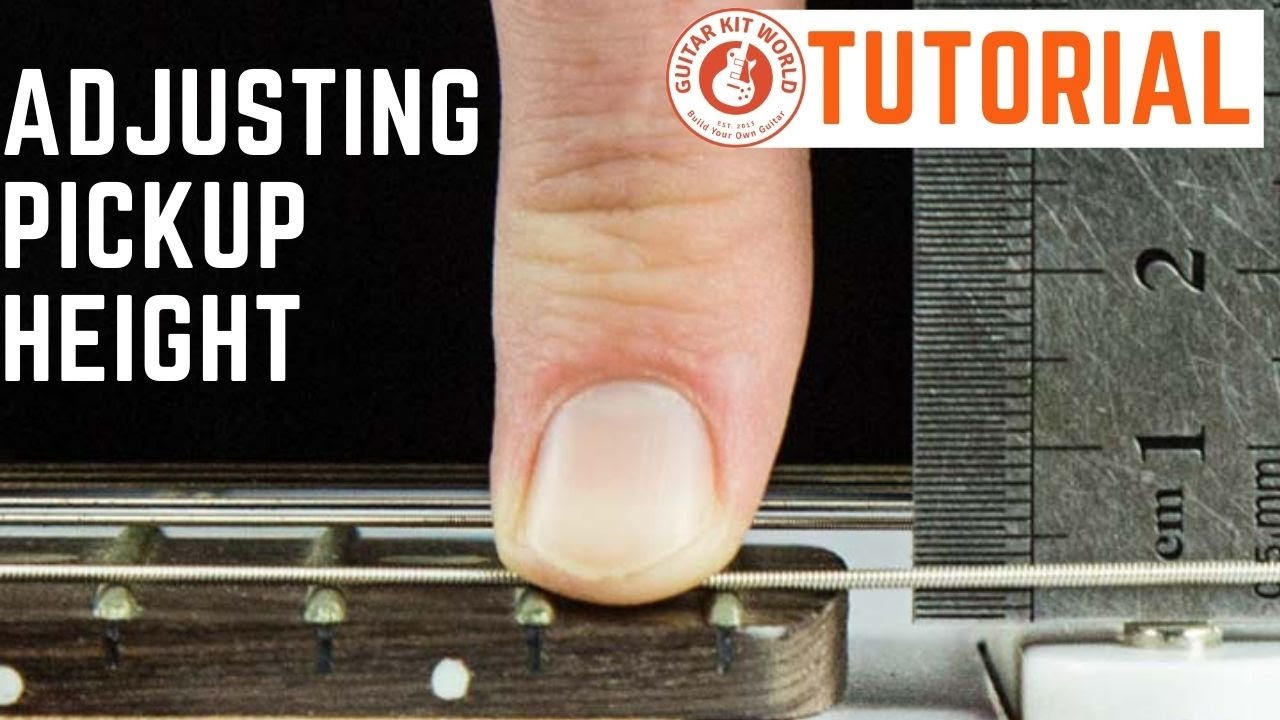
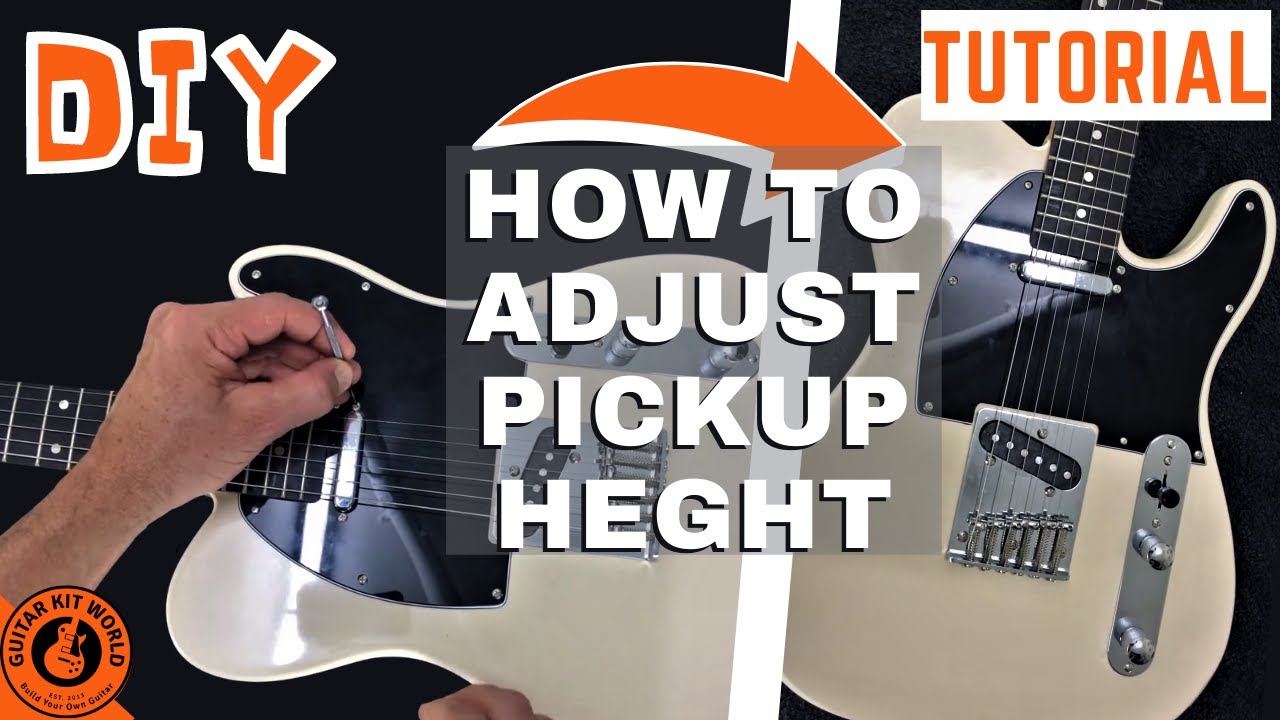
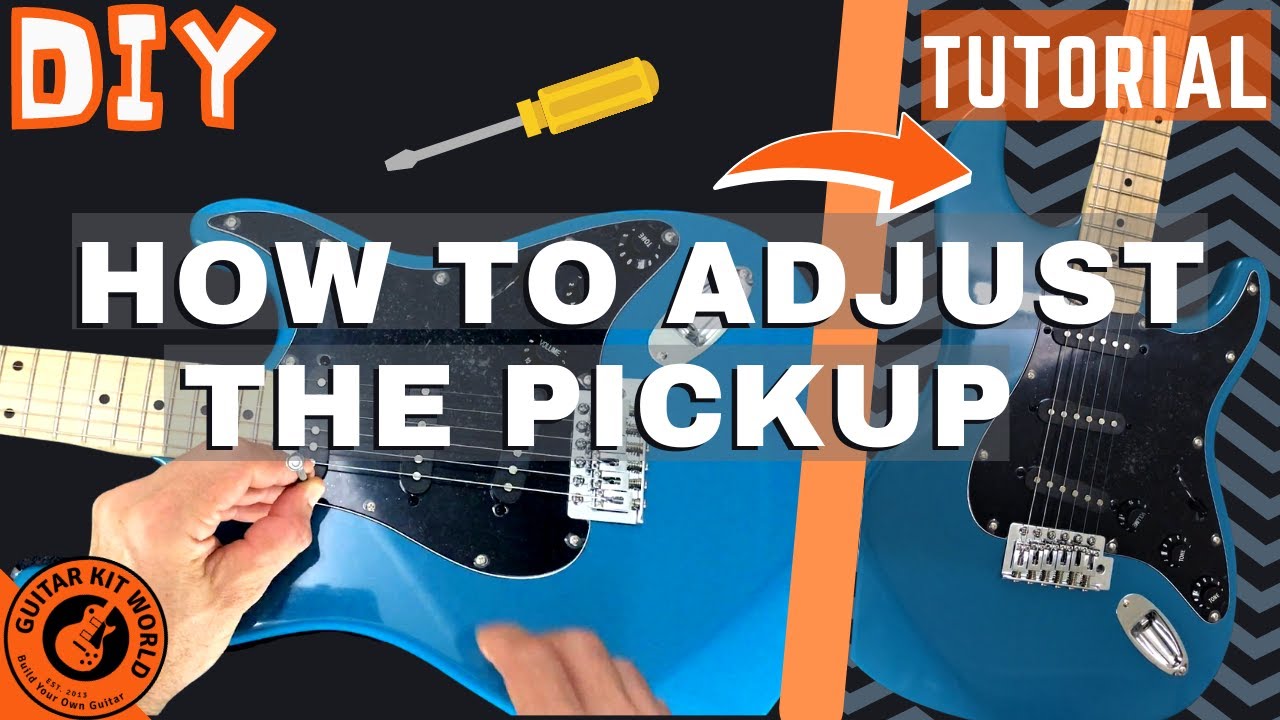
Pickup height sets how loud and how aggressive each pickup sounds, and it comes last because it does not affect the neck or the tuning. Press the string down at the last fret, then measure from the top of the magnetic pole piece to the underside of the string. A good starting point is 2.4 mm, and you can set the treble side a touch closer, around 2.0 mm, for more bite. Raising a pickup makes it louder and brighter, lowering it makes it cleaner and more open.
Set each pickup by ear, then balance the volume between them so switching positions is smooth. Watch out for setting a pickup too close to the strings: the magnets pull on the strings, which can add odd overtones and pull notes out of tune. If that happens, lower the pickup a little. Pickup height is mostly a matter of taste, so trust your ears.
Fret buzz troubleshooting
Two fixes on camera, from finding the buzz to filing high frets:
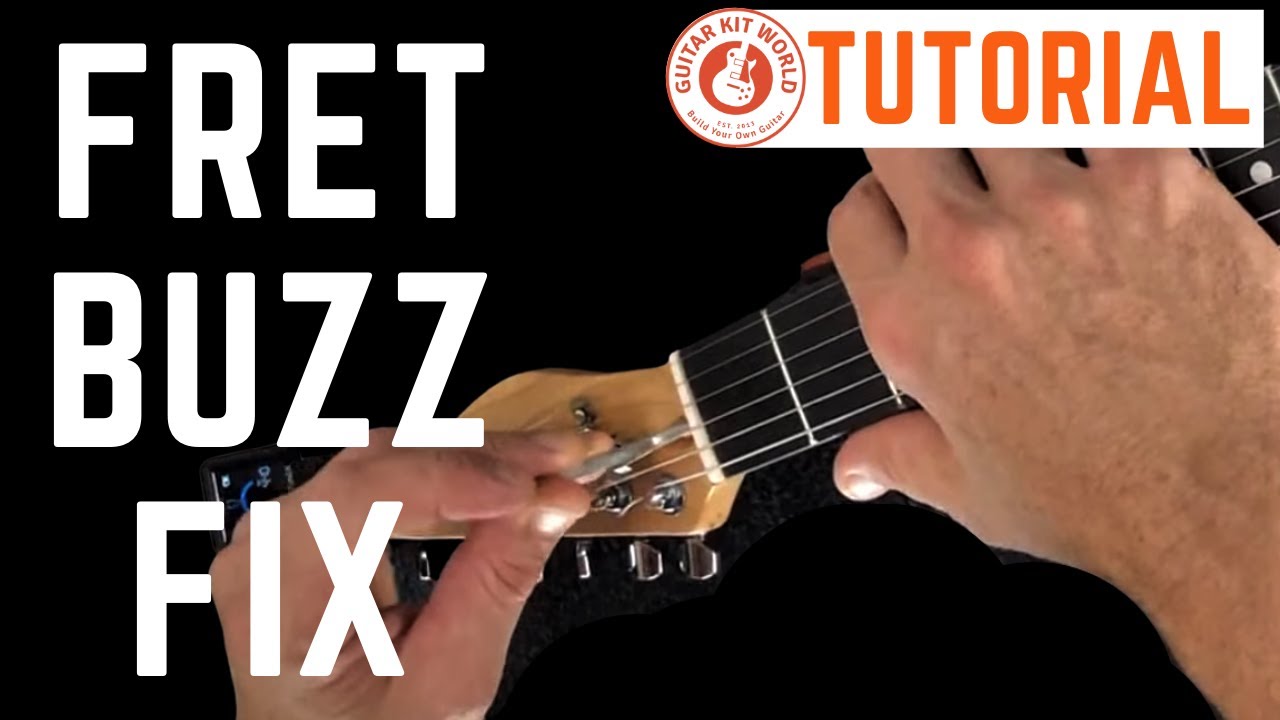
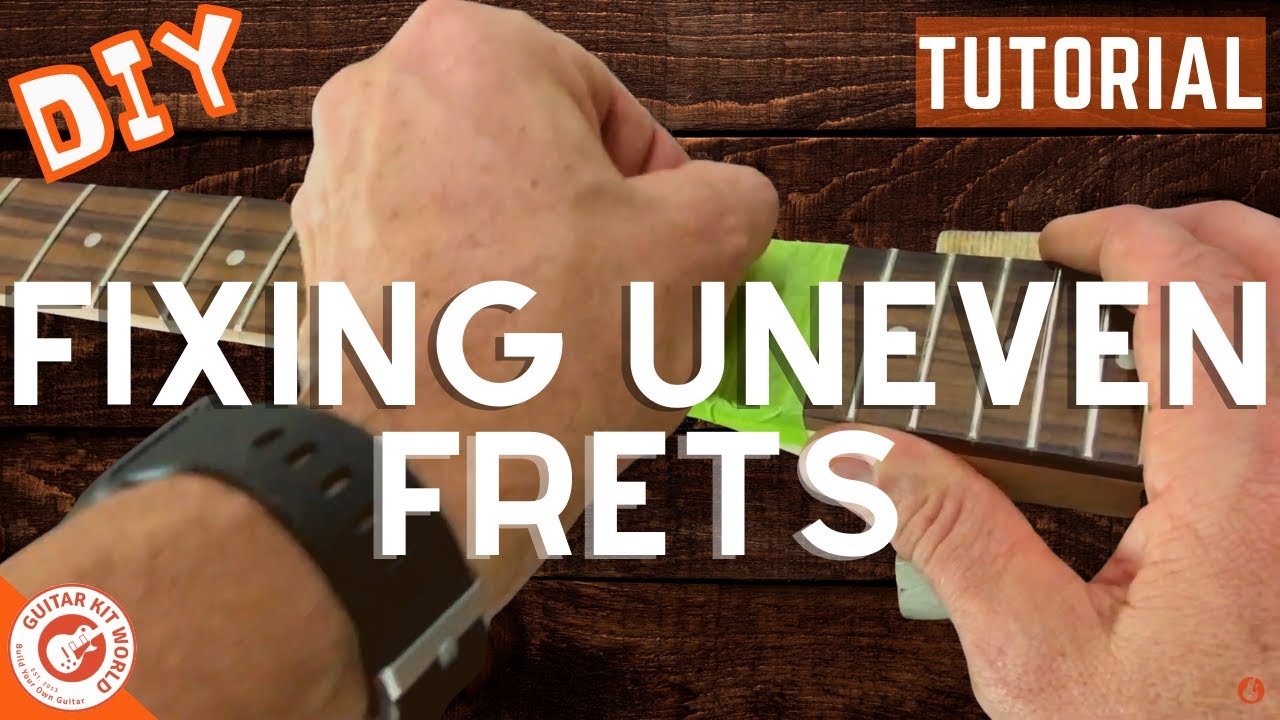
Most fret buzz comes back to two things: neck relief and action. Work those first. Use this table to find the likely cause from where the buzz happens.
| Where the buzz happens | Most likely cause | What to try first |
|---|---|---|
| Open strings and the first few frets | Too little relief, or a nut slot cut too low | Add a little relief (loosen the truss rod an eighth turn). If only the open strings buzz, the nut may need a pro. |
| The middle of the neck | Too little relief, the neck is too flat | Add a little relief with the truss rod, then retune and recheck |
| The upper frets, past the 12th | Action set too low, or high spots in the frets | Raise the action a little at the bridge |
| All over, on every string | Action too low overall, or too little relief | Raise the action first, then recheck the relief |
Make one change at a time, retune to pitch, and play the neck again before touching anything else. If the buzz will not clear even after relief and action are right, the frets themselves need attention (see below).
When to consider a professional setup
You can do a full setup yourself, and most kit builders do. A few problems, though, are not setup problems. Consider a professional setup or fret work when:
- A buzz will not clear even after you set relief and action correctly, which usually means uneven frets that need leveling.
- The open strings buzz even with correct relief, which usually points to a nut slot cut too low.
- The truss rod will not turn under light pressure, or turning it does nothing.
- You want the frets leveled, crowned, or polished, which needs specialist tools.
The fix there is in the frets or the nut, not the setup. If you are unsure, email [email protected] before you go further.
Setup watch-outs
| Watch out for | Why it matters | What to do |
|---|---|---|
| Adjusting anything with the strings slack | String tension shapes the neck, so a setup done off-pitch is wrong once you tune up | Tune to concert pitch before and during every adjustment |
| Big truss rod turns | A large turn can damage the neck or the rod | Move only an eighth to a quarter turn, then retune and recheck |
| Clamping a floppy string on a headless bridge | The fine-tuner has a small range and will not reach pitch | Pull the string close to pitch by hand before you lock the neck-end clamp |
| Overtightening a neck-end clamp screw | The small screws strip easily | Tighten until the string grips firmly, then stop |
| A floating bridge sliding out of place | It is held only by string tension, and its position sets your intonation | Mark its spot with low-tack tape before you slacken the strings |
| Changing all the strings at once on a floating or tremolo bridge | The spring-and-string balance lets go and you lose your setup | Change one string at a time so the balance holds |
When you get stuck
Take your time, and do not force anything. Questions about a step? Comment below and we will help you right here. If a part looks wrong, is missing, or arrived damaged, email our support team at [email protected] with the email address you used for your purchase, your order number, and a photo, and the team will get you sorted out quickly. When your setup is dialed in, share your finished build in the DIY Guitars category so the community can see what you made.
This module is the shared setup stage for every Guitar Kit World kit. To find the full build manual for your specific kit, start here: Start Here.