Your kit manual sends you here for the full detail on attaching the neck, because this one joint decides whether your finished guitar plays in tune and feels right in your hands. Whatever shape you are building, the neck attaches in one of a few ways, and getting it right matters more than almost any other step. Read this section fully, get the dry-fit right, and do not rush the part that becomes permanent.
Which joint do you have?
Before you do anything, work out which of the three joints your kit uses. It is easy to tell once you know what to look for.
- Bolt-on. The neck attaches to the body with screws, usually through a metal neck plate on the back. If your kit came with a neck plate, a cushion, and a set of large screws, you have a bolt-on. You finish the body and neck separately, then join them after the finish has cured.
- Set-neck (also called a set-in neck). The neck is glued into a pocket in the body. There is no neck plate and no screws for the joint, just a heel that fits into a matching cavity. You glue the neck in first, on raw wood, and finish the whole instrument afterward.
- Neck-through. The neck runs the full length of the body and the body wings are already glued on at the factory. There is nothing to install. If your neck and the center of the body are one continuous piece of timber, skip both installation sections below and go straight to finishing and setup.
If you are not sure, check your kit’s product page. When in doubt: a plate and screws means bolt-on, a glue pocket means set-neck, and one solid piece means neck-through.
Bolt-on necks
Watch a bolt-on install end to end on different kits before you pick up a screwdriver:
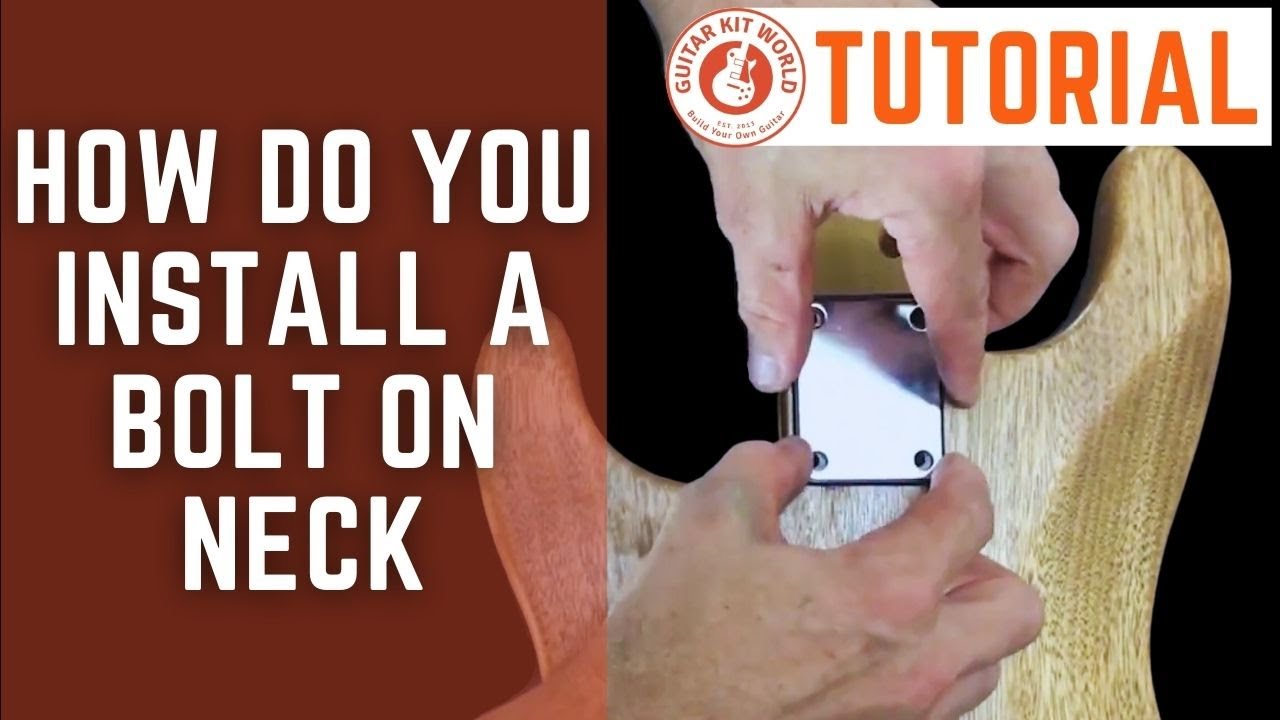
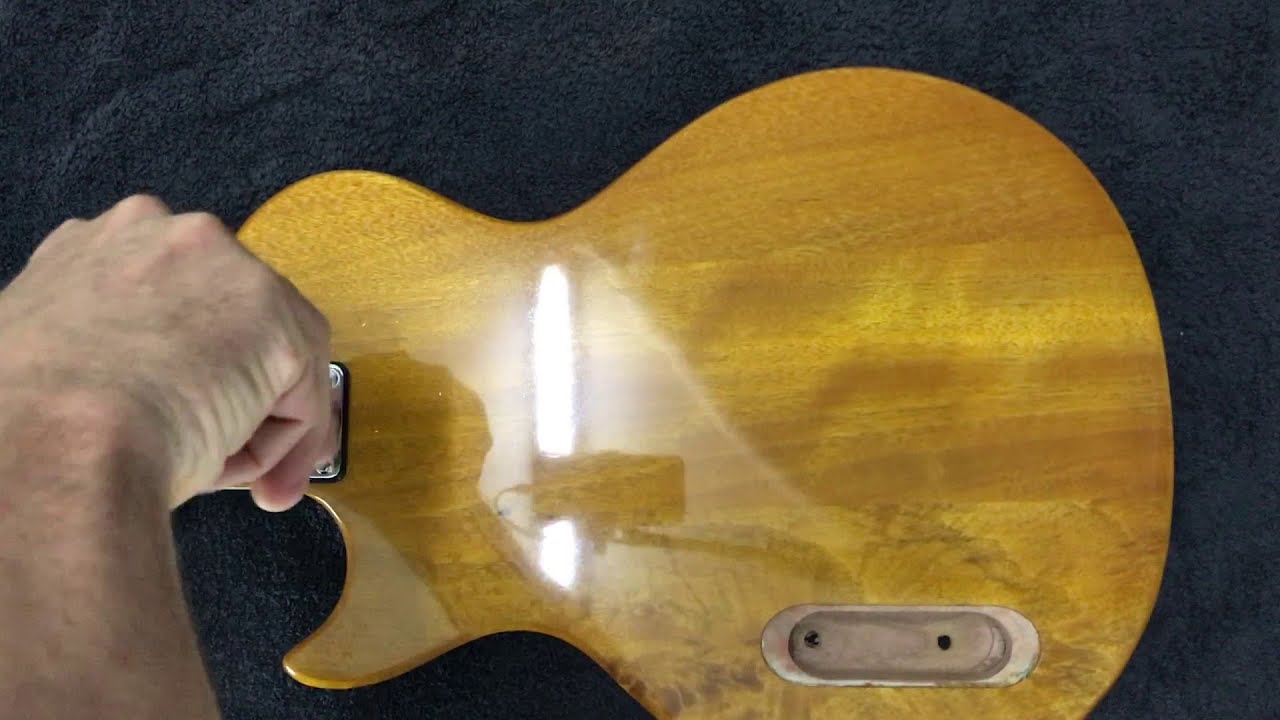
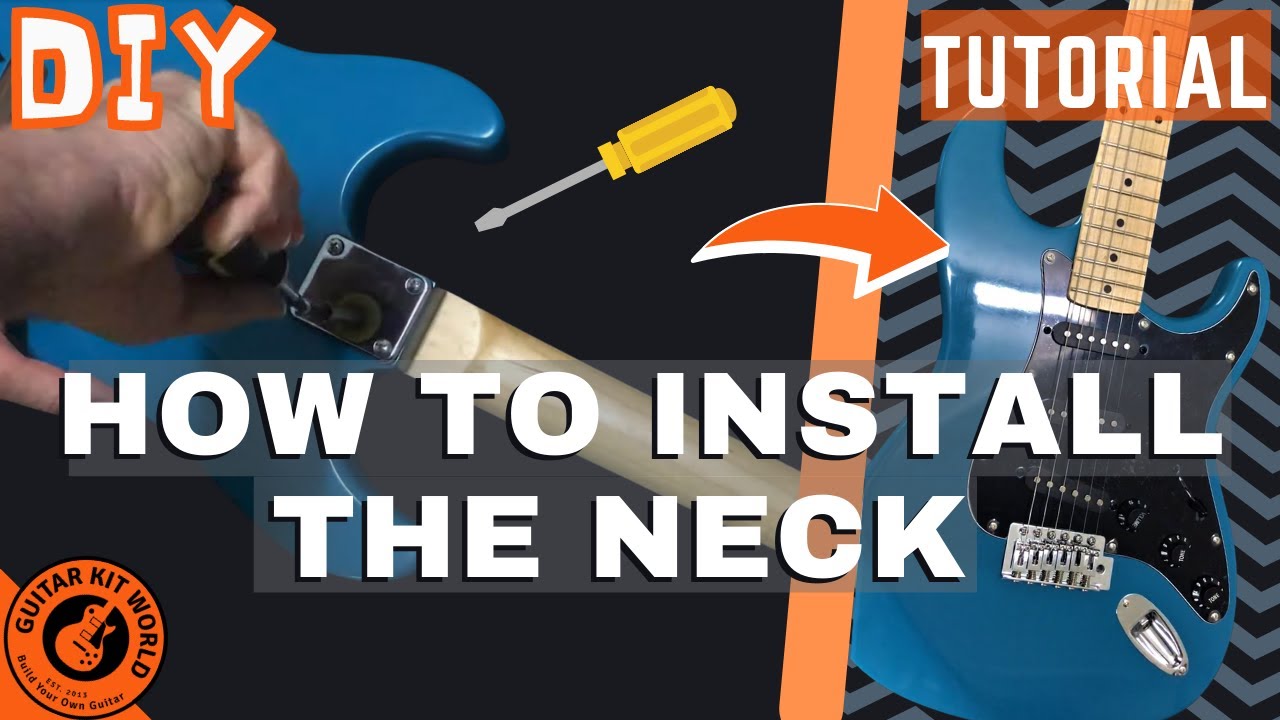
A bolt-on is the most forgiving joint, because nothing is permanent. You can loosen the screws and adjust it later. That does not mean you can be careless, it means you have room to get the alignment right.
Dry-fit first
See what a careful dry-fit looks like:
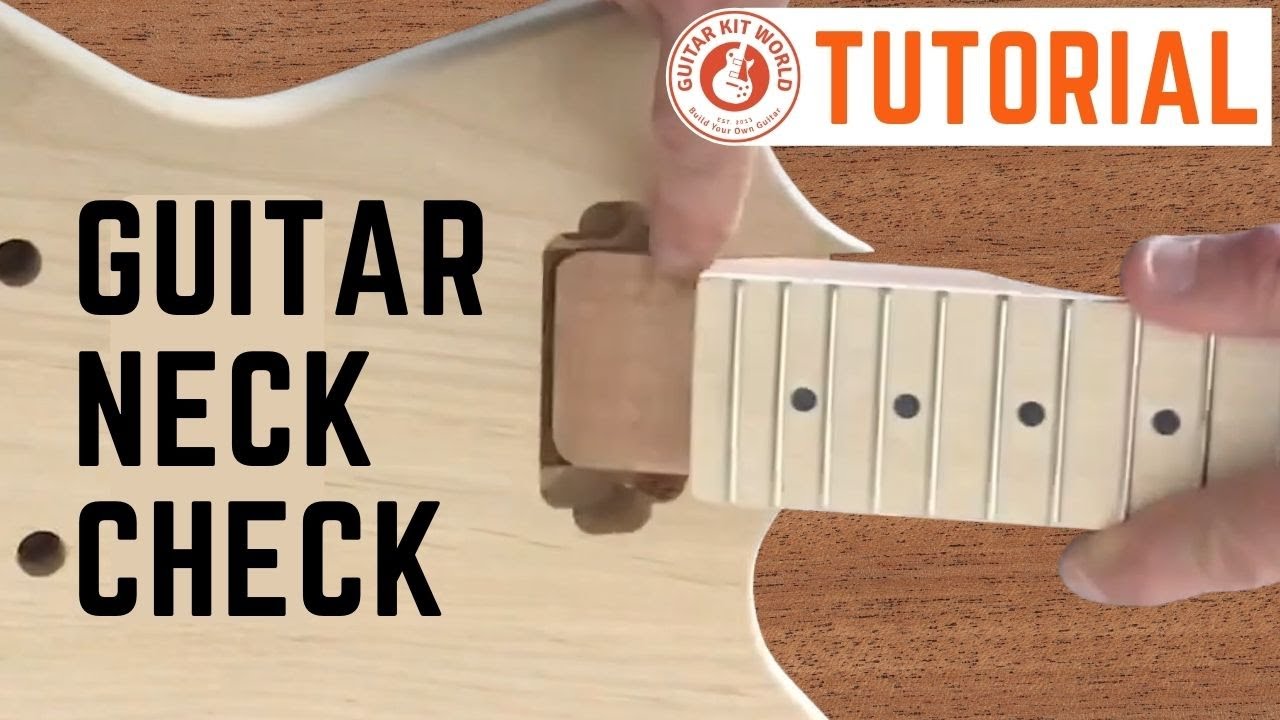
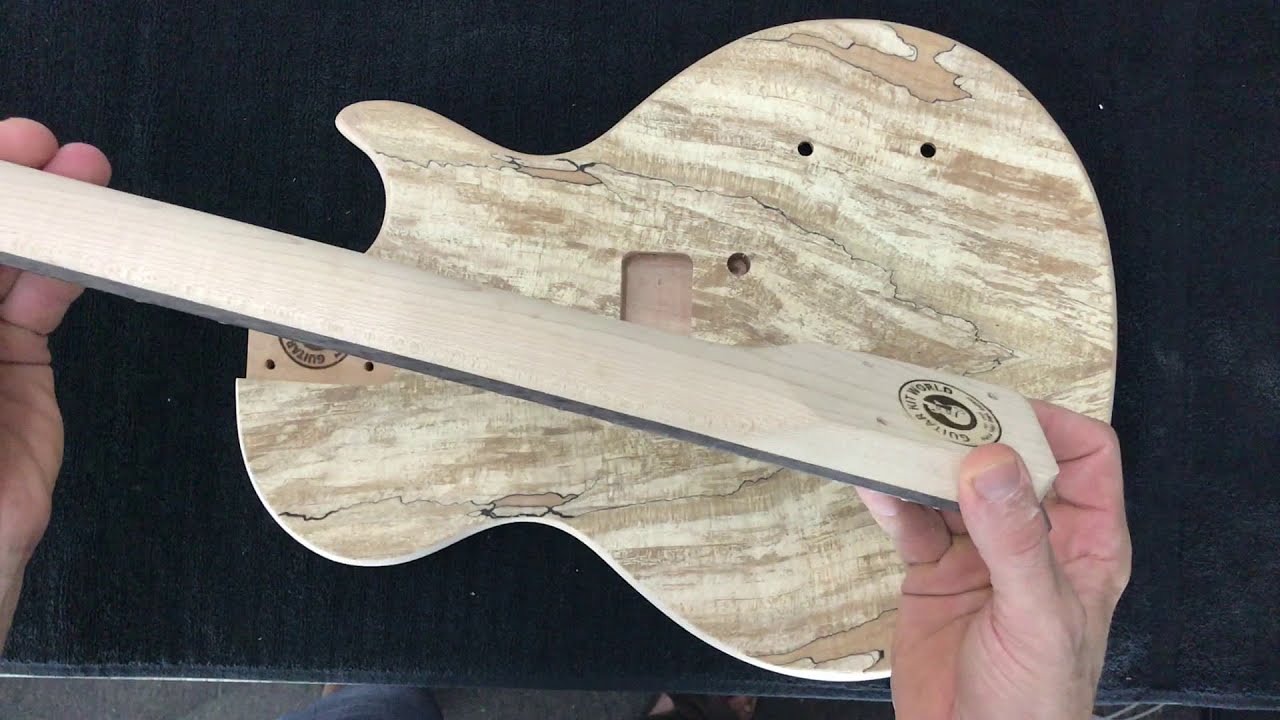
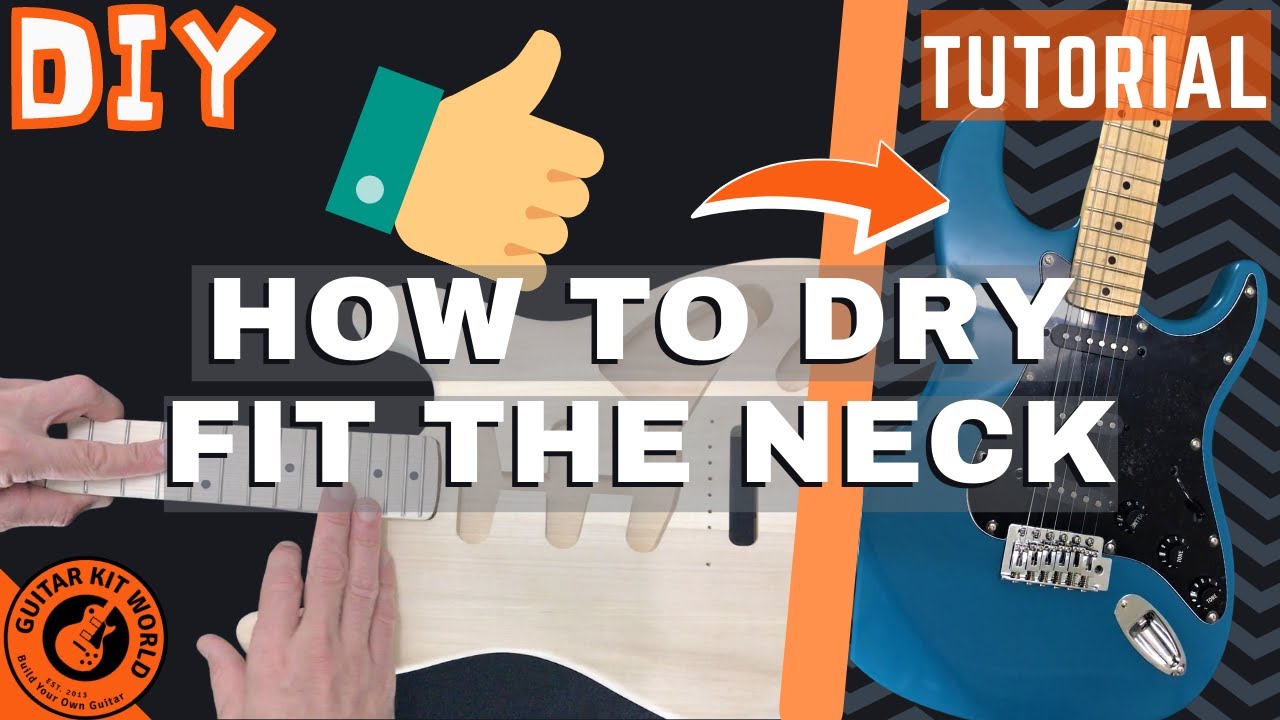
Slide the neck into the body pocket with no screws in it. It should sit snugly, seat flat, and have no side-to-side wobble. Do not force it. Seat the heel into the back of the pocket first, then lower the neck down flat, rather than pushing it straight down, which can chip the thin edges of the pocket. Do this before you finish anything, so you catch a tight or loose fit while it is still easy to fix.
While you are here, confirm the scale length matches your kit’s spec. Measure from the nut to the center of the 12th fret and double it, then check that figure against your kit’s product page, since kits vary (some around 628 mm / 24.75 in, others 648 mm / 25.5 in).
Center the neck with taped-on strings
A neck that sits even slightly off-center will send the outer strings running off the edge of the fretboard. To check centering, sight down the neck from the nut toward the bridge. The center line of the neck should run straight to the center of the bridge.
For a more exact check, tape a string along each outer edge of the neck. Lay the low E and high E strings in roughly their playing positions, from the nut over where the bridge will sit, and hold them with a little tape at each end. Now look at the gap between each taped string and the edge of the fretboard. If the neck is centered, that gap is even on both sides and both strings land cleanly on the outer bridge saddles. If one side is tighter than the other, the neck is off-center and needs to shift before you drill.
Pilot holes and torque care
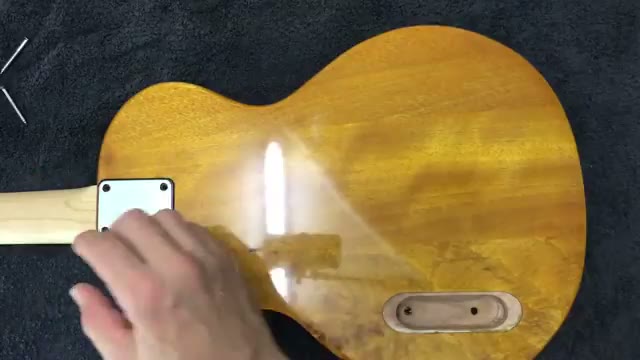
If the body is not pre-drilled for the neck screws, mark the hole centers with a center punch, then drill pilot holes. A pilot hole should be roughly two-thirds the thickness of the screw’s threaded core, deep enough to guide the screw without splitting the wood. On less dense timbers such as mahogany or basswood, drill to less than one-third of the screw depth so the threads still bite. Wrap a piece of masking tape around your bit at two-thirds the screw depth as a stop, so you cannot drill through.
Drive the neck screws in evenly, snugging them in a cross pattern rather than fully tightening one at a time. They should end up firm and secure, so the neck feels like one rigid piece with the body and has no movement in the pocket. Do not overtighten. Crushing the wood or stripping the hole does more harm than a slightly loose screw, and these joints do not need brute force.
Shimming
Two problems call for a shim. If the neck rocks side to side because the pocket is a touch wide, cut thin slivers of scrap wood and glue them to the sides of the pocket to take up the gap. Very small gaps can simply be filled before finishing. If your action ends up too high even with the bridge saddles at their lowest, the neck angle is too shallow, and a thin shim laid across the bottom of the pocket at the heel end tips the neck back and brings the action into range. Shim in small steps and re-check, because a little goes a long way.
Set-necks
Full course, one video: a complete set-neck solid-body build from box to playable:
A set-neck is glued in, so it is permanent once the glue cures. Everything about this joint comes down to one rule: get the dry-fit, the centering, and the neck angle completely right before any glue touches the wood. There is no adjusting it afterward.
Dry-fit and check the angle
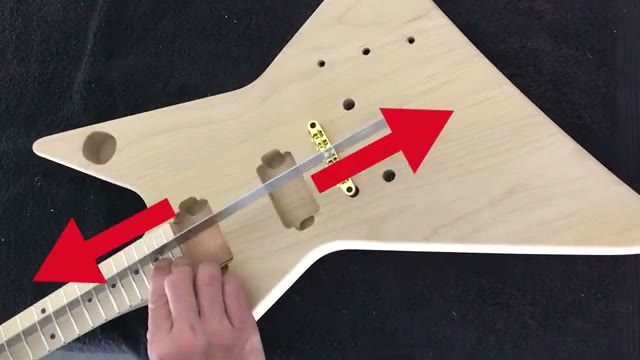
Watch the alignment and angle checks:
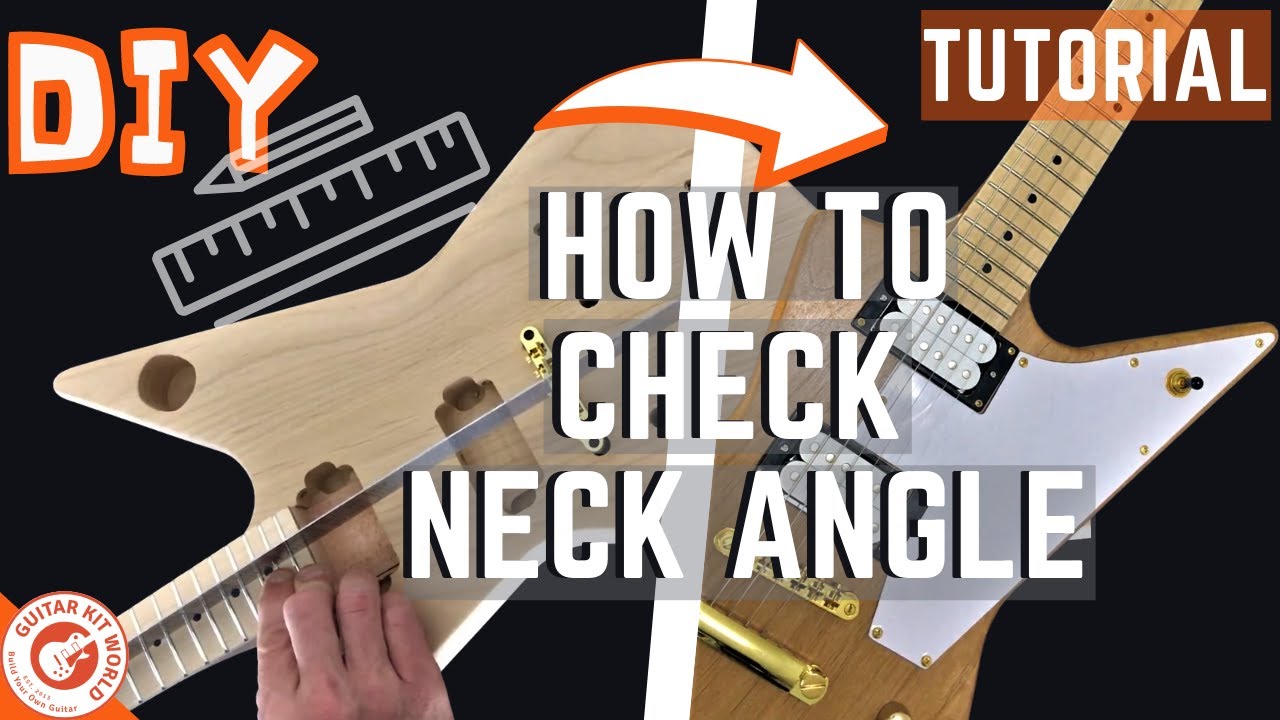
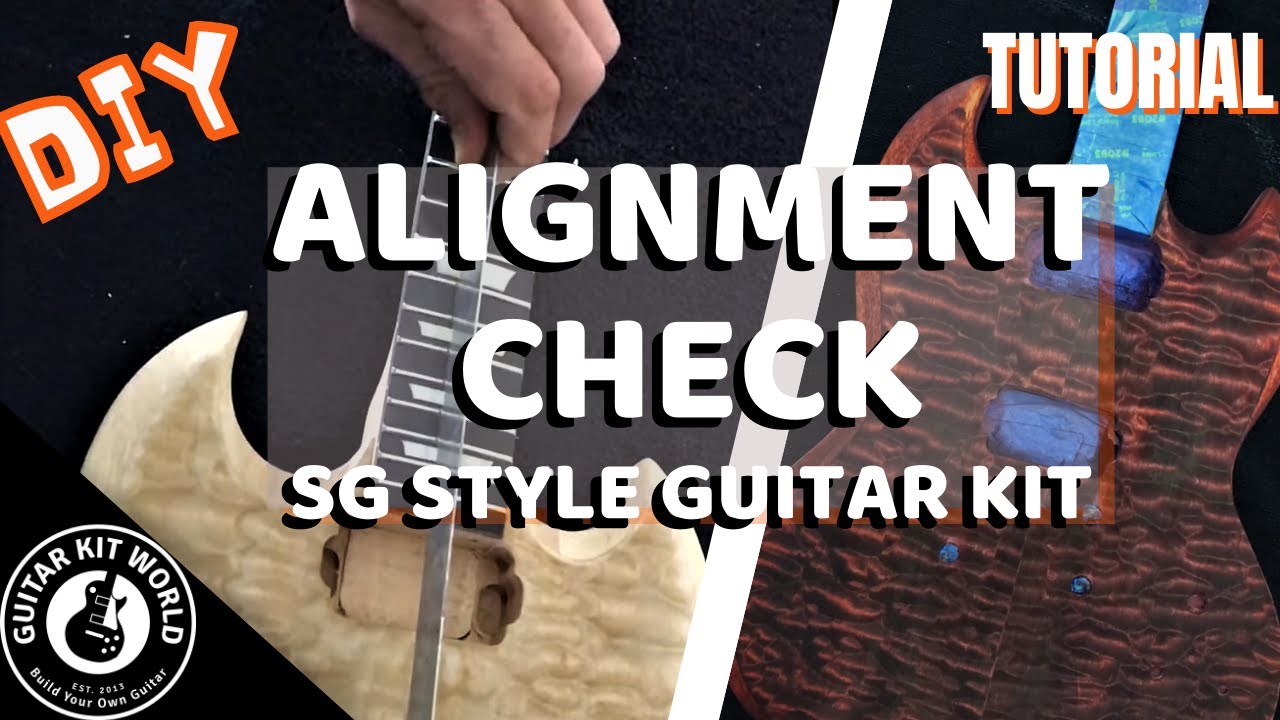
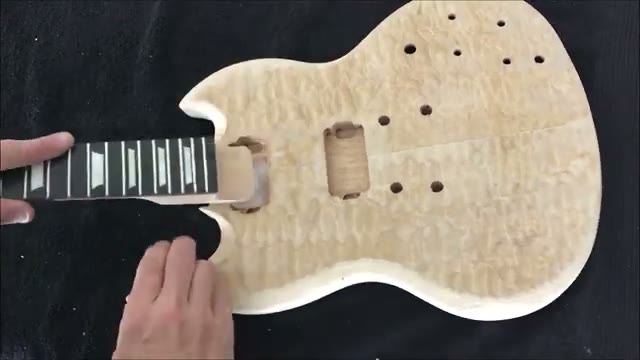
Dry-fit the neck with no glue, seating the heel first and lowering it in. It should sit snug and straight. Center it exactly as described in the bolt-on section, by sighting from the nut to the bridge and, if you want to be sure, taping the outer strings on and checking the gaps.
Then check the neck angle with a straightedge. With the bridge sitting in its position, lay a steel ruler along the fretboard and run it out over the bridge. When the bridge is seated flat against the body, the ruler should just clear the top of the saddles. That tells you the neck is tilted correctly so you can set a playable action later. If the angle looks wrong, sort it now, because gluing locks it in.
Mask the pocket
Glue bonds bare wood to bare wood, not wood to finish. If you plan to finish the body separately, mask the neck pocket and the neck heel so they stay bare, and keep every trace of finish out of the joint. Finish inside the pocket also changes the neck fit and the neck angle, so it has to stay clean either way.
Glue choice and open time
Use a PVA wood glue, the standard yellow woodworking glue sold at any hardware store. It bonds wood strongly and cleans up with water while it is wet. PVA does not grab the instant you spread it, but it does not wait forever either, so lay out your clamps, your protective cauls, and a damp rag before you open the glue. Seat and clamp the joint within the glue’s working time, not while you are still hunting for a clamp.
Glue-up and clamping with cauls
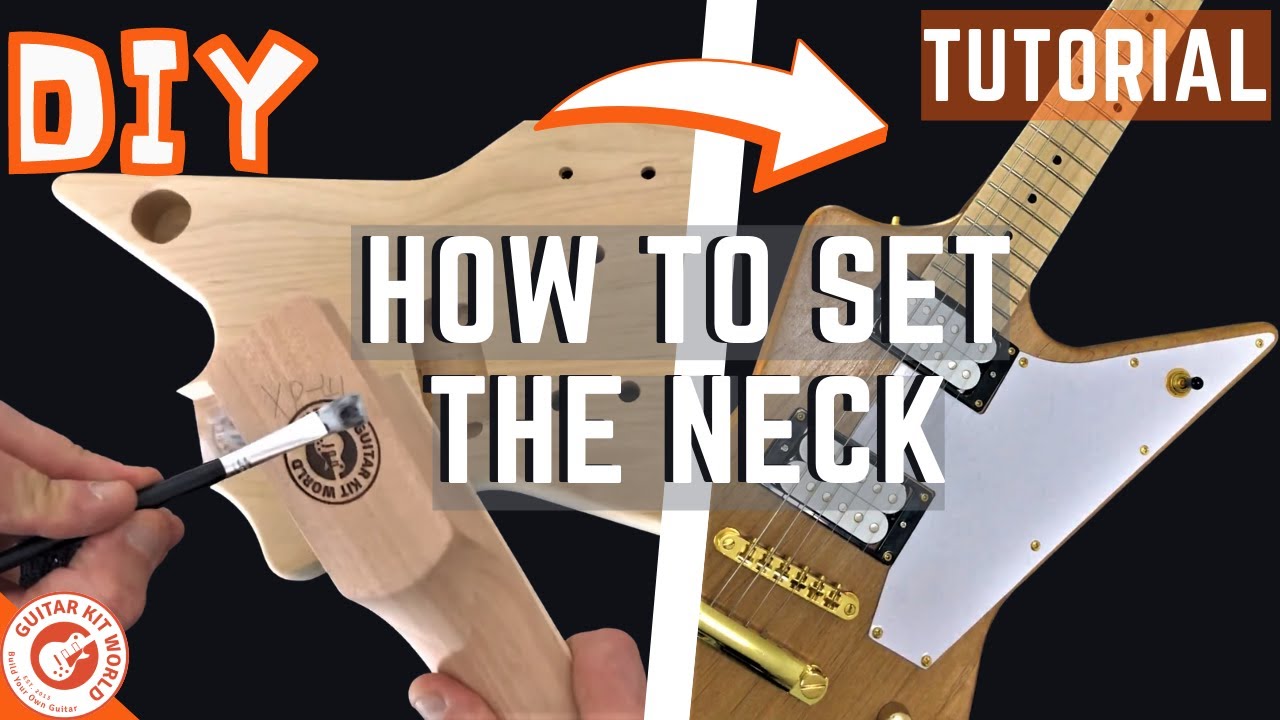
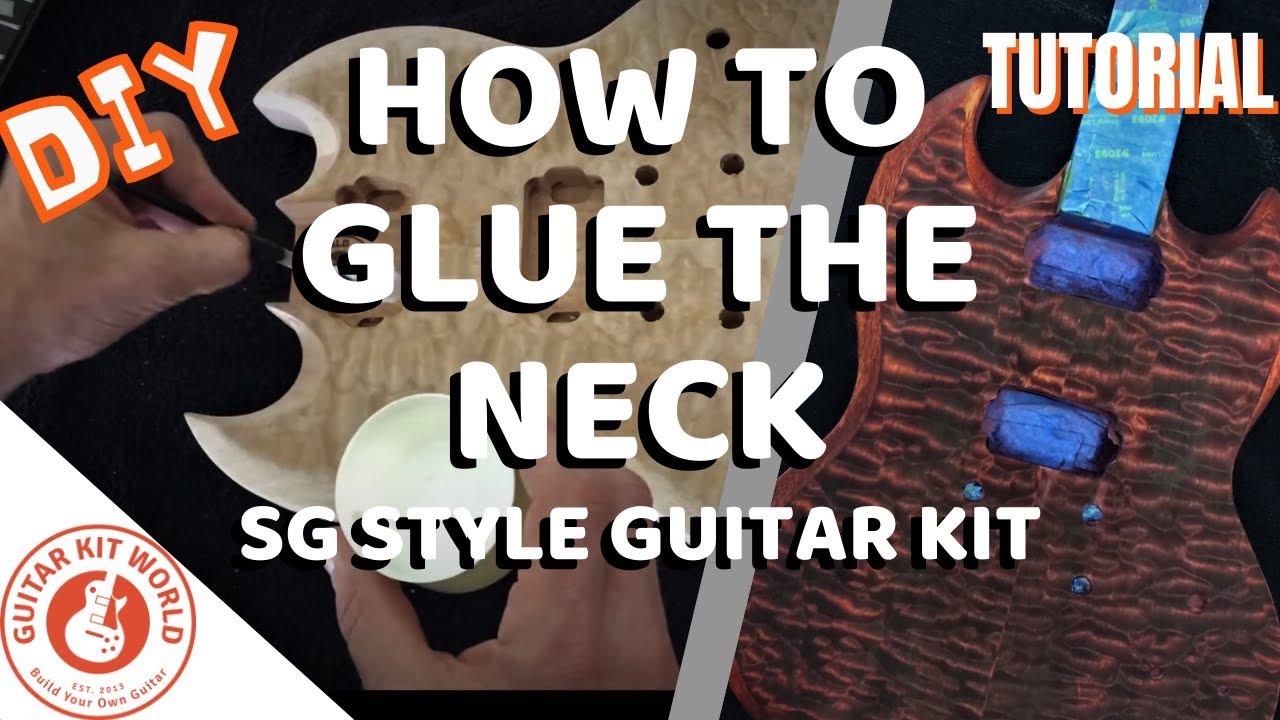
Watch the glue-up on four different kits, from glue spread to clamps off:
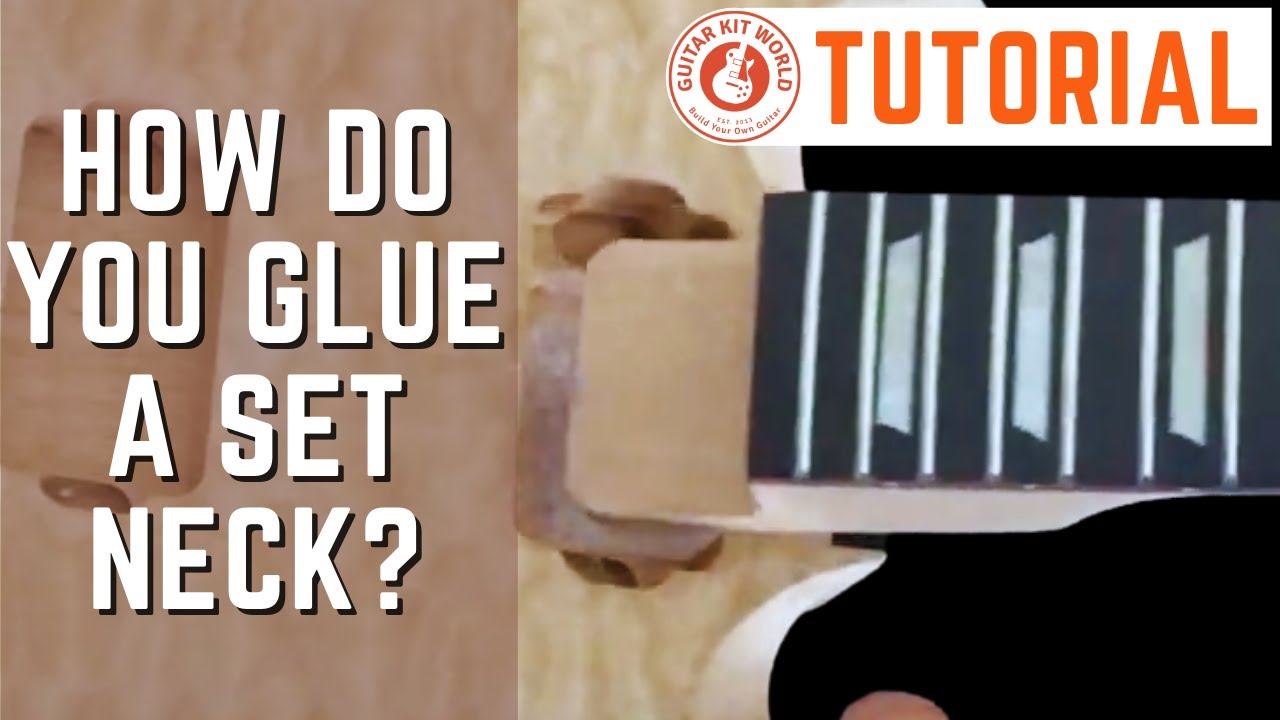
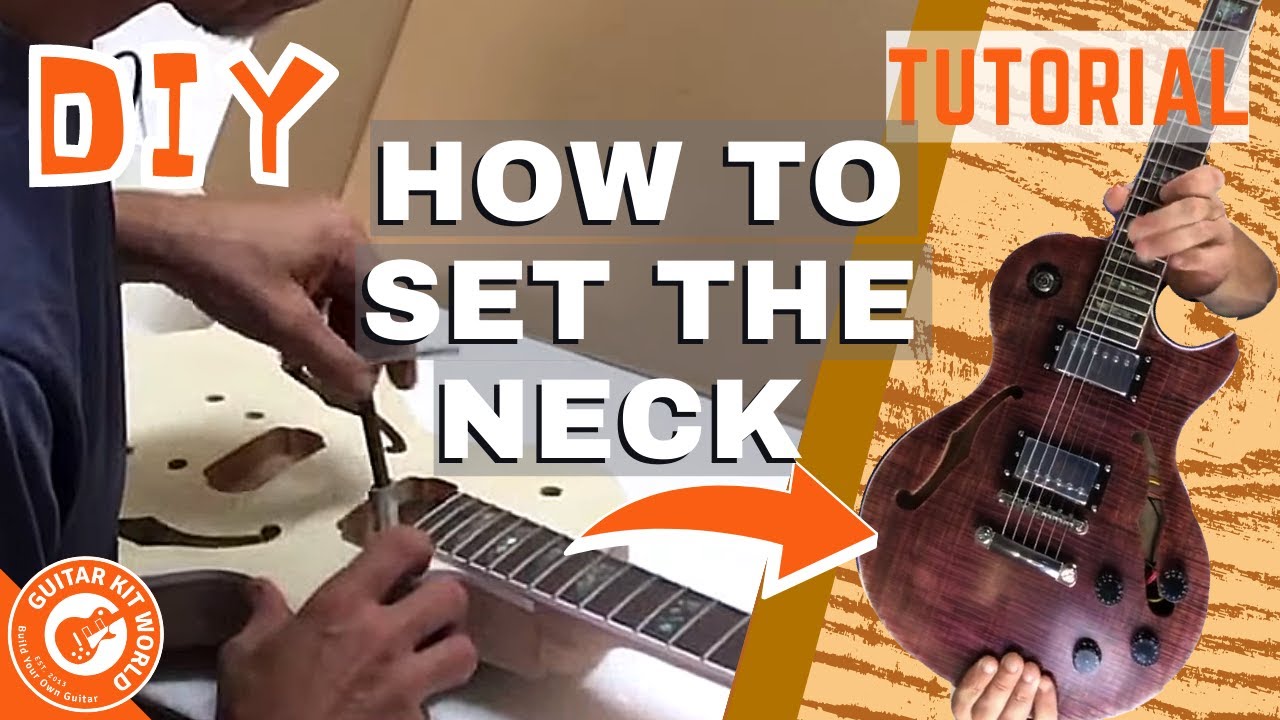
- Clean both surfaces. Brush the dust out of the pocket and wipe the heel. Glue will not bond through dust.
- Apply an even coat. With a brush, spread a nice even layer of glue across the pocket walls and the neck heel. You want full coverage, not a thick puddle.
- Seat the joint heel-first. Angle the heel in, lower the neck, then press it firmly home. Confirm it is straight to the bridge one last time. This is your final chance to adjust.
- Clamp with even pressure. Place a caul, a scrap of flat timber, over the body wherever a clamp touches it, so the clamp never bites into the wood. One clamp works, two is better: one across the heel area and one under the body to spread the pressure. Tighten until the joint pulls up snug.
Clean the squeeze-out
A little glue will squeeze out of the joint as you tighten. That is normal, and a sign of good coverage. Wipe it away with a warm, damp rag while it is still wet, especially anywhere near the top of the body. Dried glue seals the wood and shows up as a pale blotch under stain, so it is far easier to wipe now than to sand off later.
Pro tip: Glue that soaked into the surface can hide until you finish, then show as a pale patch. Once the joint has cured, lightly mist the area with water. Any spot that refuses to absorb water is probably glue, so sand it back gently before you stain.
Cure time
Leave the neck clamped and let the glue cure. Overnight is the typical minimum for PVA, and a full 24 hours is safer. Follow the glue maker’s recommendation and do not rush it. When the guitar is finished, dry-fit and test-fit the neck again if you ever take it out, because finish build-up can tighten a joint that fit perfectly in bare wood.
When not to glue yet: finish-first or glue-first
For a set-neck, the standard order is glue-first. You glue the neck into raw wood, then finish the assembled guitar as one piece. This gives the strongest joint and a continuous finish across the body and heel. Do not glue until your dry-fit, centering, and angle are all confirmed, because that is the moment the decision becomes permanent.
Some builders prefer to finish the body and neck separately, then glue. It can give a cleaner finish on each part, but it is the harder road. You have to mask the pocket and heel perfectly so the glue still meets bare wood, and any finish that creeps in weakens the bond or shifts the neck angle. If you are not sure which way to go, glue raw wood first and finish afterward.
A note for headless builds
A headless guitar uses the same neck joints, usually bolt-on, so everything above applies. The difference is at the top of the neck. Instead of a nut and tuners, a headless neck ends in a small metal string clamp, and the tuning happens down at the bridge. That changes how you check alignment: instead of sighting from the nut, you sight the string path from the neck-end clamp to the bridge saddles, and the strings should run straight down the center of the neck and land evenly across the saddles. Loosen the clamp screws before you string up so the strings seat properly, and keep the tiny clamp screws in a dish so they do not roll away. Everything else is the same as a standard bolt-on.
Alignment troubleshooting
| Symptom | Likely cause | Fix |
|---|---|---|
| Outer strings run off the edge of the fretboard | Neck sitting off-center in the pocket | Re-center by sighting nut to bridge, or with taped-on outer strings, then shim the loose side |
| Neck wobbles side to side in the pocket | Pocket cut slightly wide | Glue thin scrap-wood shims to the pocket sides, or fill a very small gap before finishing |
| Neck will not seat fully, sits proud of the body | Dust or finish in the pocket, or a heel tightened by finish | Clean the pocket, keep it bare wood, and lightly sand a heel that finish has tightened |
| Action stays too high with the saddles at their lowest | Neck angle too shallow | On a bolt-on, add a thin shim across the heel end of the pocket. On a set-neck, correct the angle before gluing |
| String path runs off to one side | Neck was not centered before screws or glue | Re-sight from the nut, or the headless clamp, to the bridge center and re-center |
| Chipped edges on the neck pocket | Neck pushed straight down instead of heel-first | Prevent it: seat the heel first, then lower the neck flat |
| Set-neck glued in crooked | Alignment not checked before clamping | It cannot be moved after curing. Always confirm alignment twice before you clamp |
Watch-outs
- Finish in the neck pocket. It changes the neck fit and the neck angle, which throws off the string path and the action. Mask the pocket and keep it bare wood.
- Pushing the neck straight down. This chips the thin, fragile pocket edges. Angle the heel in first, then lower the neck flat.
- Overtightened neck screws. Powering them in or cranking them tight strips the hole and crushes the wood. Pilot-drill first, then drive by hand in a cross pattern until firm.
- Gluing a set-neck too soon. Centering and angle are permanent once the glue cures, so confirm both twice before you commit.
- Squeeze-out left to dry. Dried glue seals the wood and blotches under stain. Wipe it with a warm, damp rag while it is still wet.
- A joint tightened by finish. Finish build-up can tighten a joint that fit cleanly in bare wood, so test-fit again after finishing before you force anything.
When you get stuck
Take your time, and do not force anything. Questions about a step? Comment below and we will help you right here. If a part looks wrong, is missing, or arrived damaged, email our support team at [email protected] with the email address you used for your purchase, your order number, and a photo, and the team will get you sorted out quickly. To find the full build manual for your specific kit, start here: Start Here: Find Your Build Manual.