This guide walks you through how to build a hollow-body archtop electric guitar kit, from bare parts to a tuned, playable instrument. It is a fully hollow archtop body with two F-holes, a glued-in set-neck, a floating or Tune-O-Matic bridge, a trapeze tailpiece, and two humbuckers. If you have never done a DIY guitar kit assembly before, that is fine, but read this all the way through first. A fully hollow body with a permanent set-neck is one of the more demanding builds we sell, and the two parts that catch people out are wiring the controls through the F-holes and setting a floating bridge, both of which are covered in full below.
Difficulty: Advanced
Build time: 20 to 40 hours of hands-on work, spread over two to three weeks so the finish can cure
Kit: Hollow-Body Archtop Guitar Kits
Deep-dive modules (universal references that go deeper than any single manual):
Finishing and painting · Neck installation · Wiring and soldering · Final setup
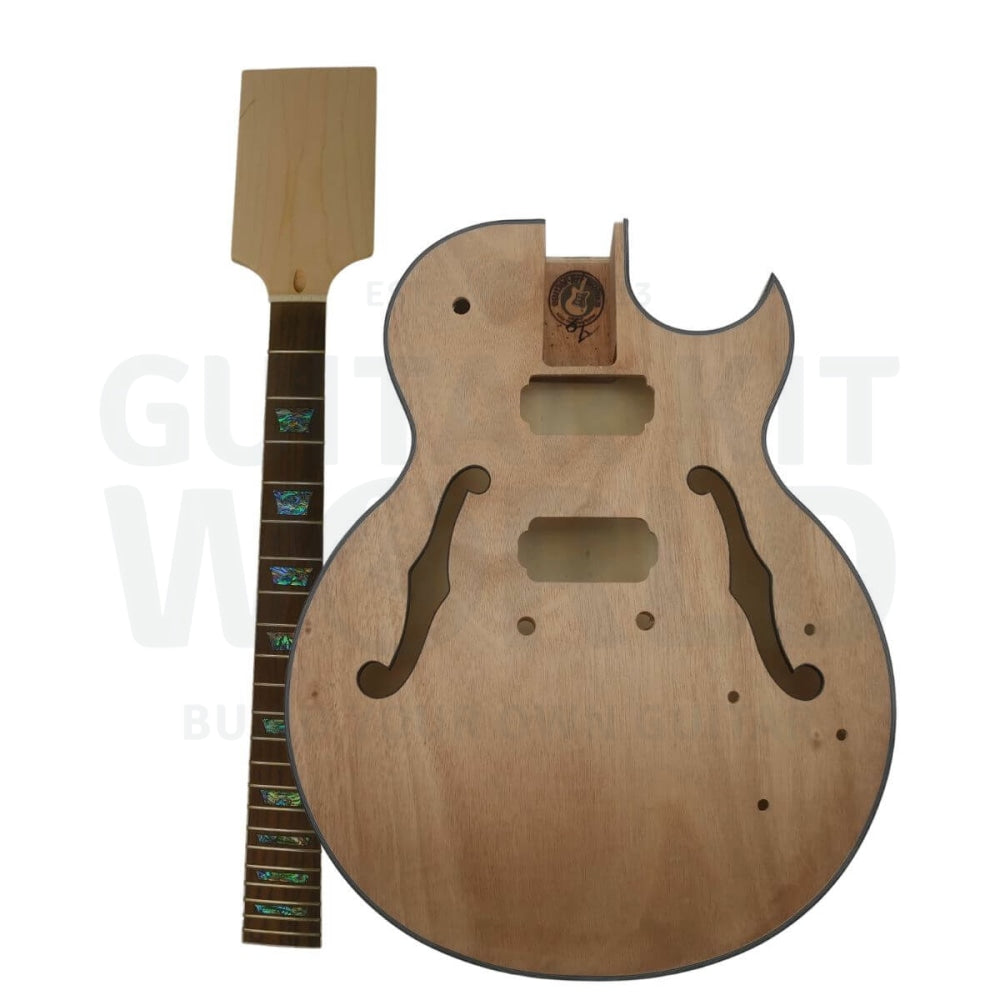
What’s in the box
Contents vary by kit, so always check your kit’s product page for the exact bill of materials. A typical hollow-body archtop kit includes:
- Fully hollow archtop body with two F-holes (and a pickguard, if your kit has one)
- Set-neck with a fretted fretboard, installed nut, and truss rod
- Machine heads (tuners) with mounting screws
- Bridge: either a Tune-O-Matic on posts, or a floating bridge that sits on the top
- Trapeze tailpiece
- Two humbucker pickups with mounting rings or surrounds
- Electronics: two volume controls, two tone controls, one three-way toggle switch, and an input jack
- Volume and tone knobs
- A set of strings
- Assorted screws and a small aluminum (hex) key for the saddle height screws
- Wiring, including short lengths of rubber tubing used to fish the controls into place
- A wiring diagram for your kit
If anything on your product page is missing from the box, stop and email support before you go further.
Tools you’ll need
You do not need a full workshop, but you do need the basics. See our luthier tools guide for more detail.
- Two timber clamps (for gluing the set-neck)
- An electric jigsaw or a coping saw (only if you plan to shape the headstock)
- A steel ruler, at least 40 cm long
- A hard sanding block
- A center punch
- An electric drill with an assortment of bits
- Large and small screwdrivers, both Phillips and flat-head
- Needle-nose pliers
- A soldering iron and solder
Safety first
Finishing and soldering both produce fumes and dust. Protect yourself before you start.
- Wear proper protective safety glasses or a genuine face shield. Everyday prescription glasses, reading glasses, and sunglasses are not eye protection.
- Wear disposable nitrile gloves when handling stains and finishes.
- Wear a mask when sanding and finishing. An N95 is the minimum for sanding, an R95 is better for solvent-based finishes, and an N95 is acceptable for water-based products.
- Work in a well-ventilated area, especially during finishing.
Section 1: Inspect the kit and dry-fit the neck
Lay every part out and check it against your kit’s product page. Look the body and neck over in good light for dents, scratches, and dried glue residue, and note anything you will need to sand out later.
Next, dry-fit the neck without any glue. Push the heel gently into the back of the neck pocket first, then push the neck down flat into the pocket. Seating it this way, back first and then down, reduces the risk of chipping the edges of the pocket or the heel. Check that the neck sits square, that its centerline runs straight down to where the bridge will go, and that the fit is snug. If you find a small gap, you can shim it with a sliver of scrap wood or fill it before finishing.
Do not glue anything yet. This is only a test fit so you know the joint is good.
Section 2: Sand and prepare the timber
A clean, evenly sanded surface is the foundation of a good finish, so do not rush this.
- Knock out any dents and remove all glue residue.
- Using a hard sanding block, sand with the grain, starting with 180-grit paper and then moving to 240-grit.
- If you plan to stain the guitar, do not sand finer than 400-grit. Wood polished smoother than that will not absorb stain evenly and can blotch.
- Raise the grain before your final pass. Lightly wipe the bare wood with denatured alcohol or water, let it dry, and the fibers will stand up. Sand them back flat with your finest grit. This stops the grain from rising again once your finish is on.
- Wipe or blow off all dust and go over the wood with a tack cloth before you finish.
Section 3: Glue in the set-neck
On a set-neck guitar the neck is glued in permanently, so get it right the first time. The strongest joint is bare wood to bare wood, so the cleanest approach for most kits is to glue the neck in now, before finishing, and then finish the whole guitar as one piece.
- Dry-fit one last time and lightly mark the alignment so you can check yourself while the glue is wet.
- Spread wood glue evenly inside the neck pocket and on the heel. You do not need a thick layer, just full coverage.
- Seat the neck with the same technique as before: heel into the back of the pocket, then press flat and down.
- Clamp it with your two timber clamps. Before the glue starts to set, sight down the neck to confirm it is straight, centered, and at the right angle for the bridge to reach playing height.
- Wipe away any squeeze-out with a damp cloth right away. Dried glue will block stain and show through a finish.
- Leave it clamped and let the joint cure fully, usually overnight or longer, before you handle it.
If your kit’s neck arrives already finished, do the reverse: finish the body on its own, then glue the neck last, and mask the finish off both mating surfaces so the glue still meets bare wood.
Pro tip: Keep glue off the fretboard and out of the nut slots. Masking those areas first saves a lot of cleanup.
Section 4: Finishing (stain or paint)
Finishing is the longest part of the build because each coat has to cure. Take it slowly and you will be rewarded. Our full walkthrough is in Guitar Finishing 101.
Before you spray or brush anything, mask the fretboard, the nut, and any area that must stay bare, including the glue surfaces if you are finishing before assembly. Work in your ventilated area with gloves and a mask on.
If you are staining:
- Apply the stain evenly along the grain, then wipe back the excess before it dries.
- Let it dry fully, then build up your clear coats over the top.
If you are painting:
- Lay down a primer or sealer coat first so the color sits evenly.
- Build up your color coats, then finish with clear coats for protection and shine.
Whichever route you take, use thin coats rather than one heavy one, let each coat cure, and scuff lightly with fine paper between coats so the next one bonds. On an archtop, watch the arched top and the edges of the F-holes, wipe any drips that pool there, and keep finish from running down inside the holes. When the last coat is on, let the whole body cure fully before you install a single piece of hardware. Assembling over a soft finish leaves dents and prints you cannot fix.
Section 5: Install the tuners and hardware
With a cured finish, you can start mounting hardware. The single most important habit here is pilot holes.
Drill a pilot hole for every screw that goes into the body or the neck. A good pilot is roughly two-thirds the thickness of the screw’s threads, so the screw bites but the wood does not split. Wrap a flag of masking tape around your drill bit at about two-thirds the depth of the screw so you never drill too deep. The small screws in these kits are fragile and strip or snap easily, so start them by hand and do not overtighten.
Fit the tuners by seating each one in its hole, lining the row up straight, marking the screw holes, drilling your pilots, and driving the screws gently. Then mount each humbucker into its ring or surround and route the pickup leads down into the body, ready for wiring.
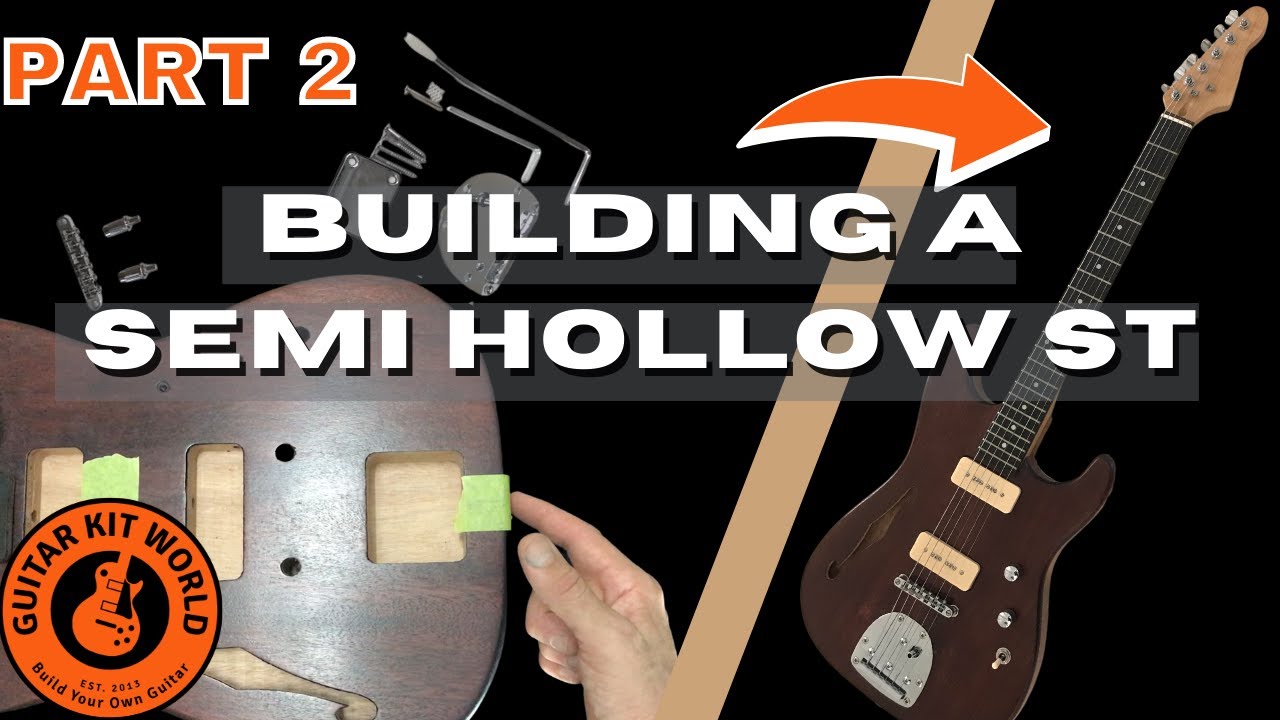
Guitar Kit World filmed a hardware installation walkthrough on the semi-hollow kit. It uses the same Tune-O-Matic bridge, trapeze tailpiece, and humbuckers as this build, so it is a good reference for the bridge, tailpiece, tuners, and pickups. The wiring differs, because a fully hollow body has no center block, so you will fish the controls through the F-holes as described in Section 7.
Section 6: Fit the bridge and trapeze tailpiece
A hollow-body archtop carries its string anchor and its bridge as two separate parts.
The trapeze tailpiece anchors at the tail end of the body and holds the ball ends of the strings. Position it square and centered, mark its screw holes, drill pilots, and fasten it.
The bridge comes in one of two forms, so check which one is in your kit.
- A Tune-O-Matic bridge sits on two posts and is anchored to the top. Its saddles and post thumbwheels set string height and let you intonate each string.
- A floating bridge is not fastened down at all. It rests on the arched top and is held in place only by string tension. This is more traditional on a hollow archtop and it needs careful placement.
For either bridge, position it using the scale length. Measure from the edge of the nut closest to the fretboard to the center of the 12th fret, then double that number. On a hollow-body kit the scale length is usually 24.75 inches, so the front edge of the saddles should sit that same distance from the nut. Keep the bridge centered on the body and square to the strings so both outer strings sit an even distance from the fretboard edges.
Because a floating bridge can slide, mark its spot lightly with a strip of tape before you bring the strings up to pitch, and expect to nudge it while you intonate in Section 8. It can also shift when you change strings later, so re-check its position and your intonation any time you restring.
Section 7: Wire the electronics through the F-holes
This is the section that makes a hollow-body build different from every other kit. A fully hollow body has no rear control cavity and no center block, so you cannot reach the pots from behind the guitar. Instead you build the wiring harness, then fish each control up to its hole through the F-holes and out through the control and jack holes. Our general reference is Electric Guitar Wiring.
Your harness is two volume controls, two tone controls, one three-way toggle switch, and the input jack, plus the two pickup leads.
Solder as much as you can outside the body. Lay the controls out in the same layout they will sit in the body, and complete every joint you can reach before anything goes inside. Once the harness drops into a hollow body you will not be able to see or reach it.
The rubber-tube method for fishing controls in. This is the classic way to place pots in a hollow body, and it is why your kit includes short lengths of rubber tubing:
- Before the harness goes in, slip a length of tubing over each pot shaft and over the threaded bushings of the toggle switch and the jack.
- Feed the free end of each tube out through the nearest F-hole, and out through that control’s own hole in the top.
- Lower the harness into the body.
- Pull gently on each tube from outside. The tube guides its pot shaft or bushing straight up into its mounting hole.
- Hold it in place, slide the washer on, and thread the nut down from the top to lock it. Repeat for every control and the jack.
Follow your kit’s wiring diagram for the exact connections. Wire colors and lug positions vary by pickup and by kit, so use the diagram that came in your box, or find yours in the community wiring diagram index. In general each humbucker has a hot lead and a ground, the pots and toggle route the signal, the jack sends it to your amp, and all the grounds tie together, usually to the backs of the pots and the sleeve of the jack. Do not guess at colors, match them to your diagram.
Soldering basics. Good joints come down to heat and cleanliness:
- Tin the tip of your iron, which means keeping a light coating of solder on it, and wipe it on a damp sponge between joints.
- Preheat the lug or component you are joining so the solder is drawn to the work, not to the iron.
- Solder will not melt until it reaches about 185 degrees C (365 degrees F), and soldering irons run hot, up to roughly 392 to 896 degrees F, so keep the tip off the finish and off the wires’ insulation.
Before you fasten everything down for good, plug in a cable and test that every pickup, the toggle, and both volume and tone controls do what they should.
Section 8: String it up and set it up
Fit the strings, bring the guitar up to concert pitch, and stretch the strings in by hand so they hold tune. Do your whole setup at concert pitch, because string tension is what shapes the neck, and re-tune every time you make an adjustment. Work through these four adjustments in order.
1. Neck relief (truss rod). With the guitar tuned to pitch, hold down the string at the 1st fret and the last fret at the same time, then tap the string lightly at the 12th fret on the low E. If the string sits hard against the fret, the neck needs more relief. If it sits well above the fret, the neck has too much relief. Turn the truss rod counter-clockwise to loosen it and add relief, or clockwise to flatten the neck. Only make small changes, an eighth to a quarter turn at a time, then re-tune and check again. Our truss rod adjustment guide has more.
2. String action (height). Measure from the top of the 12th fret to the underside of the string. A good starting point is 2.4 mm on the low E side and 1.6 mm on the high E side. Use the small aluminum key from your packaging to turn the saddle height screws, counter-clockwise to lower the string or clockwise to raise it, and match the two ends so the saddle stays balanced on the bridge.
3. Intonation. With the guitar in standard tuning, compare the open string with the note fretted at the 12th fret, which should be exactly one octave higher. If the fretted note is sharp, lengthen the string by moving the saddle back (turn the intonation screw counter-clockwise). If it is flat, shorten the string by moving the saddle forward (clockwise). The heavier bass strings need a little more compensation than the treble strings. On a floating bridge you can also shift the whole bridge a hair to help dial it in. See guitar intonation for the full method.
4. Pickup height. Press the string down at the last fret and measure from the top of the magnetic pole piece to the underside of the string. A good starting point is 2.4 mm. Adjust the mounting screws on the outside of each pickup surround to raise or lower it. Pickup height is mostly subjective, so trust your ears and set it by what you are hearing. More detail is in adjusting pickup height.
Re-tune, play it, and come back to the setup after the guitar has settled in for a few days. If you chase down any buzzing along the way, our fret buzz guide will help.
Beginner watch-outs
| Watch-out | Why it matters | What to do instead |
|---|---|---|
| Gluing the set-neck before you dry-fit | A set-neck joint is permanent, and a bad angle or twist cannot be undone | Dry-fit, sight the neck angle and centerline, and only glue once the fit is right |
| Driving screws with no pilot hole | The small screws are fragile and strip or snap easily, and the body can split | Drill a pilot roughly two-thirds the screw’s thread thickness and tape your bit depth |
| Sanding past 400 grit before staining | Wood polished too smooth will not absorb stain evenly and can blotch | Stop at 400 grit when you plan to stain, raise the grain, then knock it back lightly |
| Soldering the harness inside the body | You cannot see or reach the joints through the F-holes, and you can scorch the finish | Build and solder the harness outside the body, then fish it in with the rubber tubes |
| Installing hardware over a soft finish | Fresh finish dents and prints under hardware and clamps | Let the finish cure fully before you fit any hardware |
| Forcing a floating bridge into a spot | It is held only by string tension, and its exact position sets your intonation | Locate it with the scale-length measurement, then fine-tune by ear and by tuner |
Pro tips
- Pro tip: Read each section fully before you start it. The most common beginner mistake is hurrying.
- Pro tip: Solder as much of the wiring harness as you can outside the body, then use the rubber-tube trick to pull each control up to its hole through the F-hole.
- Pro tip: Tin your iron and preheat the lug so the solder flows onto the joint, not the tip. A quick wipe on a damp sponge between joints keeps it clean.
- Pro tip: When you set action, intonation, and pickup height, change one thing at a time and re-tune to concert pitch before you measure again. Tension changes everything.
- Pro tip: Keep finish and glue off the fretboard, the nut slots, and the neck-pocket glue surfaces. Mask them before you spray or brush.
- Pro tip: Save the small aluminum key that comes in your packaging. You need it for the saddle height screws every time you set the action.
When you get stuck
Take your time, and do not force anything. Questions about a step? Comment below and we will help you right here. If a part looks wrong, is missing, or arrived damaged, email our support team at [email protected] with the email address you used for your purchase, your order number, and a photo, and the team will get you sorted out quickly. When your build is done, share it in the DIY Guitars category so the community can see what you made.
For more help, browse all of our DIY kit assembly manuals, find your exact diagram in the community wiring diagram index, and when you are ready to start, here is the Hollow-Body Archtop Electric Guitar Kit.