The Junior is the simplest kit we offer, which makes it a great first build. It keeps the pickup and control layout minimal, so there is less wiring to worry about and more room to enjoy the process.
Difficulty: Beginner
Build time: a weekend of work, plus finish cure time
Kit: Junior Guitar Kits
Deep-dive modules (universal references that go deeper than any single manual):
Finishing and painting · Neck installation · Wiring and soldering · Final setup
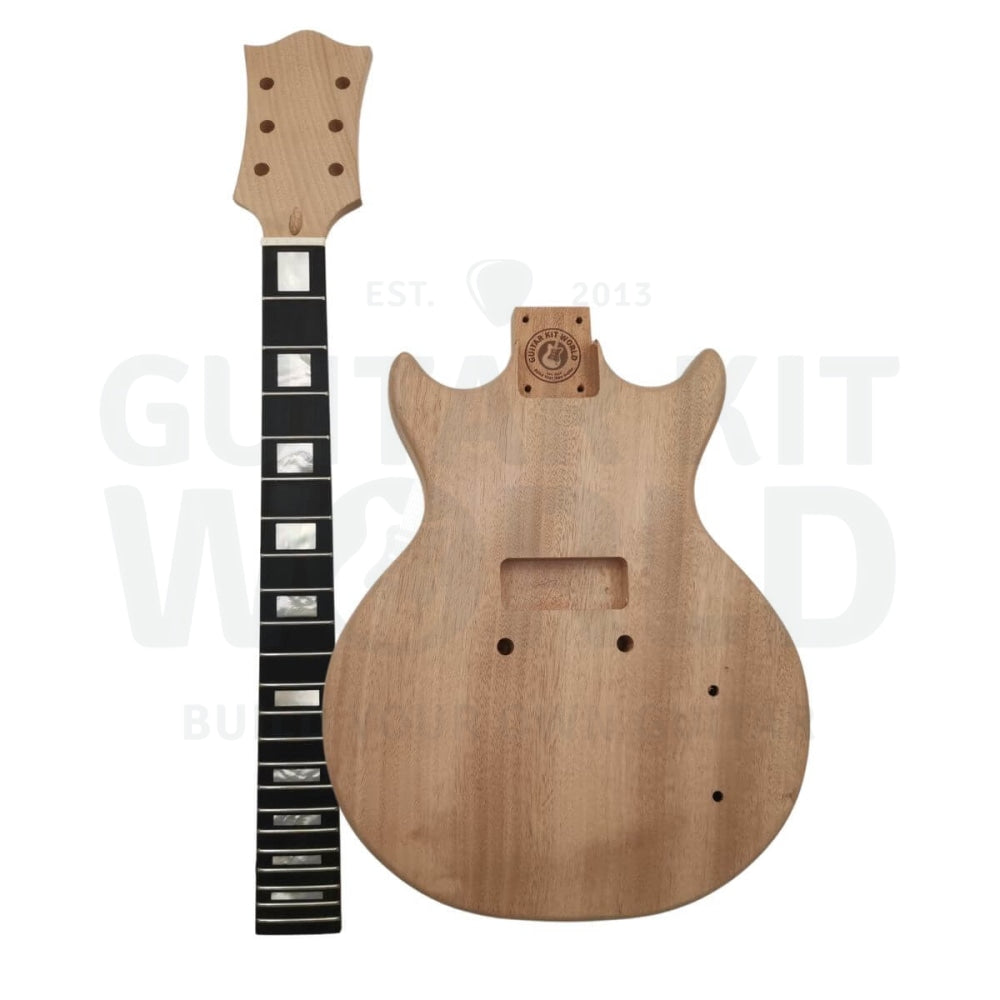
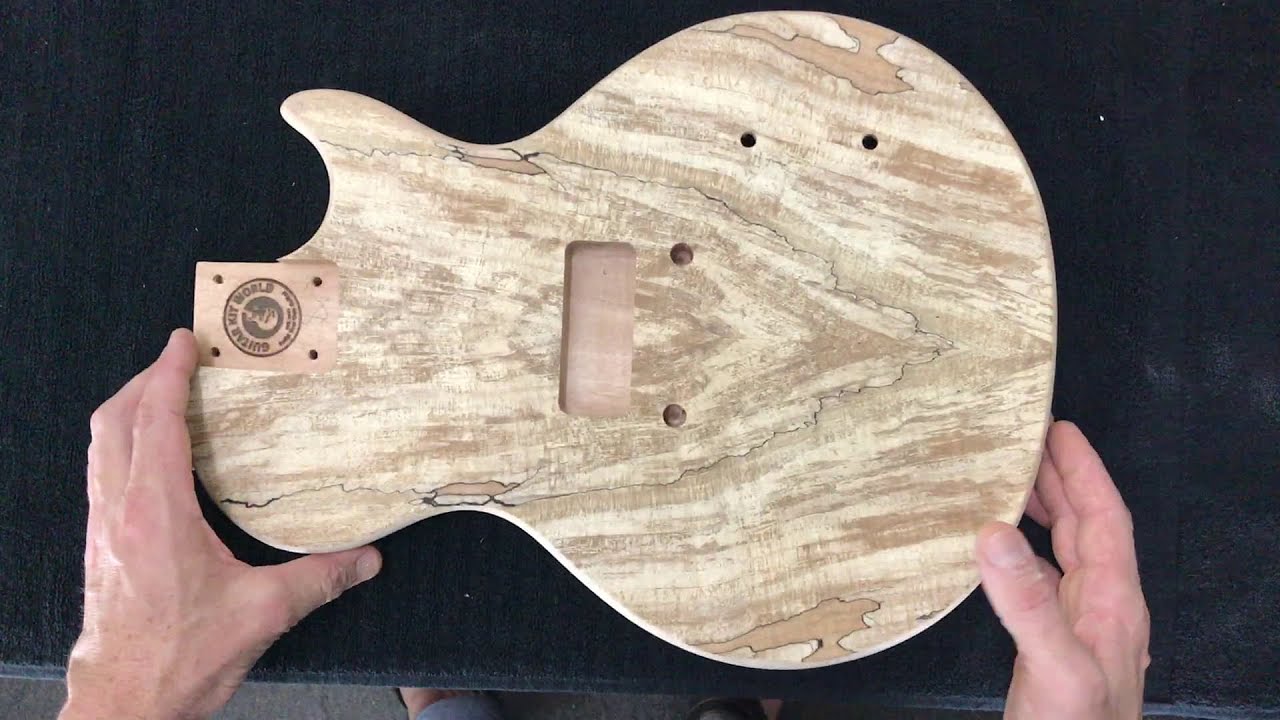
What’s in the box
Check everything against this list before you start, and email us if anything is missing or looks wrong.
- Body and bolt-on neck
- Neck plate, cushion pad, and four long neck screws
- Single P90 pickup with a foam pad or springs for height
- One volume pot and one tone pot, plus knobs
- Wraparound bridge with posts and bushings
- Bridge ground wire and hookup wire
- Input jack
- Six tuners (3-and-3)
- Two strap buttons
- Plastic truss rod cover and plastic control cover plate
- Truss rod hex wrench
Tools you’ll need
Most of these are common household tools. A drill press is nice to have but not required.
- Electric drill with an assorted bit set, plus a countersink bit
- Phillips and flat-head screwdrivers, large and small
- Needle nose pliers
- Steel ruler, at least 40 cm long
- Hard sanding block
- Center punch
- Rubber mallet
- Soldering iron and a damp sponge for the tip
- Craft knife
- Safety glasses or a face shield, an N95 dust mask, an R95 mask for finishing, and disposable gloves
Safety first
Building a guitar uses sharp tools, fine dust, solvents, and a very hot soldering iron. A few habits keep you safe:
- Wear safety glasses or a proper face shield when cutting, drilling, or soldering. Everyday glasses are not enough.
- Wear an N95 dust mask while sanding, and an R95 mask when spraying or working with solvent-based finishes.
- Work in a well-ventilated space. Paint and finish fumes are dangerous.
- Wear disposable gloves when handling stains and oils.
- Your soldering iron gets extremely hot, and solder does not melt until about 185°C (365°F). Treat the tip and every joint as a burn hazard.
Section 1: Initial Inspection and Preparation
Before you start sanding or applying finishes, make sure your kit is properly prepped. Junior kits often use open-pore woods (like mahogany) that need specific preparation steps.
- Inspecting the body and neck: Closely examine the wood for any deep scratches, machine marks, or dents from the factory. Good light helps you spot glue residue and small flaws before they end up under your finish.
- Dry fitting the bolt-on neck: Slide the neck into the body pocket before doing anything else. It should be a snug, stable fit. Make any necessary sanding adjustments before applying your finish.
- Checking scale and neck angle: While the neck is dry-fitted, check the scale length by measuring from the nut to the center of the 12th fret and doubling it, which comes to about 24.75 inches (628 mm). Then lay your steel ruler flat along the frets. It should sit just above the bridge saddles, which tells you the neck angle is correct.
- Initial sanding and masking: Use progressive grits (180, then 240, then 320) to smooth the body. Use painter’s tape to carefully mask off the neck pocket and the fretboard.
- Raising the grain: Before you finish, wipe the bare wood with a little water or denatured alcohol to raise the grain, let it dry fully, then sand it smooth again. This stops the grain from lifting later under your stain or paint.
- Grain filling: Junior kits typically use mahogany or similar woods. Apply a quality grain filler to the body and neck to fill the pores, giving you a perfectly smooth surface before staining or painting. Work the paste in along the grain and then across it, wait about 10 minutes, and wipe the excess off with a damp rag before it fully hardens.
- Sanding back to surface level: Once the grain filler dries, sand the body back down to the bare wood surface level (120 to 240 grit) so that only the pores remain filled. Take care not to dig into the wood. Apply sanding sealer afterward to lock it in.
Beginner watch-outs
| What to look for | Why it matters |
|---|---|
| Loose neck pocket | A wobbly bolt-on neck leads to poor tuning stability and a “thin” sound. |
| Skipping grain filler | If you skip grain filling on open-pore wood, your final clear coat will sink into the pores, giving you a dimpled, uneven finish instead of a glassy one. |
| Oversanding the veneer | If your kit has a top veneer, sand very lightly. Veneers are paper-thin and can be sanded completely through, ruining the top. |
Section 2: Post-Paint Polishing and Hardware Installation
Before you start, this section assumes you have finished your staining, spray painting, and clear coating, and that the body is completely dry.
- Wet sanding and polishing: Wet-sand the clear coat on the body and headstock to remove any “orange peel” texture, working up through the fine grits (600 to 800, then 1500). Use rubbing compound to buff the finish to a mirror-like gloss.
- Installing the bolt-on neck: Place the neck into the pocket, position the metal neck plate (with its cushion pad behind it) on the back, and drive the four long screws through the body and into the neck using a “cross” pattern.
- Installing 3-and-3 tuners: Slide the tuning pegs into the holes on the headstock (3 on each side). Use a straight edge to line them up perfectly, drill pilot holes, and secure them.
- Installing strap buttons and truss rod cover: Measure the center points for the strap buttons, pre-drill, and install them. Attach the plastic truss rod cover to the headstock. The nut is 42 mm wide, so the center line sits 21 mm in from each edge if you need to find it.
- Routing the bridge ground wire: This is a crucial step. Before installing the bridge hardware, strip the end of your ground wire and thread it into the bridge post hole so it makes contact with the metal hardware.
- Installing wraparound bridge posts: Once the ground wire is in place, carefully press or tap the bridge bushings and posts into the body. A rubber mallet helps seat a stubborn bushing without marking the finish.
Beginner watch-outs
| Common issue | How to prevent it |
|---|---|
| Forgetting the bridge ground | If you hammer in the bridge bushings without inserting the ground wire first, your guitar will hum uncontrollably and you will have to forcefully pull the bushings back out. |
| Snapping tuner screws | Always drill a pilot hole. Rub a little candle wax or soap on the screw threads to help them glide into the dense headstock wood. |
Section 3: Electronics and Wiring
Junior guitars are celebrated for their simplicity, usually featuring a single P90 pickup, one volume control, and one tone control.
- Installing the P90 pickup: Route the pickup wire through the internal cavity toward the control cavity. Mount the P90 pickup securely into its body route using the provided foam pad or springs for height adjustment.
- Installing the volume and tone pots: Insert the potentiometers into the control cavity holes and tighten the nuts on the front of the body.
- Wiring and soldering: Follow your wiring diagram to connect the P90 pickup to the volume and tone pots. If you are not sure which diagram matches your kit, find it in the community index: Find your wiring diagram.
- Tinning and heat: Keep a light coat of solder on the iron tip (this is called tinning) so heat transfers well, and always heat the lug or component for a moment before you feed in the solder.
- Wire color coding: Identify and route your wires using the standard color guide:
- Black: Used as the ground wire throughout the circuit (connecting the backs of pots, pickup selector ground, input jack ground, and the main bridge ground).
- Green: Used as the main output wire coming from the pickup selector switch to the active/hot lug of the input jack.
- Red: The active/hot wire for the neck pickup. This color coordinates with the wire coming from the neck position on the pickup selector.
- White: The active/hot wire for the bridge pickup. This color coordinates with the wire coming from the bridge position on the selector.
- Grounding the circuit: Solder the bridge ground wire (the one touching your bridge posts) to the back of the volume potentiometer. Solder the hot and ground wires to the input jack.
- Installing control covers: Once tested, screw the plastic control cover plate onto the back of the guitar.
Beginner watch-outs
| Common issue | How to prevent it |
|---|---|
| No sound | Check the input jack. If the hot and ground wires are touching each other, the signal “shorts out.” |
| Cold solder joints | If your solder looks dull and gray instead of shiny, it is a “cold” joint and may fail. Heat the metal component directly before applying solder. |
Section 4: Final Setup and Playability
Now that your Junior kit is assembled, these steps make sure it is comfortable to play and stays in tune.
- Installing the wraparound bridge: Slide the wraparound bridge onto its posts.
- Tuning to concert pitch: String the guitar (wrapping the strings over the top of the wraparound bridge) and tune to concert pitch (E-A-D-G-B-E). Stretch the strings and re-tune. Keep the guitar at concert pitch while you set it up, so the neck is under the string tension it will actually play at.
- Adjusting neck relief: Fret the low E string at the 1st and last fret. Check the gap at the 8th fret. It should be roughly the thickness of a business card. Adjust the truss rod in small steps, an eighth to a quarter turn at a time: turn counter-clockwise to add relief if the neck is too straight, and clockwise to flatten it if there is too much bow. Retune and recheck after each turn.
- Adjusting the action: Raise or lower the two main bridge posts to adjust the overall string height. Measured at the 12th fret, a good starting point is about 2.4 mm under the low E and 1.6 mm under the high E. Lower action is easier to play, but going too low will cause fret buzz.
- Adjusting intonation: Most wraparound bridges have small set screws at the back of the posts to move the entire bridge forward or backward to adjust intonation. Check it by comparing the open 12th-fret harmonic to the fretted note at the 12th fret. If the fretted note is sharp, lengthen the string by moving the bridge back. If it is flat, shorten the string by moving the bridge forward.
- Adjusting pickup height: Use a screwdriver to raise or lower the P90 pickup. Aim for a balanced volume where the notes are clear, but the magnets are not pulling too hard on the strings.
Beginner watch-outs
| Common issue | How to fix it |
|---|---|
| Strings keep going flat | Keep stretching the strings. It usually takes 3 to 4 rounds of stretching and re-tuning for new strings to fully settle. |
| Fret buzzing | Your action is likely too low. Raise the wraparound bridge posts slightly until the buzz disappears. |
Pro tips
- Dry fit first: Always test-fit the neck before grain filling or painting to make sure the pocket has not become too tight from finish build-up.
- The pilot hole rule: Kit screws are fragile. Never skip drilling a pilot hole, whether you are installing a tiny tuner screw or a heavy-duty strap button. Drill it to about two-thirds of the screw’s depth, and go a little shallower in softer woods like mahogany.
- Spray smart: Lay down light coats rather than heavy ones, and do the sides first. Never spray in wind or leave the guitar outside to dry, since dust settles into the wet finish. If you need to recoat, do it within about an hour, or wait a full 24 hours and scuff with 600 to 800 grit first.
- Heat your spray cans: Dip your aerosol paint and clear coat cans in warm water before use to get a finer, more even spray pattern.
- Beware of steel wool fibers: Pickups attract steel wool fibers. If you used steel wool to polish your clear coat, meticulously clean the body before installing your P90 to prevent a fuzzy pickup or short circuits.
When you get stuck
Take your time, and do not force anything. Questions about a step? Comment below and we will help you right here. If a part looks wrong, is missing, or arrived damaged, email our support team at [email protected] with the email address you used for your purchase, your order number, and a photo, and the team will get you sorted out quickly. When your build is done, share it in the DIY Guitars category so the community can see what you made.
When you want to see the whole process from start to finish, here is the full build video playlist. You can find everything you need on the Doublecut Junior Guitar Kit page.